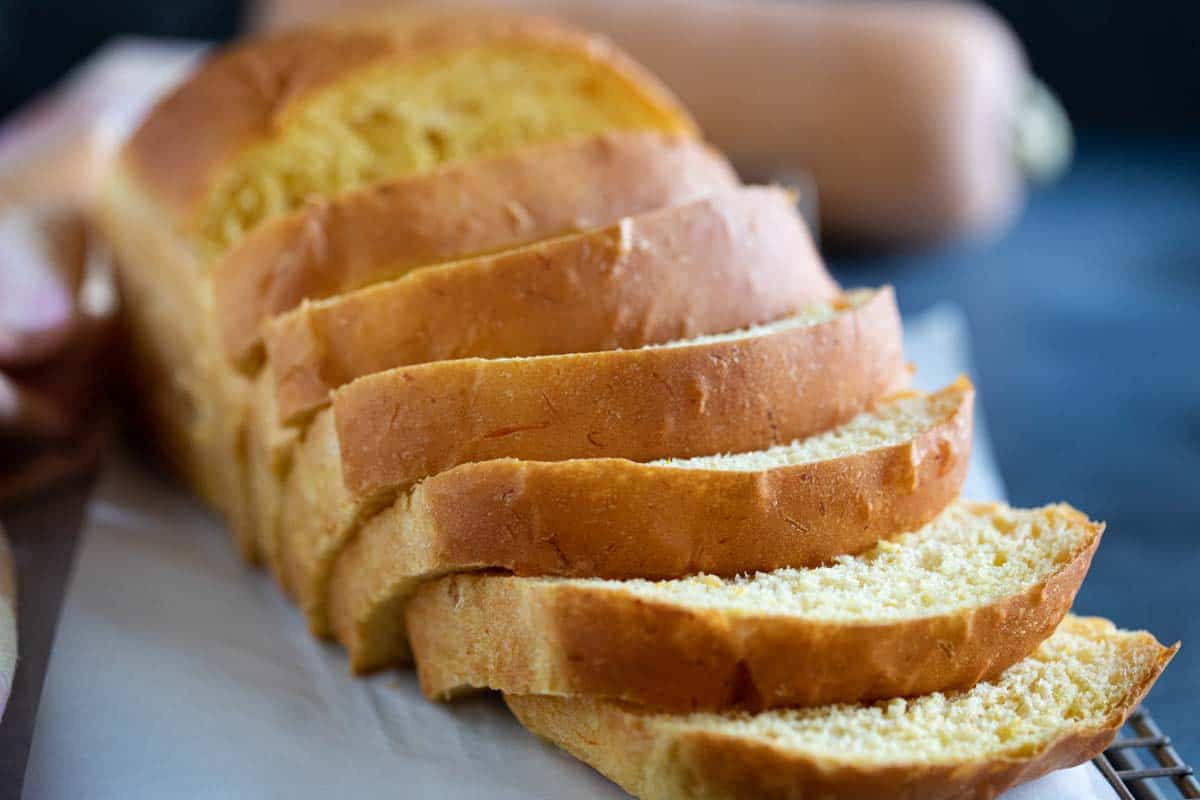
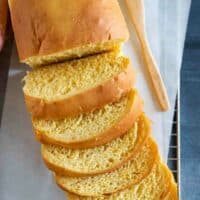
A yeast bread made with pureed butternut squash, this Butternut Squash Bread is a great way to get some extra veggies it. It is soft and delicious and irresistible!
It’s always a great day for a loaf of homemade bread! You can never go wrong with a loaf of White Bread, Brioche, Potato Bread, or Artisan Bread.
I have a thing for butternut squash. I don’t know what it is about it, but if a recipe calls for it, I’ll be making it.
So it’s no surprise that when I saw this recipe years ago, I knew I needed to make it.
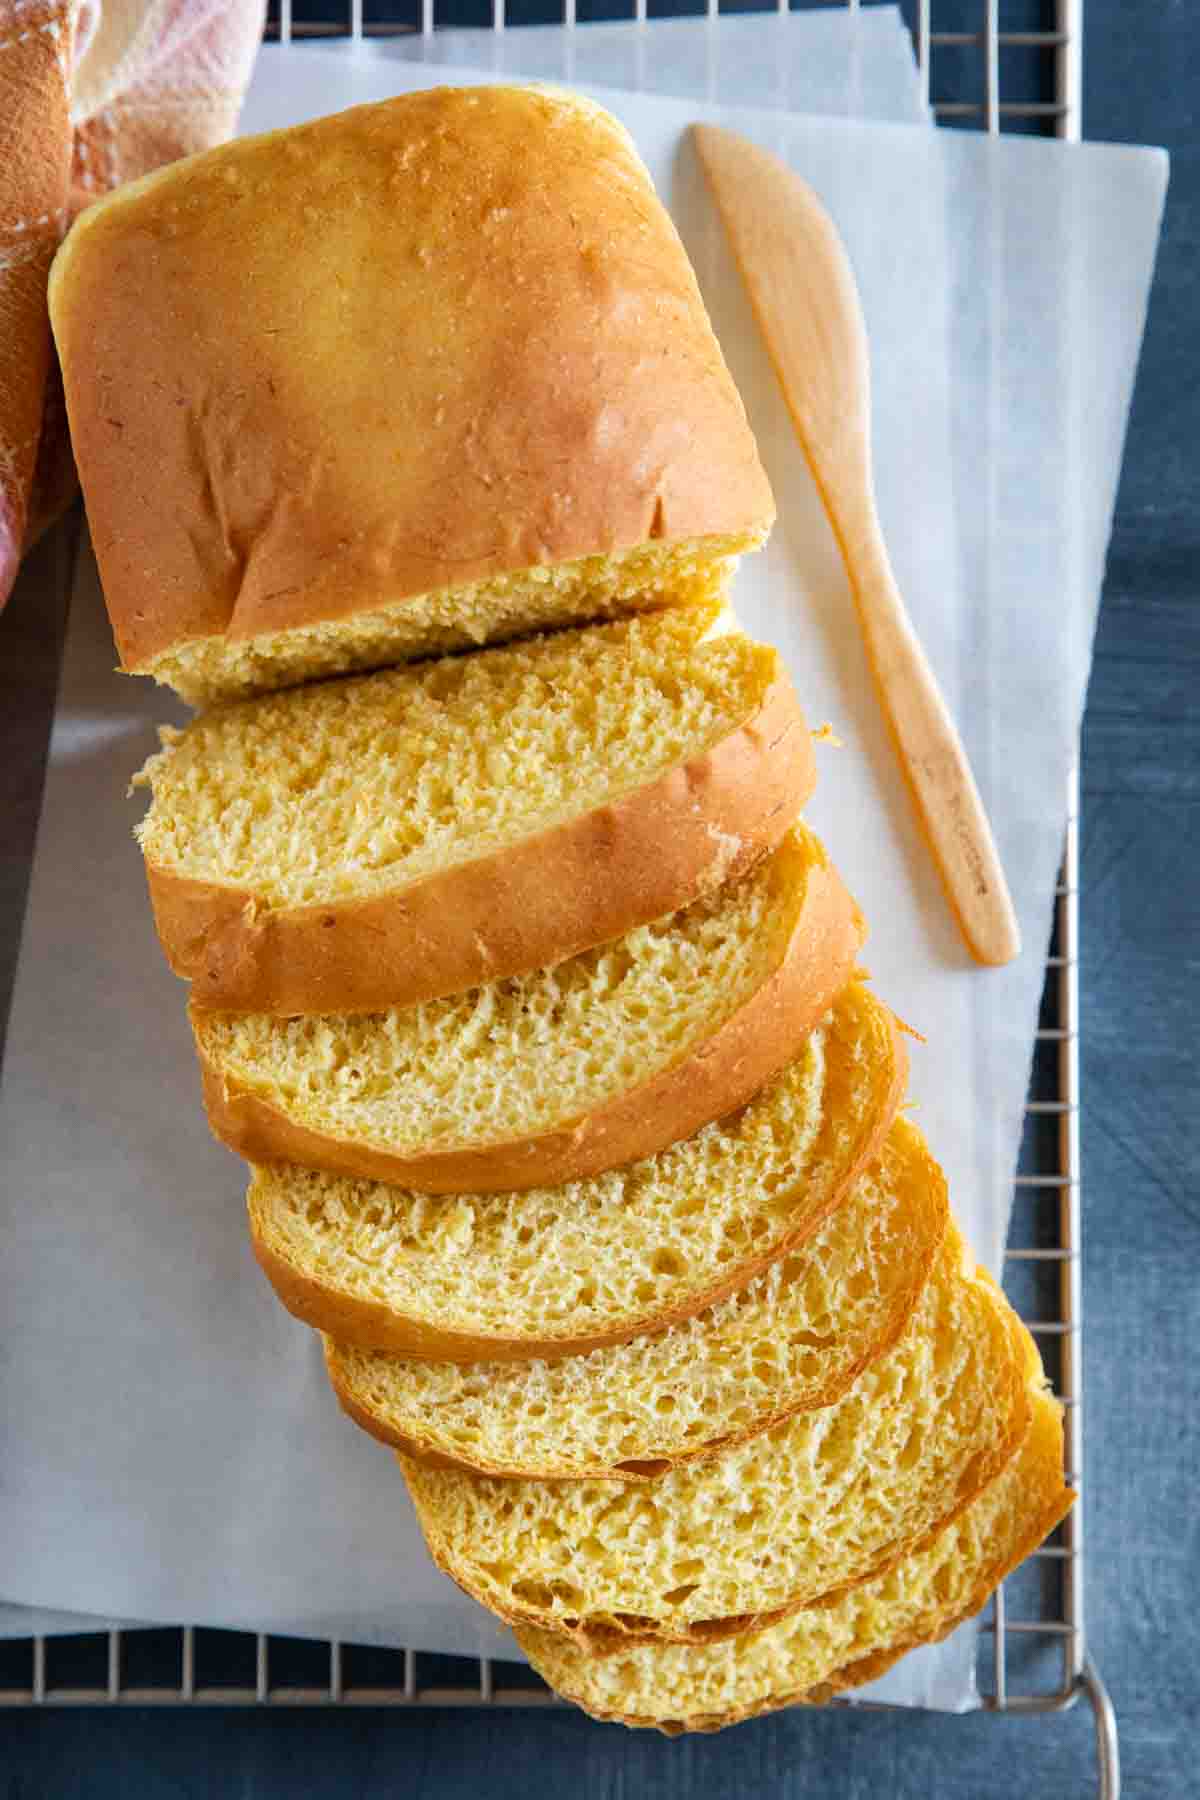
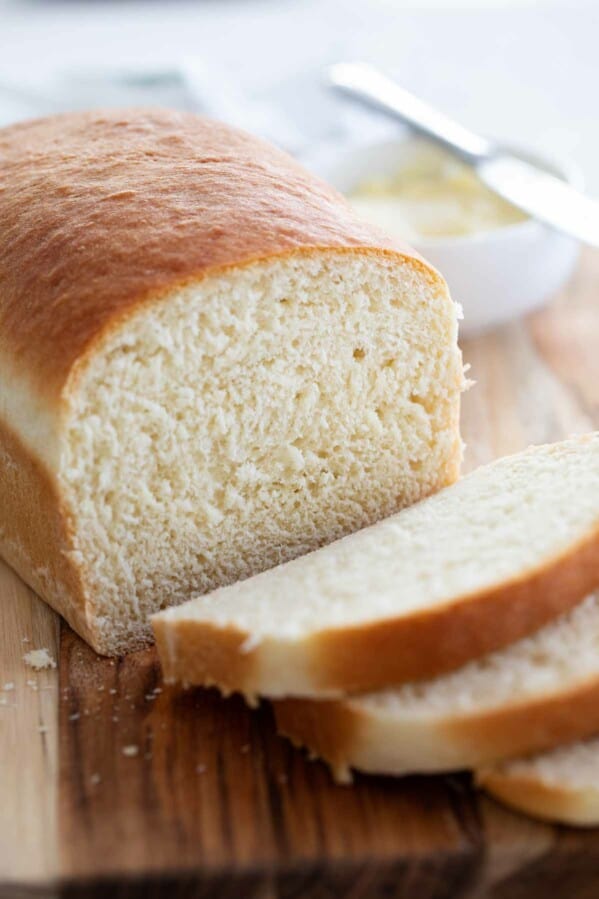
This is a little bit deceiving, though – as the butternut squash flavor is not really prominent. But what it does is brings such great texture to this bread. It is tender with a soft crumb. If you like a soft bread, this one is definitely for you. The squash gives it a beautiful light orange color and a hint of sweetness, but it is definitely not a dessert-type sweet. Every time I make this, I ask myself why I don’t make it more often!
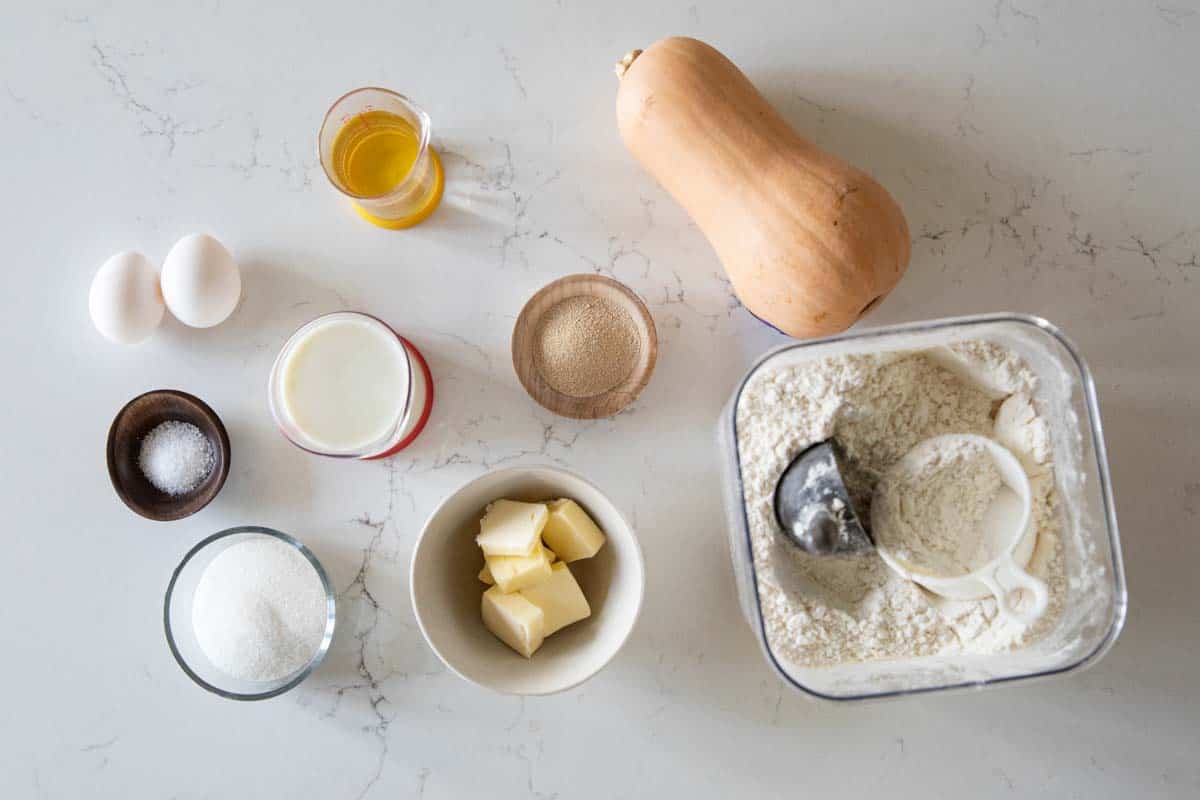
Ingredients
- Butternut Squash: You should just need one medium sized butternut squash. The squash in the picture made enough for the recipe, with just a very small amount of squash leftover. If you are using a smaller squash, you may want to roast 2.
- Olive Oil: This is just to brush on the butternut squash to roast it. You could also use vegetable oil or melted butter.
- Yeast: The recipe calls for active dry yeast, but instant should work, as well.
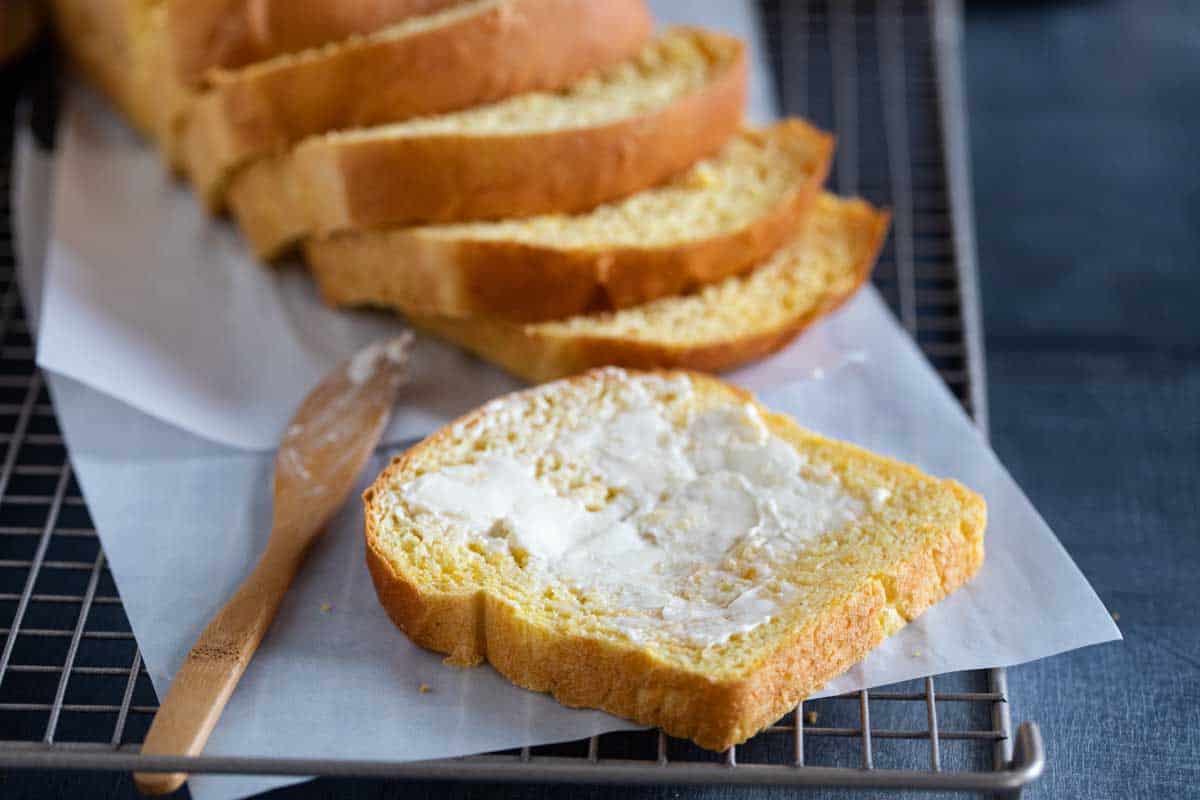
- Sugar: This bread is just slightly sweet, but I still wouldn’t call it a sweet bread. In fact, I love to eat it for breakfast as toast with my eggs!
- Milk: I just use 2% because that’s what I keep on hand, but 1% or whole should work just fine.
- Eggs & Butter: The eggs and butter in this recipe give this bread an almost brioche or challah feel. It’s a richer bread than most white breads. I use large eggs and unsalted butter.
- Salt: Always for flavor! I prefer sea salt, but table salt will also work.
- Flour: I just use all-purpose flour, but bread flour would definitely work here.
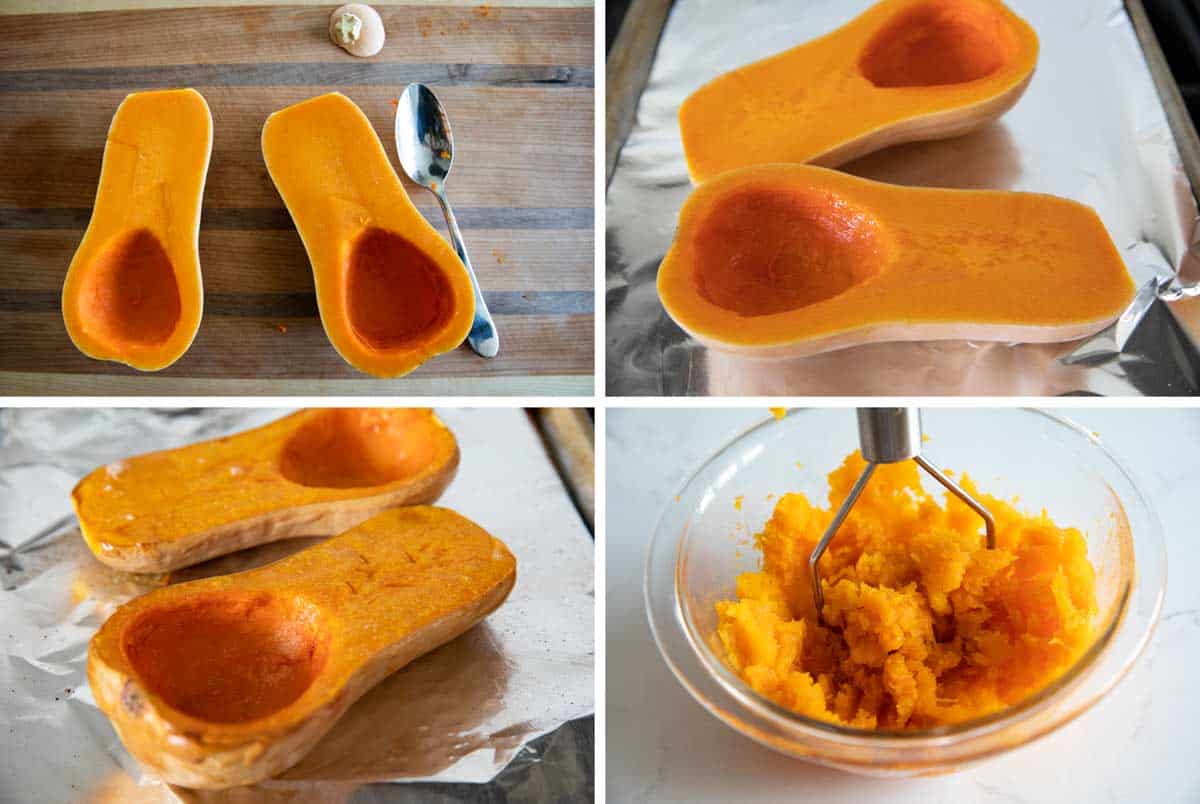
How to Roast Butternut Squash
1 – Start by cutting the squash in half lengthwise. I like to cut off the stem end first so that it is a bit easier to cut through. Having a sharp knife will really help here. Use a spoon to scoop out the seeds.
2 – Place the squash halves on a baking sheet, cut side up. Brush the flesh with the olive oil.
3 – Roast the squash in the oven at 375ºF until the flesh is tender. I like to check it by pressing a knife in – if it slides in easily, the squash is done.
4 – Remove from the oven and let it cool slightly. Remove the flesh to a bowl (I usually just use a large spoon and scoop it out) and then mash it until smooth.
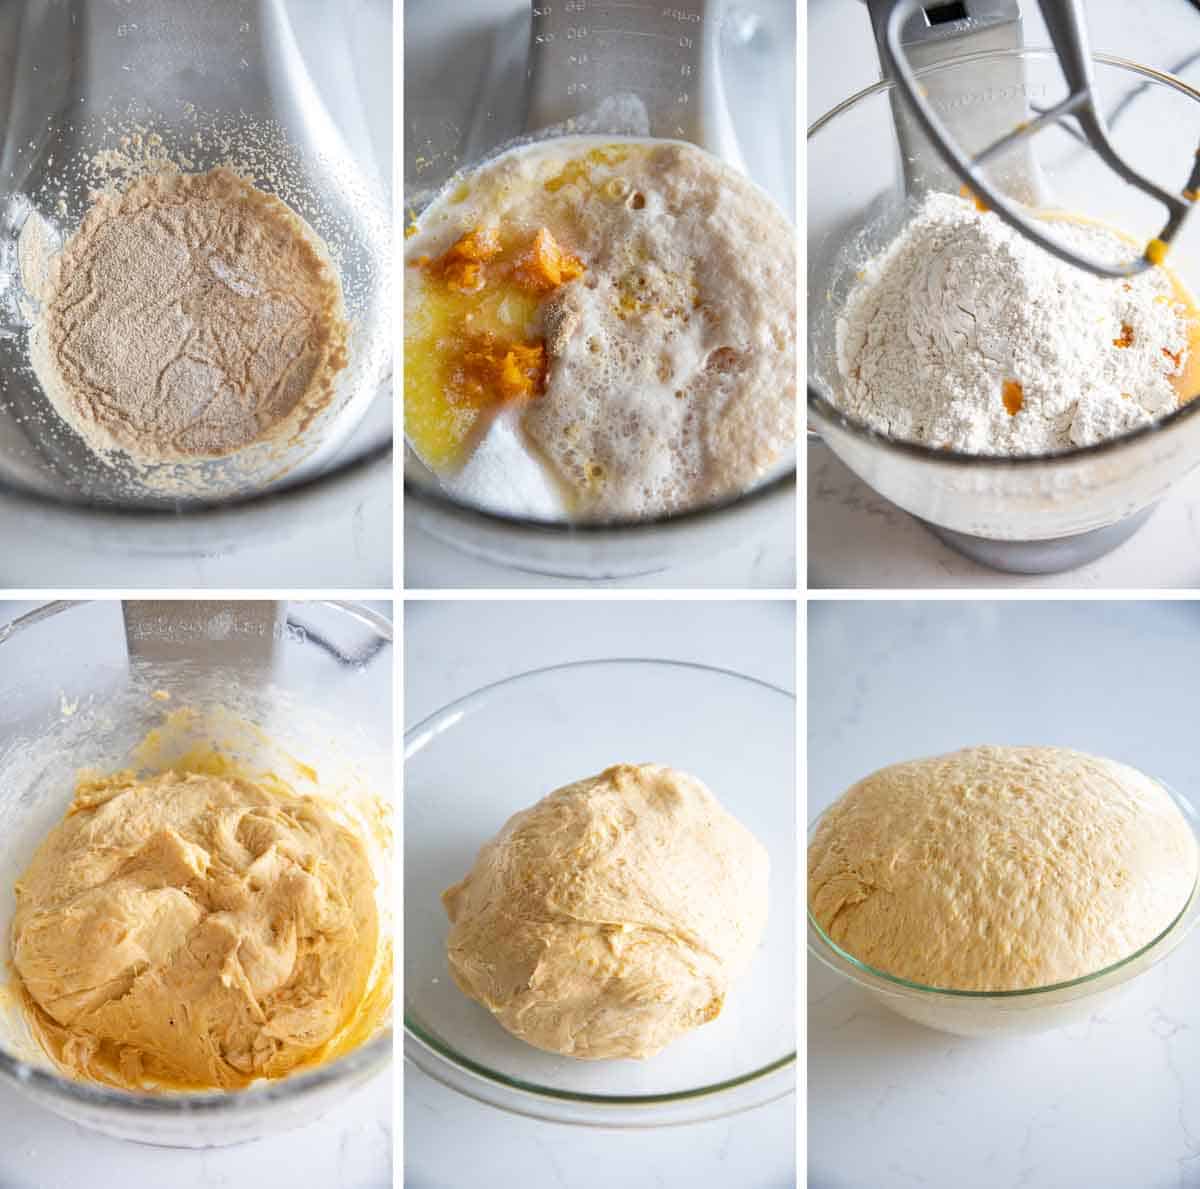
How to Make Butternut Squash Bread
1 – Combine the yeast, water, and a bit of the sugar. I like to use my stand mixer, but a big bowl will work if you want to make it by hand.
2 – Once the yeast has started to foam, add the butternut squash, the rest of the sugar, the milk, eggs, butter and salt.
3 – Add about half of the flour.
4 – Mix it all together, adding more flour until the dough comes together and starts to pull away from the sides of the bowl. Switch to the kneading hook (or pour out on a counter to knead by hand) and knead until it is smooth and supple.
5 – Put the dough in a large bowl that is lightly greased.
6 – Let the dough rise until it has about doubled.
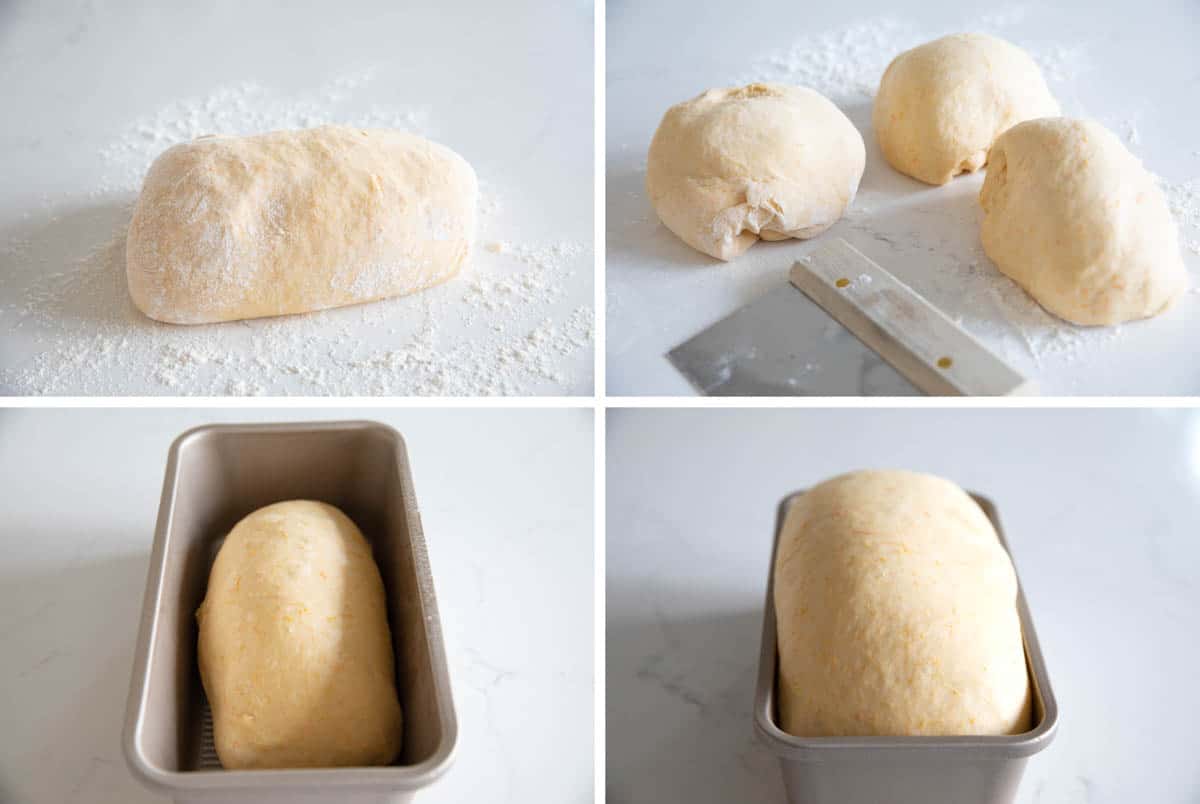
7 – Punch down the dough and pour onto a floured surface.
8 – Divide the dough into 3 equal portions.
9 – Shape into loaves, and place in 3 greased loaf pans.
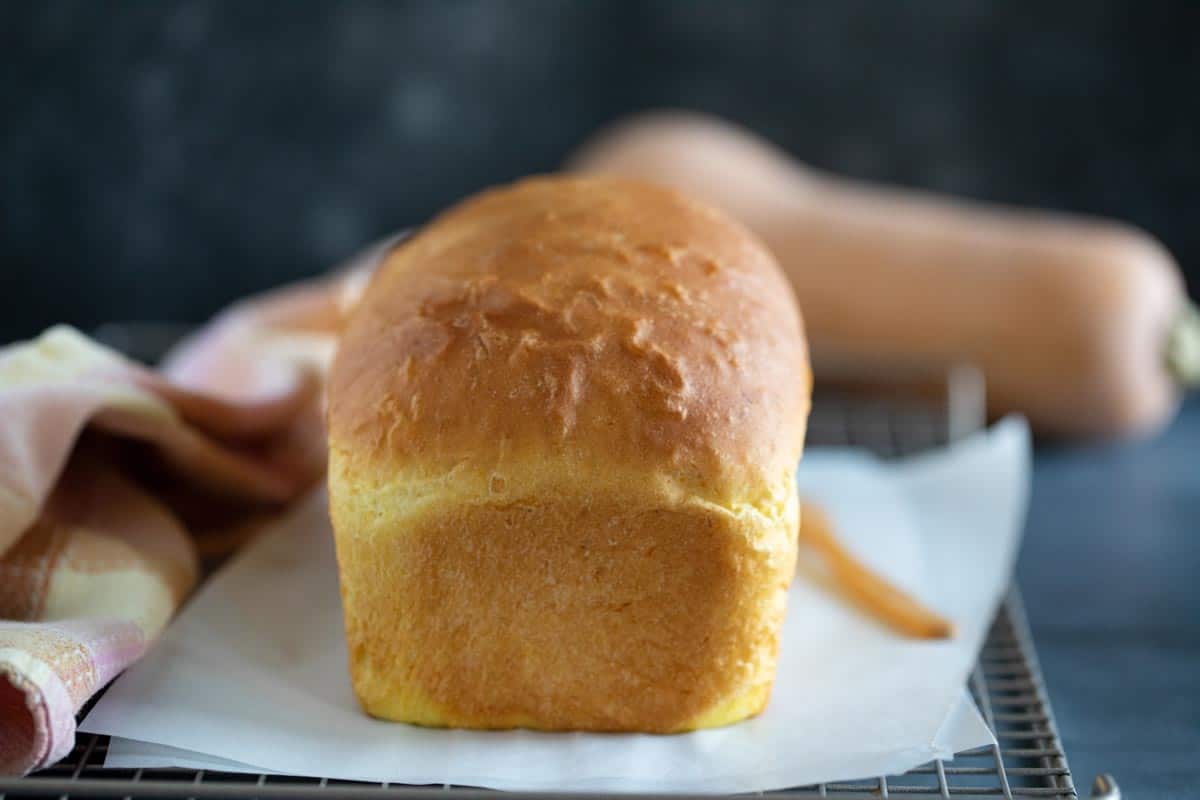
10 – Let it rise again until doubled, then bake until golden brown and cooked through.
Tips and Tricks
I have tried this in a 9×5-inch loaf pan, and a slightly smaller 8 1/2 by 4 1/2 inch loaf pan. Both worked just fine. One was a little taller than the other, but both made beautiful loaves.
The butternut squash can be roasted ahead of time and saved for when you are ready to make the bread.
I have not tried making this into rolls, but I’m guessing they would be amazing!
Storage and Freezing
Since this makes 3 loaves of bread, I usually end up freezing a loaf for later.
Storing
Store the bread in a bag, (I like to buy these bread bags), or in an airtight container. While storing the bread in the refrigerator can extend its life, it will also suck some of the moisture from the bread so I like to store it at room temperature.
Stored at room temperature, it can last up to 7 days, but is best in the first 3-4 days.
Freezing
Once the bread has cooled completely, wrap it in foil, then place in a freezer safe ziplock bag. You can freeze the bread for up to 3 months.
To thaw, remove from the freezer and let it sit at room temperature, still wrapped, until thawed.
More Butternut Squash Recipes
Butternut Squash Soup
Skillet Butternut Squash Lasagna
Butternut Squash Chili with Beef
Stuffed Butternut Squash
Creamy Butternut Squash Pasta
LOOKING FOR MORE FREE RECIPES?
Subscribe to my free recipe newsletter to get new family friendly recipes in your inbox each week! Find me sharing more family-friendly inspiration on Pinterest, Facebook, and Instagram.
Butternut Squash Bread
Ingredients
- 1 medium butternut squash
- 2 teaspoons olive oil
- 4 1/2 teaspoons active dry yeast (1/2 ounce or 2 packages)
- 1/2 cup warm water
- 1/3 cup sugar
- 1 cup warm milk
- 2 eggs lightly beaten
- 1/3 cup butter melted and slightly cooled
- 1 teaspoon salt
- 7 to 7 1/2 cups all-purpose flour
Instructions
- Heat the oven to 375ºF. Line a baking sheet with foil for easy clean up.
- Cut the butternut squash in half. Remove the seeds and place cut side up on the baking sheet. Brush with the olive oil. Bake until the flesh is soft, about 45 minutes. Remove and let cool slightly before scooping the flesh into a bowl and mashing. Measure out 1 1/4 cups of the mashed squash and reserve the rest for another use.1 medium butternut squash, 2 teaspoons olive oil
- Combine the yeast, the water, and about a teaspoon of the sugar in the bowl of a stand mixer (or in a large bowl if making by hand). Let it sit for a few minutes until the yeast has started to foam up.4 1/2 teaspoons active dry yeast, 1/2 cup warm water
- Add the rest of the sugar, the reserved squash, milk, eggs, butter and salt and mix until combined. Add in 3 1/2 cups of the flour and mix well. Continue to add flour until the dough comes together and starts to pull away from the sides of the bowl. If using a mixer, change to the dough hook and let the dough knead for 5-6 minutes. If making by hand, pour the dough onto a lightly floured surface and knead until smooth, 7-10 minutes.1/3 cup sugar, 1 cup warm milk, 2 eggs, 1/3 cup butter, 1 teaspoon salt, 7 to 7 1/2 cups all-purpose flour
- Lightly grease a bowl and add the dough, turning once to coat. Cover with plastic wrap that has been sprayed with nonstick cooking spry and allow the dough to rise until doubled, about 1 hour.
- Punch the dough down and divide into 3 equal portions. Shape each into a loaf and place in greased loaf pans.* Cover with plastic wrap or a clean kitchen towel and let the dough rise again until doubled, 30-45 minutes.
- Preheat the oven to 375ºF. Bake until the loaves are golden brown, about 20-25 minutes. Allow the bread to cool in the pans for 15 minutes, then remove to a cooling rack to cool completely.






Michelle says
I have made this bread twice already and my family really loves how soft and moist it is. The next time around I will add between 1/2 teaspoon to 1 teaspoon more salt to the mix.
Deborah says
Thanks so much for the review and rating, Michelle! I’m so glad you have loved the bread.
Lana says
Great tasting, easy to make, soft, sliceable bread. Love it! Wonderful way to use winter squash.
Deborah says
I’m so glad you loved it!
Lindsay Sutton says
If you have the opportunity, adding a weight or volume measurement for the squash would be really helpful.
I roasted and pureed a bunch of squash and pumpkin to use for a few different recipes and I had no idea how much I should measure out for this bread.
Deborah says
Hi Lindsay – this recipe uses 1 1/4 cups of the puree – so about 300 g. Hope that helps!
Shannon says
I made this bread today and it is so perfect. I love getting extra vegetables in wherever I can.