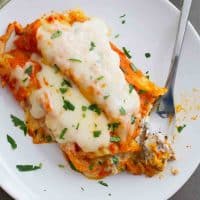
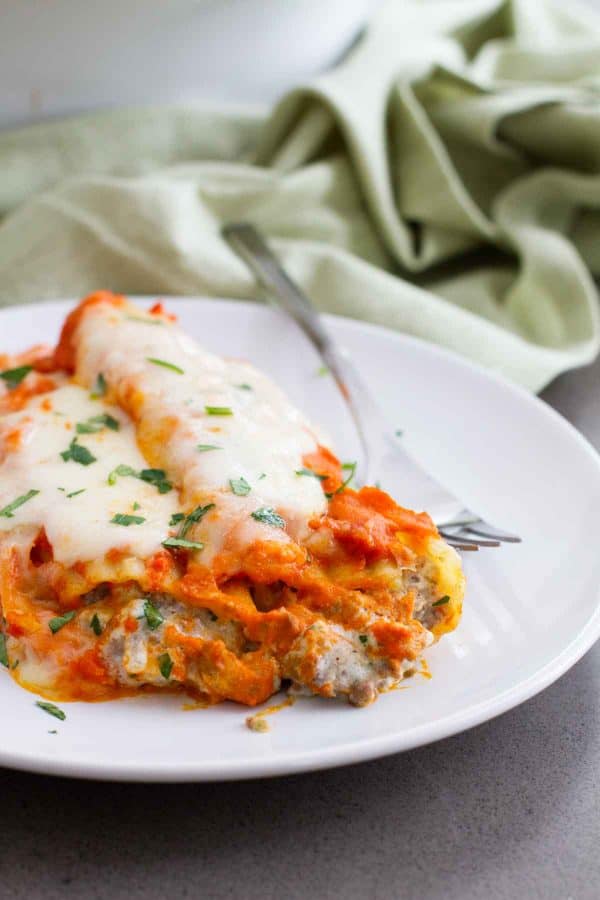
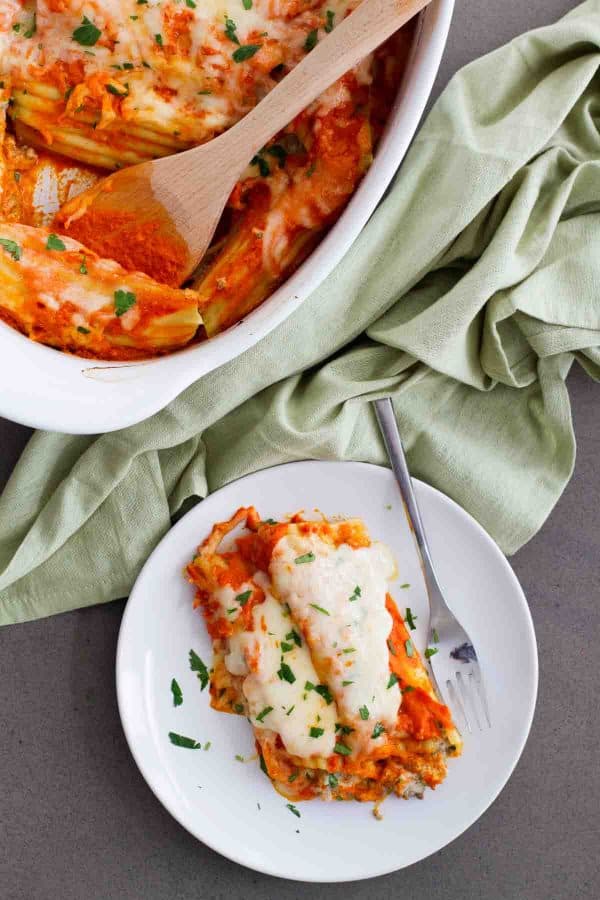
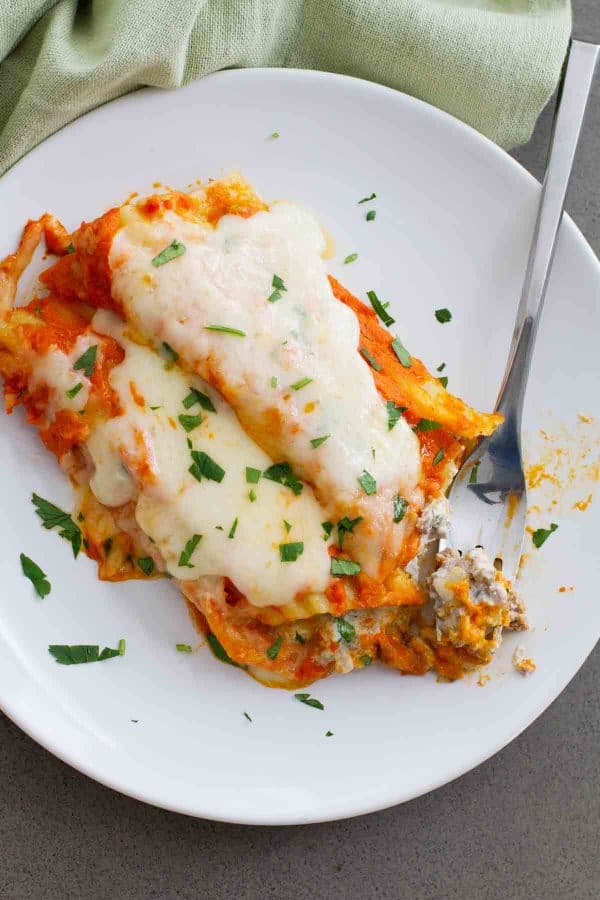
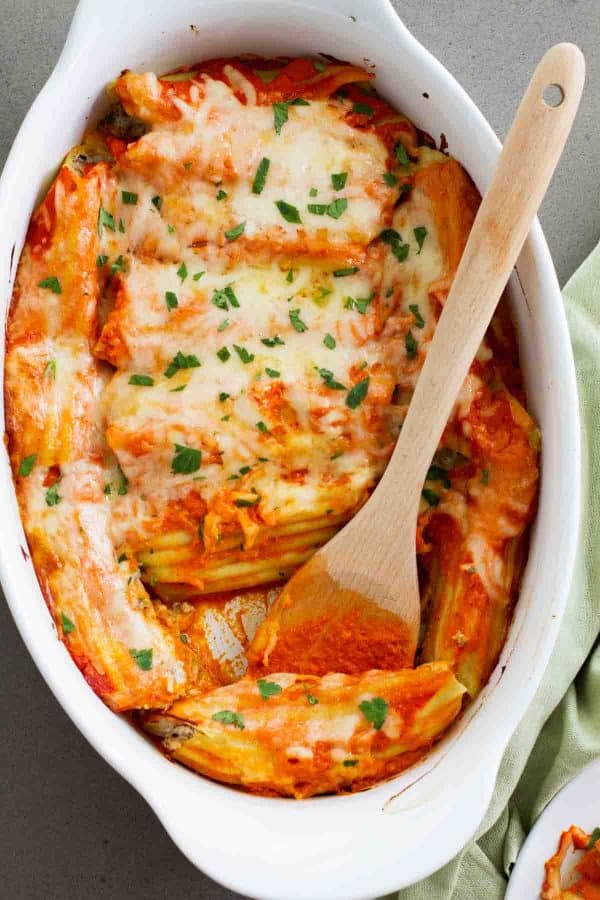
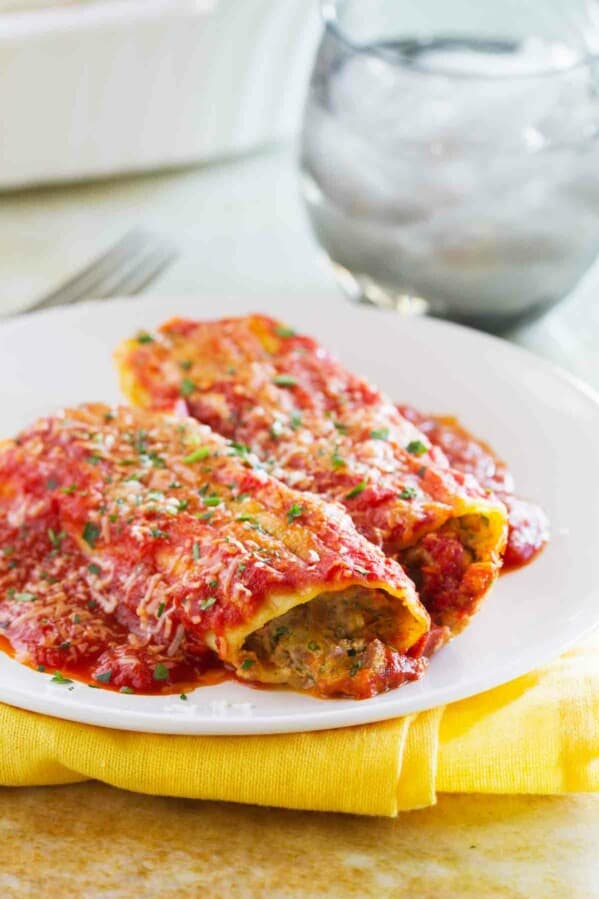
The perfect Sunday supper – this Ground Beef Stuffed Manicotti can be made ahead of time to save you from that dinnertime rush. Filled with ground beef and cheese and topped with a homemade sauce, this is a winning pasta dinner!
Want even more comfort food? Try this Salisbury Steak, Braised Country Style Ribs, or Chicken Fried Steak Fingers.
I am trying to get my fill of comfort food in while the weather is still cold, since I know spring is right around the corner! And it doesn’t get more comforting than this Ground Beef Stuffed Manicotti. I’ve been having fun going back through the archives and reworking the really old recipes according to my current preferences (I’ve learned a lot in the past 10+ years about cooking!) I did end up changing this recipe a bit from the first time I posted it back in 2011, but I think I ended up with a winning recipe! I love that this can be made ahead of time and enjoyed when it’s dinnertime. That sure does take a lot of stress out of the meal!
I love make ahead meals. You know the ones that you can make earlier in the day, and then all they need is to be cooked or reheated when it’s time for dinner. I find myself looking for these kinds of recipes especially for crazy busy days – and Sundays.
A little while back, I was feeling really on top of things. It was a Sunday morning, and at the time, we didn’t get home from church until 4pm. On those days, it’s always nice to have dinner pretty much ready so that I’m not rushing to get dinner on the table once we get home. On that particular Sunday, I had this manicotti on the menu plan. This was the perfect recipe to assemble while I had the time in the morning, then refrigerate it until after church, when all I had to do was pop it in the oven. I’m guessing this one would make a great freezer meal as well!
How to Make This Beef and Cheese Manicotti Recipe
This marinara takes a bit of time to cook, it’s totally worth the effort. And really, it’s not a lot of effort at all – it just takes some time for the flavors to come together. I would totally recommend making the marinara – it would be a great all-around recipe to have on hand for other recipes as well! If you want to cut back on time, you can use a premade marinara, but I did love this sauce! Here is how you make it:
To make the marinara
- Heat olive oil in a large pot or Dutch oven. Add onion and cook until it is translucent.
- Add in some garlic, then celery and carrots, season with salt and pepper, and cook until the vegetables are soft.
- Next, add the tomatoes, sugar and bay leaf. Allow the mixture to simmer, breaking up the tomatoes.
- Simmer the sauce for 1 hour, then remove from the heat. Remove the bay leaf.
- When the sauce has cooled slightly, transfer the sauce to a blender and process until smooth. You may need to do this in batches.
To make the manicotti
- Start by spreading some of the marinara in the bottom of a 9×13-inch baking dish. Set the dish aside.
- In a skillet, cook the ground beef and onion until the meat is browned. Remove from the heat and allow it to cool slightly.
- In a bowl, combine ricotta, mozzarella, parmesan, parsley, garlic, salt and pepper. Stir the slightly cooled beef into this cheese mixture.
- Bring a large pot of water to a boil and cook the manicotti pasta until it is softened, but still somewhat firm. Remove from the water to a baking sheet to cool off.
- Fill the manicotti shells with the beef and cheese mixture. Place in a single layer in the baking dish.
- Spread the remaining marinara over the top of the pasta. Sprinkle with more mozzarella and parmesan cheese, then dot the top with butter.
- Bake until the manicotti is bubbling and hot, then let it sit for 5-10 minutes before serving.
The Easiest Way to Stuff Manicotti Shells
I used to always think that stuffing the manicotti shells was the hardest part of making manicotti. But not anymore!! This is what I like to do.
Once your filling is prepared, transfer it to a gallon-sized ziplock bag. Cut the corner off, about as big as the inside of the manicotti shell.
While holding a manicotti shell, place the tip of the bag in the shell and pipe some of the filling, filling up half of the shell. Turn the shell to the other side and pipe the other end full. Place the manicotti shell in the baking dish, then repeat with remaining pasta and filling.
Easy, peasy!
Want more winning pasta dinner recipes?
Creamy Tomato Tortellini with Chicken and Bacon
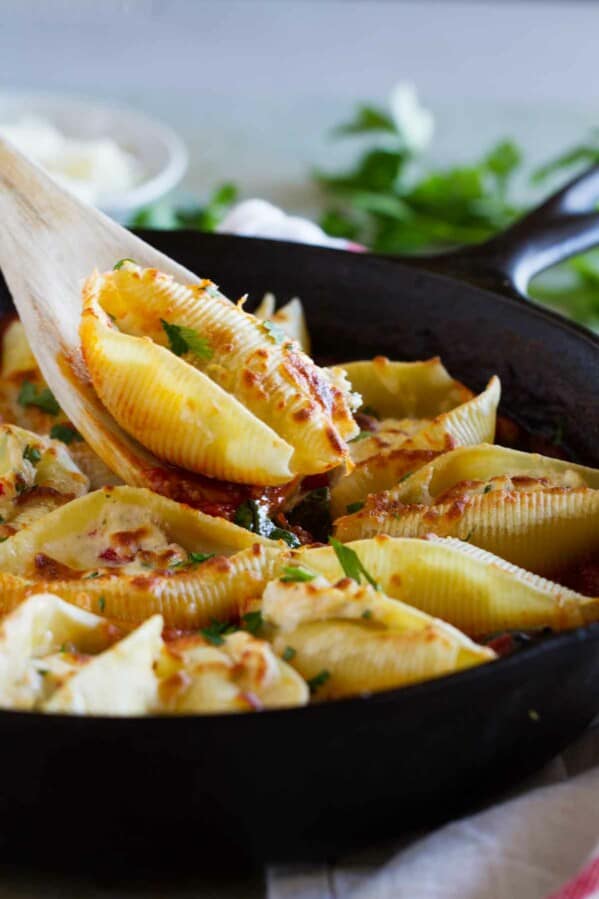
Stuffed Pasta Shells with Easy Bolognese Sauce
Spaghetti Lasagna
Rigatoni with Sausage, Peas, Tomatoes and Cream
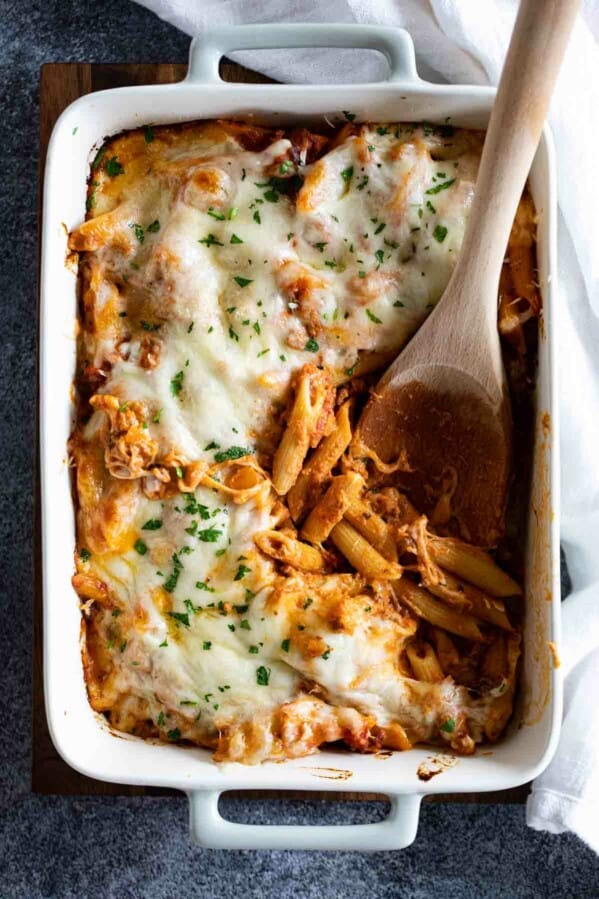
Penne Pasta Bake
Tools Used to Make this Ground Beef Stuffed Manicotti
I like to use a Dutch oven to make the sauce.
I use a blender to blend the sauce to make it smooth. I have a Blendtec, but any blender should work.
Ground Beef Stuffed Manicotti
Ingredients
Sauce:
- 2 tablespoons extra virgin olive oil
- 1 small onion finely chopped
- 1 clove garlic minced
- 1 celery stalk finely chopped
- 1 carrot peeled and finely chopped
- 1/2 teaspoon salt plus more to taste
- 1/2 teaspoon pepper plus more to taste
- 1 28-ounce can peeled tomatoes
- 1 teaspoon sugar
- 1 dried bay leaf
Manicotti:
- 1 pound ground beef
- 1/2 cup finely chopped onion
- 1 15-ounce container ricotta cheese
- 1 1/2 cups shredded Mozzarella cheese
- 1/2 cup freshly grated Parmesan cheese
- 2 tablespoons chopped parsley
- 2 cloves garlic minced
- 1 1/2 teaspoons salt
- 1/2 teaspoon pepper
- 1 8 oz box manicotti pasta (12 pieces)
- 1 tablespoon butter cut into pieces
Instructions
To make the sauce:
- In a large pot or Dutch oven, heat the olive oil over medium-high heat.
- Add the onion and cook until it softens and is translucent, 5-8 minutes.
- Add the garlic and cook until fragrant, another 30-60 seconds.
- Add the celery and carrot along with the salt and pepper and continue to cook until the vegetables are soft, about 10 minutes.
- Add the tomatoes, sugar and bay leaf. Reduce the heat to low and simmer uncovered breaking up the tomatoes as the sauce cooks.
- Cook until the sauce thickens, about 1 hour. Remove from the heat and discard the bay leaf.
- Cool the sauce slightly, then transfer the sauce to a blender (work in batches, if needed) and process until smooth.
To make the manicotti:
- Preheat the oven to 350ºF. Spray a 9x13-inch baking dish with nonstick cooking spray. Spread 3/4 cup of the prepared sauce in the bottom of the dish. Set aside.
- Place a skillet over medium heat and add the ground beef and onion. Cook, breaking up the meat as it cooks, until the meat is browned and the onion is soft. Remove from the heat and allow the mixture to cool slightly.
- While the beef is cooling, mix the ricotta, one cup of the Mozzarella, 1/4 cup of the Parmesan, the parsley, garlic, salt and pepper in a bowl. When the beef mixture has cooled slightly stir it into the cheese mixture.
- Bring a large pot of water to a boil. Salt generously. Add the manicotti and cook until it is softened, but still firm to the bite, about 6 minutes. Remove the manicotti from the water and transfer to a baking sheet to cool off.
- Transfer the meat and cheese mixture to a large ziplock bag. Cut off the corner. Squeeze the mixture into the manicotti and place the stuffed pasta in the baking dish in a single layer. Spread the remaining sauce over the top of the pasta. Sprinkle the remaining 1/2 cup of Mozzarella and 1/4 cup of Parmesan over the top. Dot with the butter pieces.
- Bake the manicotti, uncovered, until it is heated through and the sauce is bubbling and hot, about 35 minutes.
- Let the manicotti sit for 5-10 minutes before serving.

Candie says
I have been using the ziplock bag idea for years, works so well for things like this! still messy once you get some on your hands but so much easier to fill the pasta!
Haven’t tasted it yet, but here it sits on the counter waiting to be baked! and it smells so good!
Steve says
tasted good, but the prep time of 3o minutes is ridiculous. it takes longer than that to fill the pasta , the bag idea sounds good on paper but I couldn’t get it to work and I’ve been cooking for well over 40 years. just allow more time and you will like the recipe.
Valerie says
Love this recipe. Very tasty. I would cover it next time, to keep the cheese from drying out. Just my preference though.
Jane Farnsworth says
Can you freeze before baking it for later
Leslie Mastick says
Great recipe, I would add to the recipe how big of a hole to cut in the ziplock bag… I had to tape mine smaller, but this bag idea is a great trick!
Jessica Sawyer says
Was a huge hit for my new year dinner. Glad bags do not work as a filing bag.
Laura says
Thanks!
Pam says
Yes, I so agree with make ahead meals. This looks so colorful and delicious!
Miss Meat and Potatoes says
I completely agree about make ahead meals. If I had the ability to start my blog all over again, that would be my focus. Having something all ready to go in the freezer or fridge that just needs baking off is better than money in the bank, IMO. Especially when it’s something this hearty and delicious. Thanks for sharing!
Katrina says
Mmm delish! Love this.
Joanne says
Make ahead meals are definitely fabulous tools! My main problem is planning that far ahead! These look delicious though! Total comfort food.