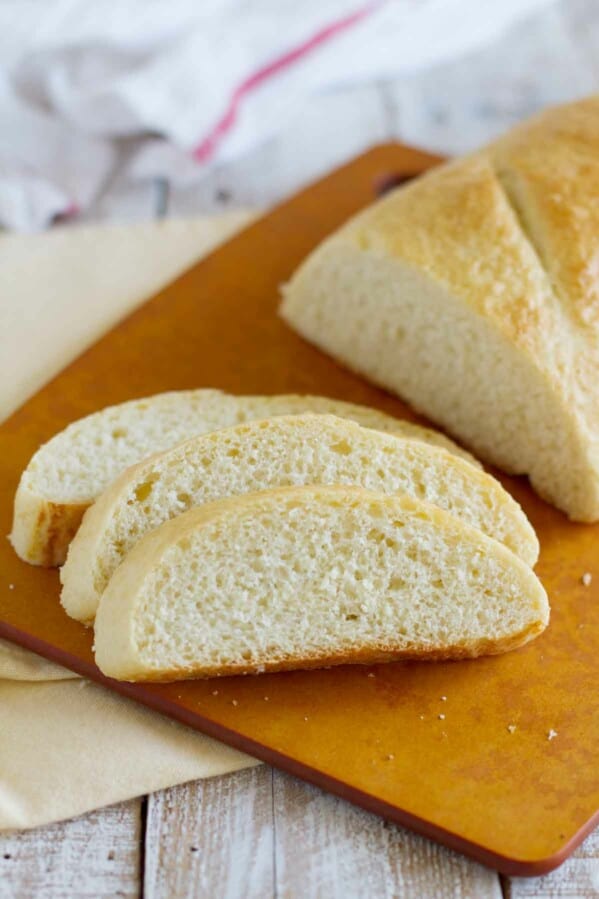
An easy no knead bread recipe, this Peasant Bread only requires a few minutes of hands on time. It’s easy enough for beginners, and so delicious you’ll want to serve it at every meal!
Homemade bread is easier than you think! For more simple bread recipes, also try this Focaccia Bread Recipe or this Dinner Roll Recipe.
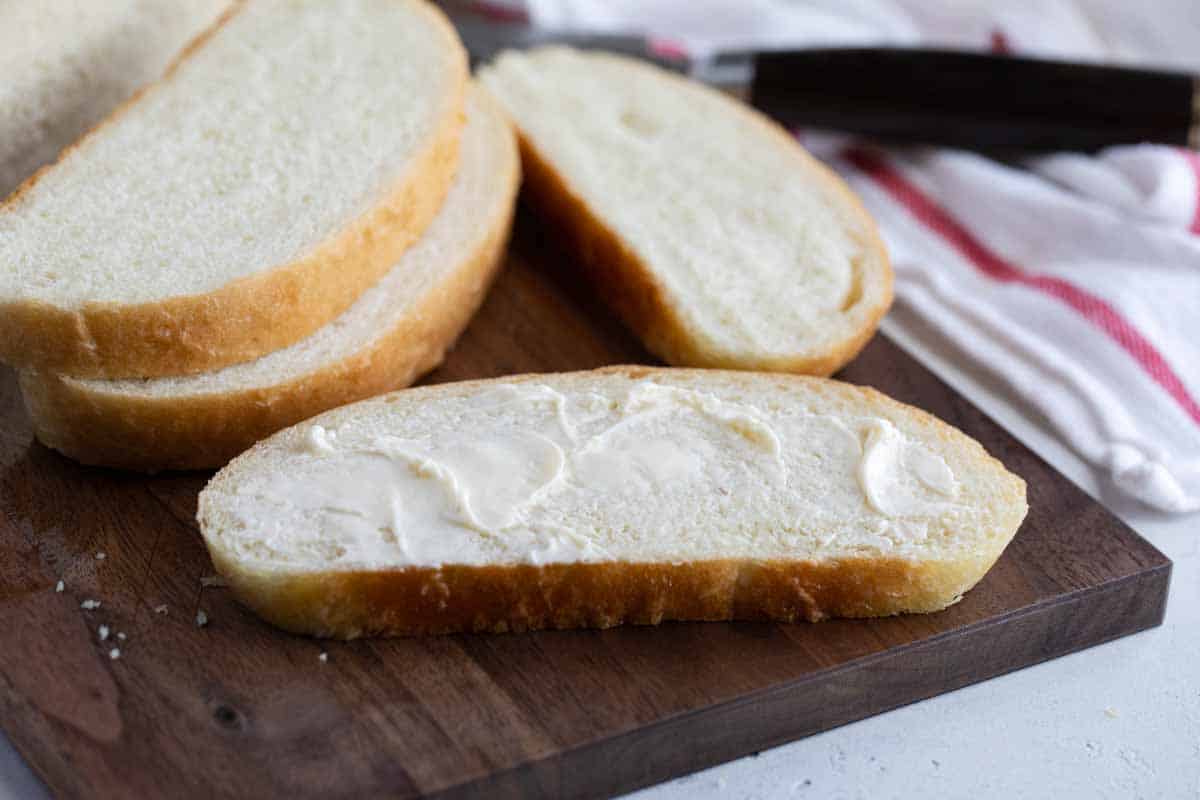
I know there are all kinds of things you can do to save at the grocery store – and I need to start implementing more of them – but one thing is for sure. Making food from scratch is going to save you money. And you know exactly what is going into your food. And it usually just tastes better!!
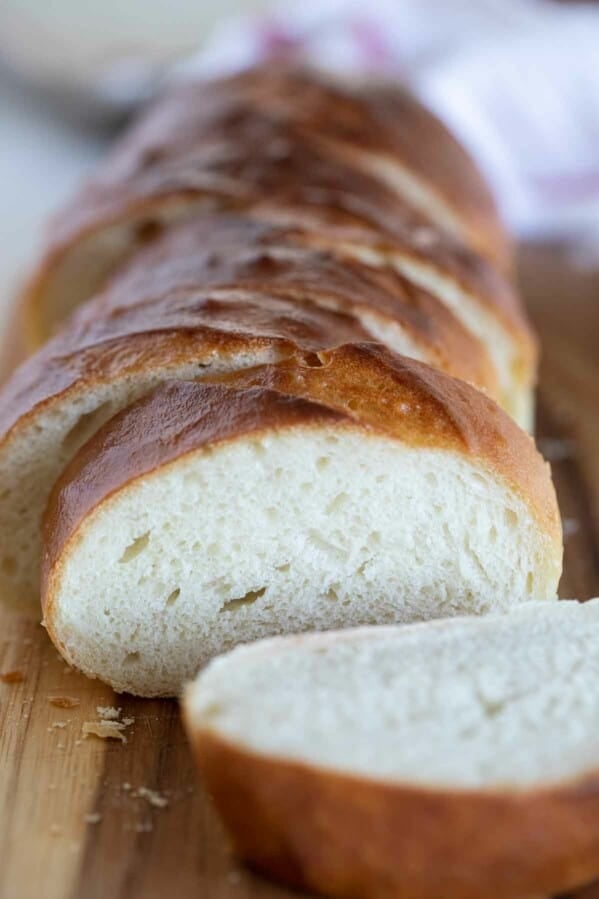
This is a great – and super easy – bread recipe. It’s basically a no-knead bread, so if you are yeast-phobic, this would be a great place to start if you want to make your own bread. In fact, it is kind of similar to this Artisan Bread recipe, but the crumb is more tender, and the crust is nice and buttery. I don’t know how anyone can say that making bread is hard after trying this bread!
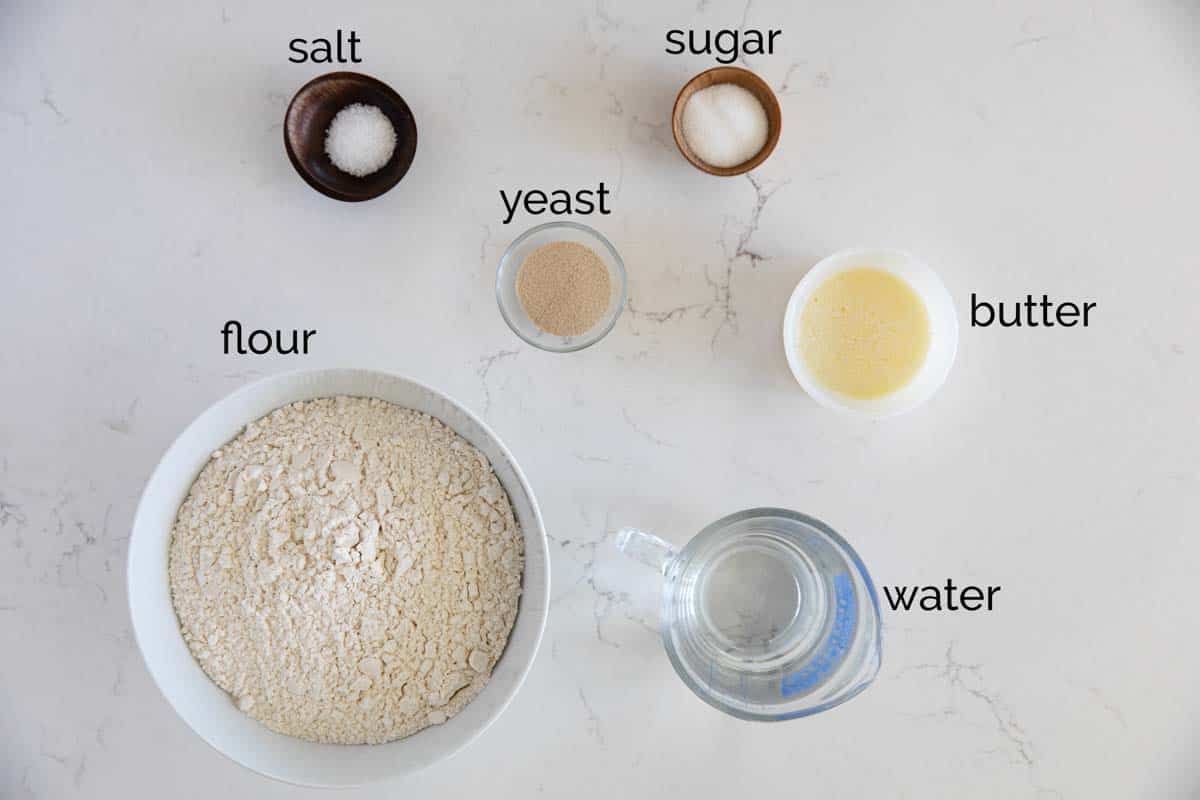
Ingredients
Water: You want warm, lukewarm water, not hot. Ideally, this is around 110ºF. You should be able to comfortably touch it.
Yeast: I like to use active dry yeast. You could use instant yeast, but just keep an eye on the dough when rising, as it will rise a little faster.
Sugar: The sugar will help to activate and feed the yeast.
Salt: I like to use kosher salt or sea salt.
Flour: This dough is a pretty sticky dough. You don’t want to add too much flour. Humidity will affect how much flour you add, so just be aware that you may not need to add all of the flour in.
Butter: This bread has a nice, buttery crust because you are brushing it with butter before and after it bakes. I prefer unsalted butter here since we are already adding salt to the bread dough.
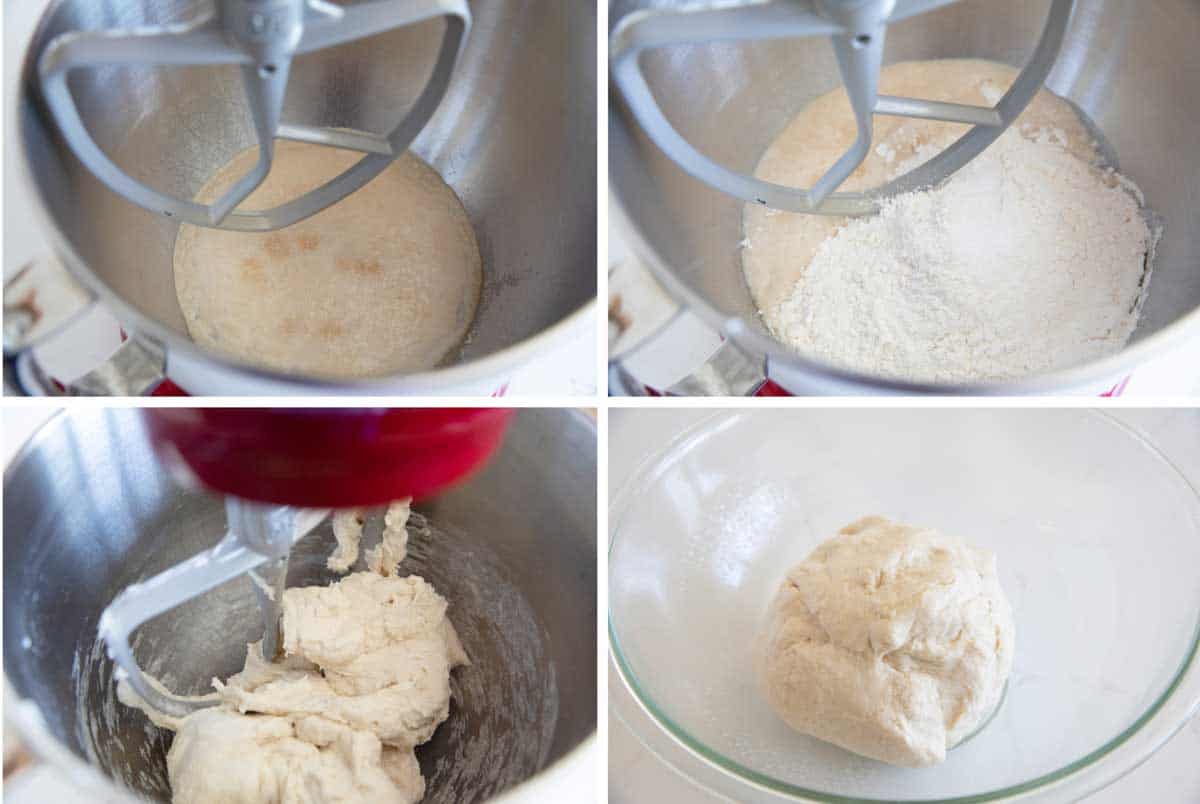
How to Make Peasant Bread
1: Start by pouring the water into a large bowl or the bowl of a stand mixer. Add the yeast and the sugar and let it sit until it has foamed.
2: Add 3 1/2 cups of the flour and the salt.
3: Mix just until it comes together, adding more flour if needed.
4: Transfer the dough to a large, greased bowl. The dough will be sticky, so I like to use a spatula to make sure I get all of the dough from the bowl.
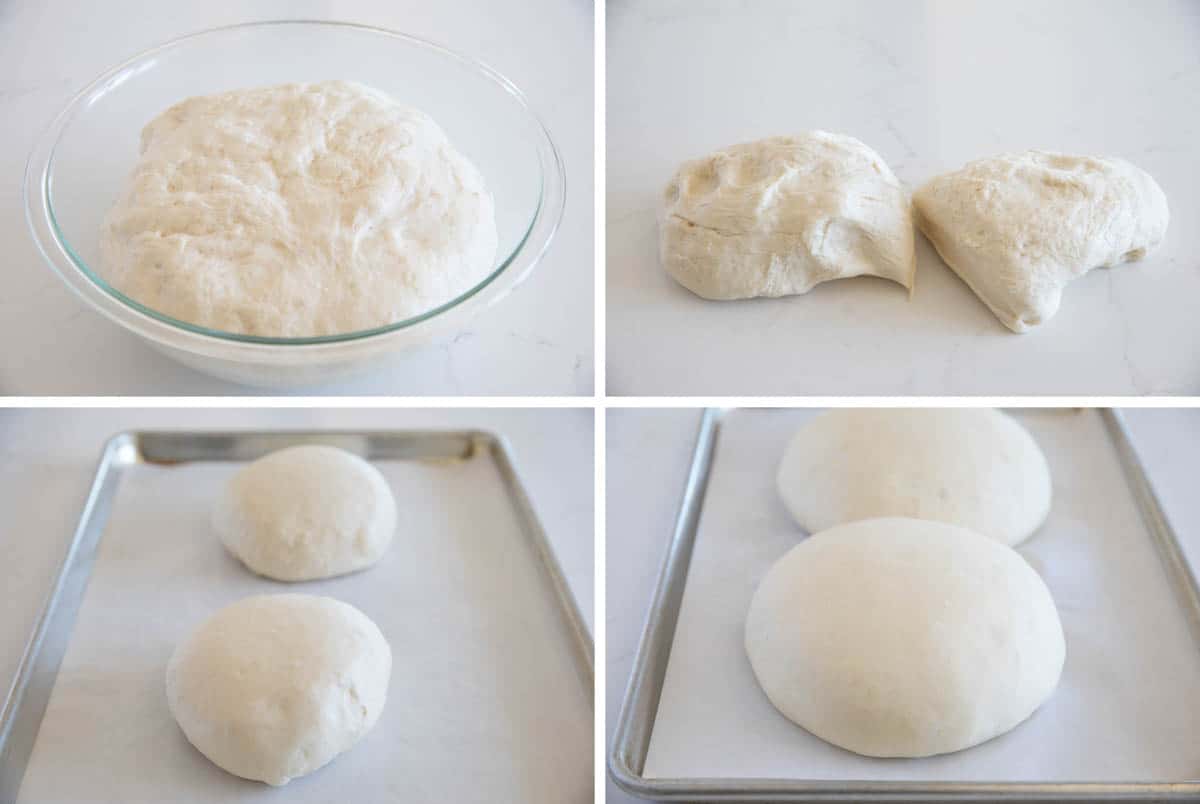
5: Cover the bowl with plastic wrap or a tea towel, and let it rise in a warm spot until it has doubled, about an hour.
6: Divide the dough into two round loaves.
7: Form into 2 round loaves and place on a parchment paper lined baking sheet.
8: Cover, and let the dough rise again until doubled, about an hour.
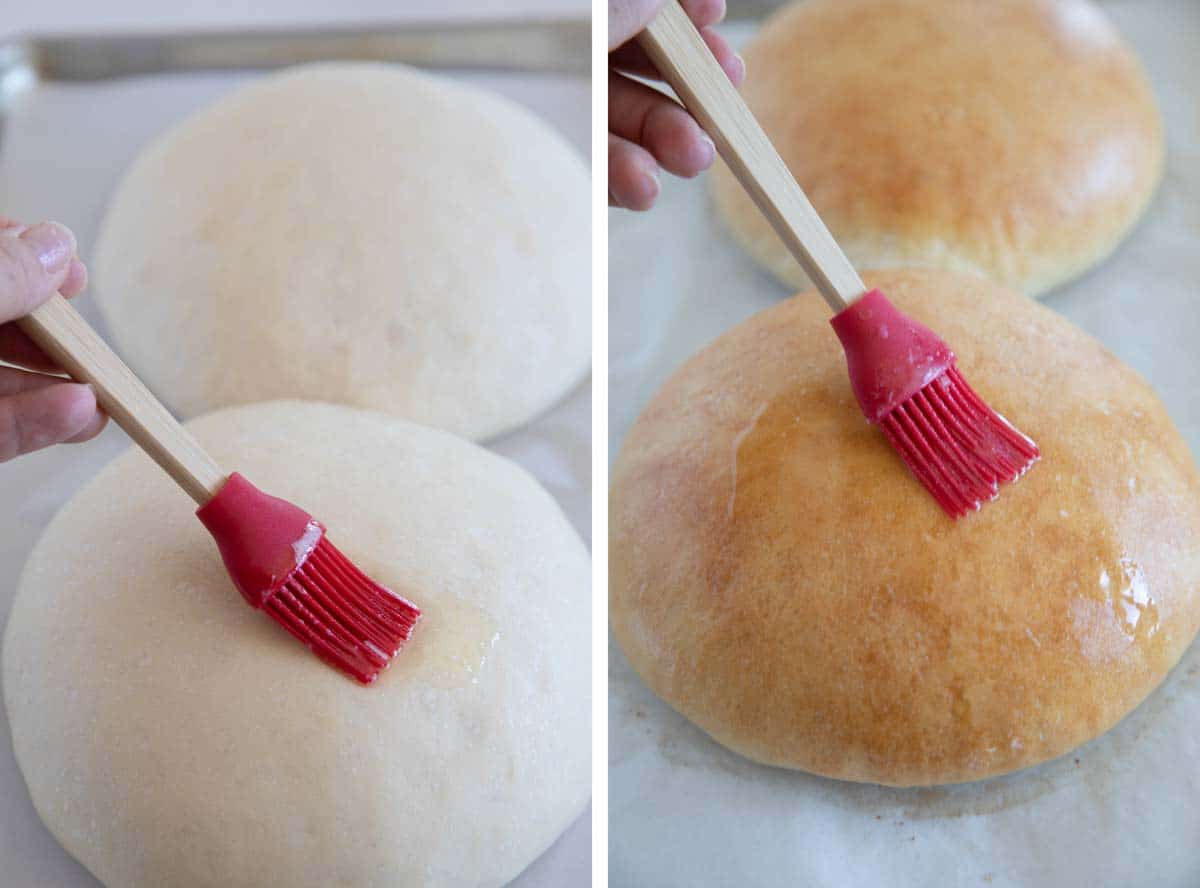
9: Take your melted butter and brush half of it onto the risen loaves.
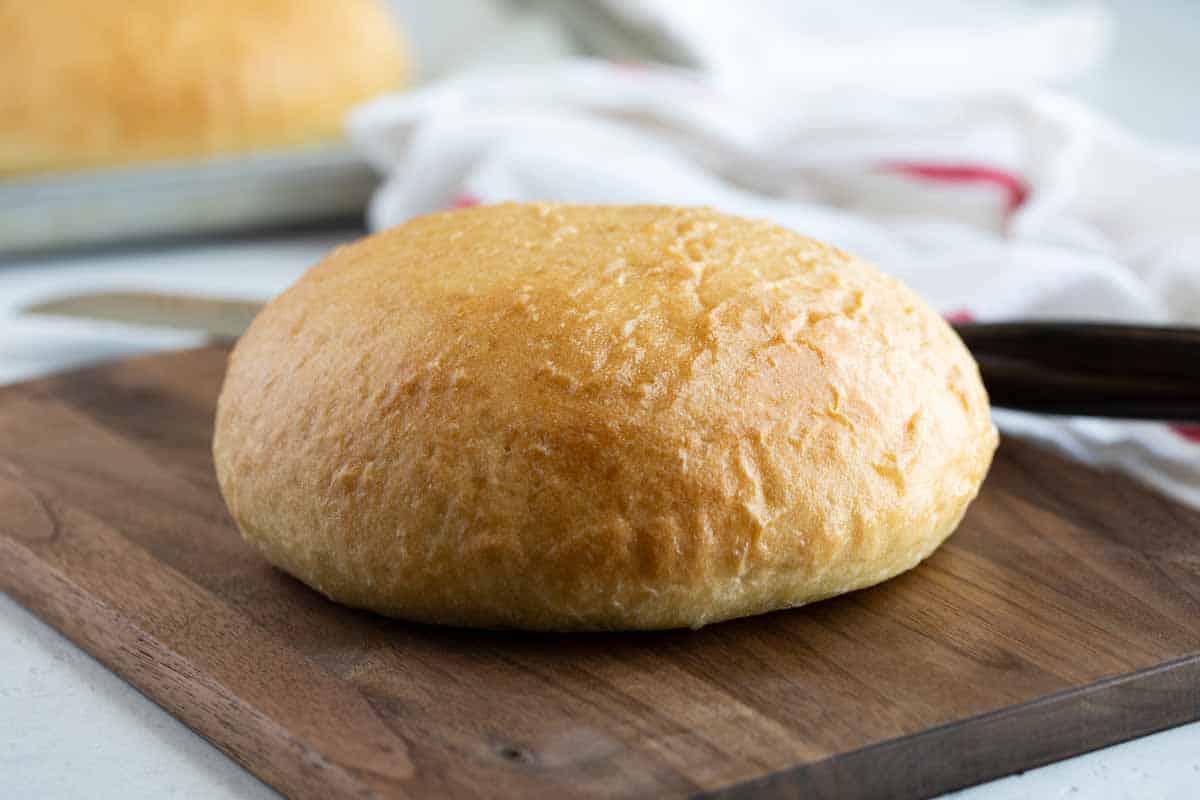
10: Bake until the bread is golden brown and cooked through.
11: Remove from the oven and brush with the remaining butter.
Tips and Tricks
- I will usually make 2 free-form loaves, but you can also make these in 2 oven-safe bowls. Instead of brushing the loaves with the butter, simply use the butter to butter the bowls.
- If you don’t have parchment paper or don’t want to use it, simply grease your baking sheet and then sprinkle with cornmeal.
- I have only ever made this peasant bread with all-purpose flour. You could also use bread flour. If you want to use whole-wheat flour, I would start by testing with one half whole wheat and one half all-purpose flour.
- Remember – this bread is not meant to be kneaded. Only mix until the ingredients are combined.
- You do not need a stand mixer to make this recipe! It’s easy enough to just use a large mixing bowl and a wooden spoon for stirring.
- Only want one loaf? You can cut the recipe in half, or you can take half of the dough and refrigerate it to make another loaf the next day.
Storing and Freezing
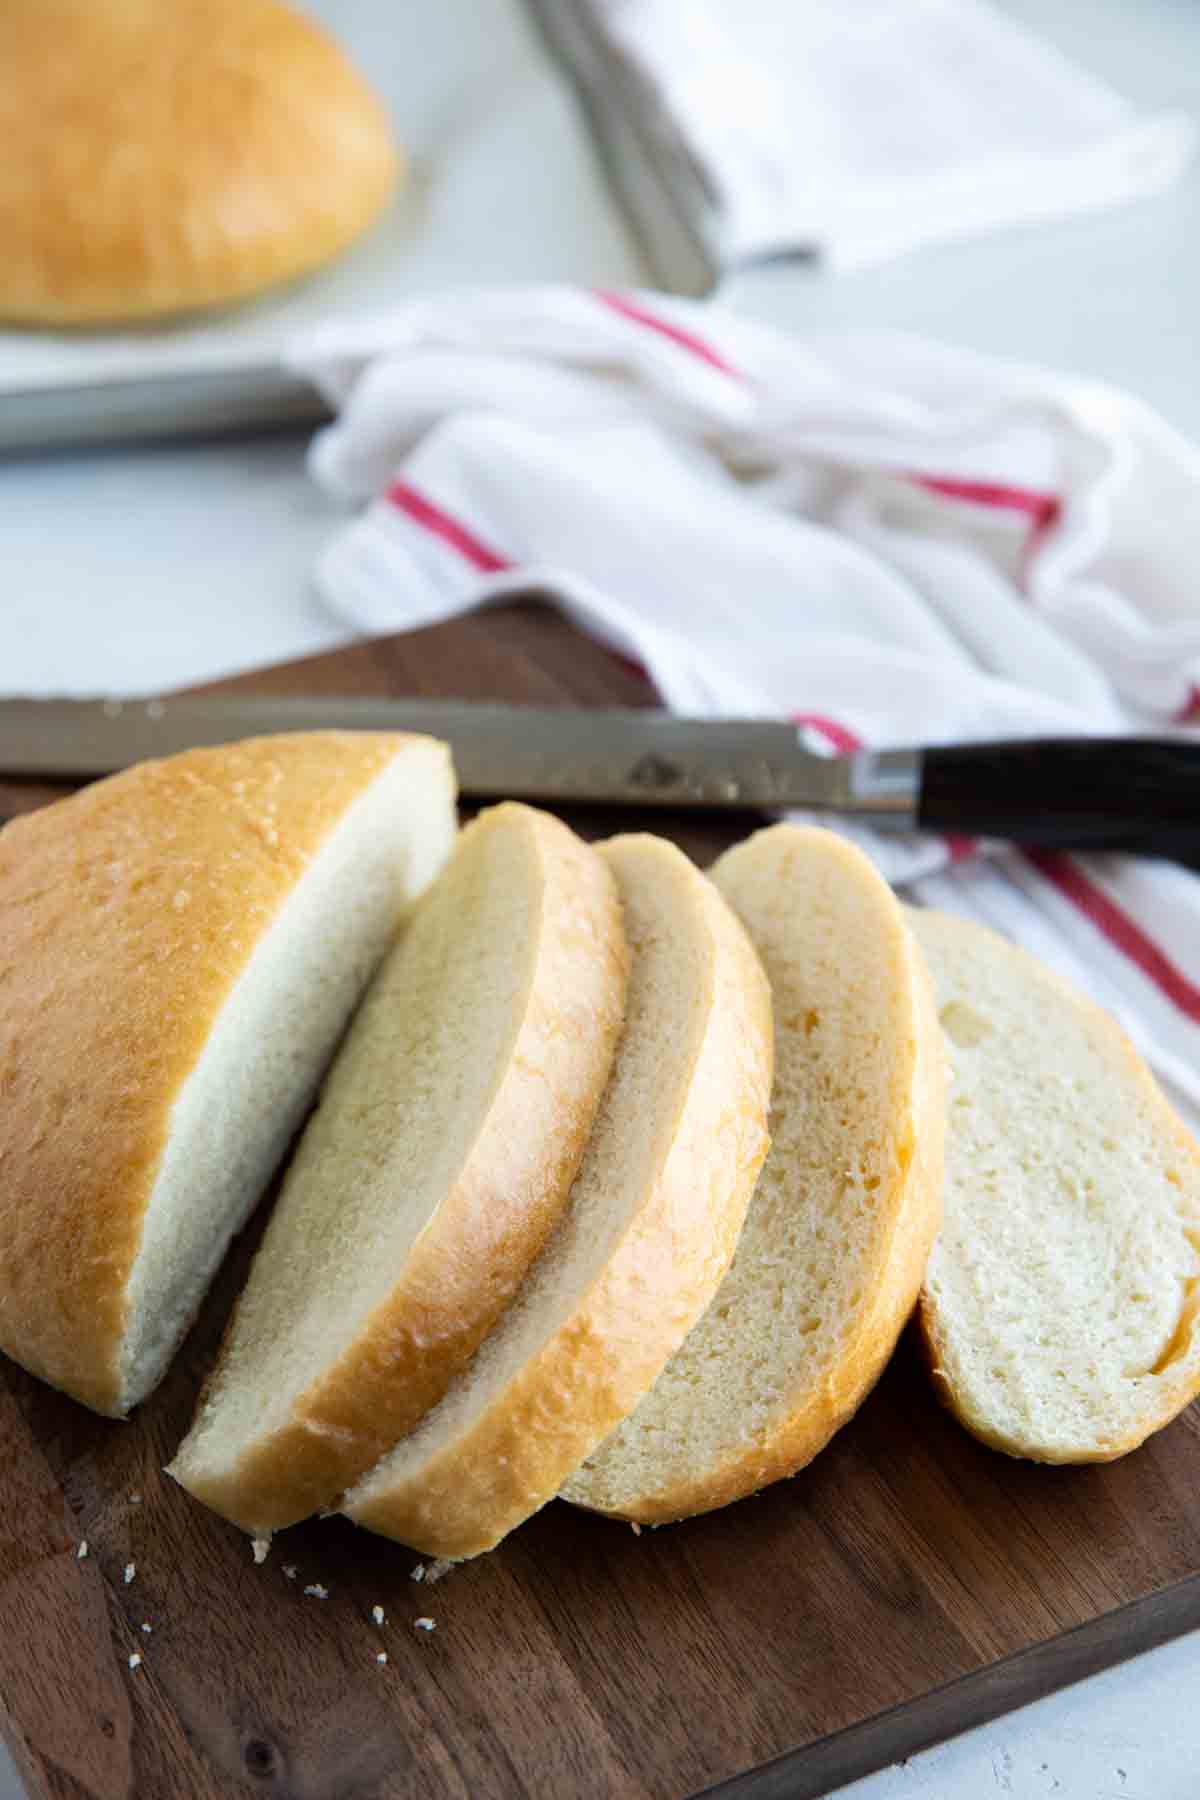
I like to store this peasant bread in a bread bag or in a ziplock bag. You can store it in another airtight container, as well.
This bread will freeze well. Simply bake the loaves as written and allow the bread to cool completely. (You want to make sure it’s not warm at all!) Wrap the loaves or loaf tightly with foil, then place in a freezer safe ziplock bag.
You can thaw the bread at room temperature. I keep it wrapped up until I’m ready to serve, then will remove it from the ziplock bag and heat it in the oven while wrapped in the foil.
More Homemade Bread Recipes
Potato Bread
Homemade Breadsticks
French Bread Recipe
Hawaiian Bread
White Bread Recipe
LOOKING FOR MORE FREE RECIPES?
Subscribe to my free recipe newsletter to get new family friendly recipes in your inbox each week! Find me sharing more family-friendly inspiration on Pinterest, Facebook, and Instagram.
Peasant Bread
Ingredients
- 2 cups warm water
- 1 tablespoon active dry yeast
- 1 tablespoon sugar
- 1 teaspoon salt
- 3 1/2 to 4 cups all-purpose flour
- 2 tablespoons butter melted
Instructions
- Pour the water into a large bowl (or the bowl of a stand mixer). Add the yeast and the sugar and let the mixture sit for a few minutes, until the yeast has bubbled and foamed.
- Add 3 1/2 cups of the flour and the salt to the bowl all at once and stir just until combined. Do not knead. If you need to add a little more flour to make the dough come together, you can. It will still be sticky, but should come together.
- Pour the dough into a large greased bowl. Cover and let it sit until it has doubled in volume, about 1 hour.
- Once risen, remove the dough from the bowl to a floured counter. Divide the dough into two equal portions and shape each into a round. Place the rounds on a baking sheet that has been lined with parchment paper. Cover, and let rise for an additional hour.
- Preheat the oven to 425ºF. Brush half of the butter onto the loaves.
- Transfer the bread to the oven. Bake in the preheated oven for 10 minutes, then reduce the heat (leaving the bread in the oven) to 375ºF. Continue to bake an additional 15 minutes, or until the bread is browned and cooked through.
- Remove from the oven and brush with the remaining butter. Let the bread cool for about 20 minutes before serving.

Heather Stocks says
First time making bread, how come my beautiful dough mounds deflated just as they were going in the oven.
Deborah says
My guess is that the bread had too much time to rise. If it rises too much, it will deflate when it goes in the oven. Try letting it rise a little bit less next time.
Georgia Cummons says
This is a delicious recipe! Very easy and quick to prepare and bake. Thank you for posting it. Especially thank you for the perfect instructions.
Deborah says
Thanks for the rating, Georgia! I’m so glad you enjoyed it!
pam says
good starter bread. kids gobbled it up with PB & Jam
pam says
really good , kids gobbled it up
Bruce palmer says
Fantastic! Simple, extremely tasty, great texture and flavor. Thank goodness it makes two loaves because the first loaf disappeared for tasting
Katie says
I just had my first yeast experience the other day, so now I'd like to try more yeast breads. This looks pretty easy!
Lara says
I'm glad you enjoyed it (and the Tomato-Basil Parmesan Soup)! The bread and soup are some of our favorite dinner stand-bys now! 🙂
hungryhealthyhilary.com says
Mmm…yummy! No-knead breads are always a great idea. And kudos to you for keeping up with your posting even with a little one at home…hope things are going well with your growing family!
createwithmom says
delicious homemade bread
Kim says
Groceries and gas are probably the two things that I spend the most money on. Where does it all go?
I remember when Lara posted this over at Recipe Shoebox. I bookmarked it. This looks great!
Ann says
This looks like a really fine loaf of bread. I think I'll give it a try.
Joanne says
I started baking all my own bread last year and was shocked at exactly how much money I saved. Bread is expensive! This loaf looks wonderful!
Jennifurla says
Looks great…I always gasp watching my cart ring up! I spend so much money on food.
Hope you are doing well
Jamie Myers says
Sounds yummy…definitely going to try when I have some downtime. Would this be an ok do all steps but cook, freeze? Or any suggestions on a recipe I could throw in my bread maker? I usually just buy the mix at the store and throw into my machine, but I would like to go more "homemade" rather than box. Thanks!! Love your emails/recipes. 🙂
Rachel says
That bread looks delicious! I would love to make everything from scratch, but I don't usually have the time. I do, however, always make quick breads and muffins from scratch on the weekends for breakfasts during the week. They are always really easy to make and great when I'm running late!
Magen says
This looks great! I don't make a lot of things from scratch, but I do love making banana bread. It's so easy and makes my house smell yum.