Learn how to make your own pumpkin puree from scratch with these easy steps. All you need is a sugar pumpkin and a little bit of time. Use it right away or freeze it for later!
From my favorite pumpkin bread recipe to pumpkin chili – pumpkin puree is a must at my house! So grab those sugar pumpkins and make up a batch of homemade pumpkin puree to get you in the kitchen all fall long!
Are you someone who likes to make things from scratch, or do you like to take shortcuts?
I actually lie right in the middle of that. I love the accomplishment of making something from scratch, but I am also have kids and work and a husband and a home to take care of. So convenience usually wins.
But when I make the time, I do love to start a recipe from scratch.
Homemade Pumpkin Puree
So let’s talk homemade pumpkin puree. In all honesty, I use canned pumpkin 98% of the time. Pumpkins are not inexpensive at the grocery store, and it’s easy to find cheap, pure pumpkin in the canned vegetable aisle.
So why would you need to know how to make your own puree?
First of all, the flavor is usually much better and much more concentrated. So if you are making something where pumpkin is the star of the show, that would be a great time to use the homemade puree. Or maybe you grew a crop of sugar pumpkins in your garden, or picked up a bunch of pumpkins for cheap at the farmer’s market. Maybe you simply like when you can make something completely from scratch.
Pumpkin puree takes very little effort, so the payoff is great!
What Kind of Pumpkins to Use
Technically, you could use any sort of pumpkin to make pumpkin puree, but do you really want to? Not necessarily.
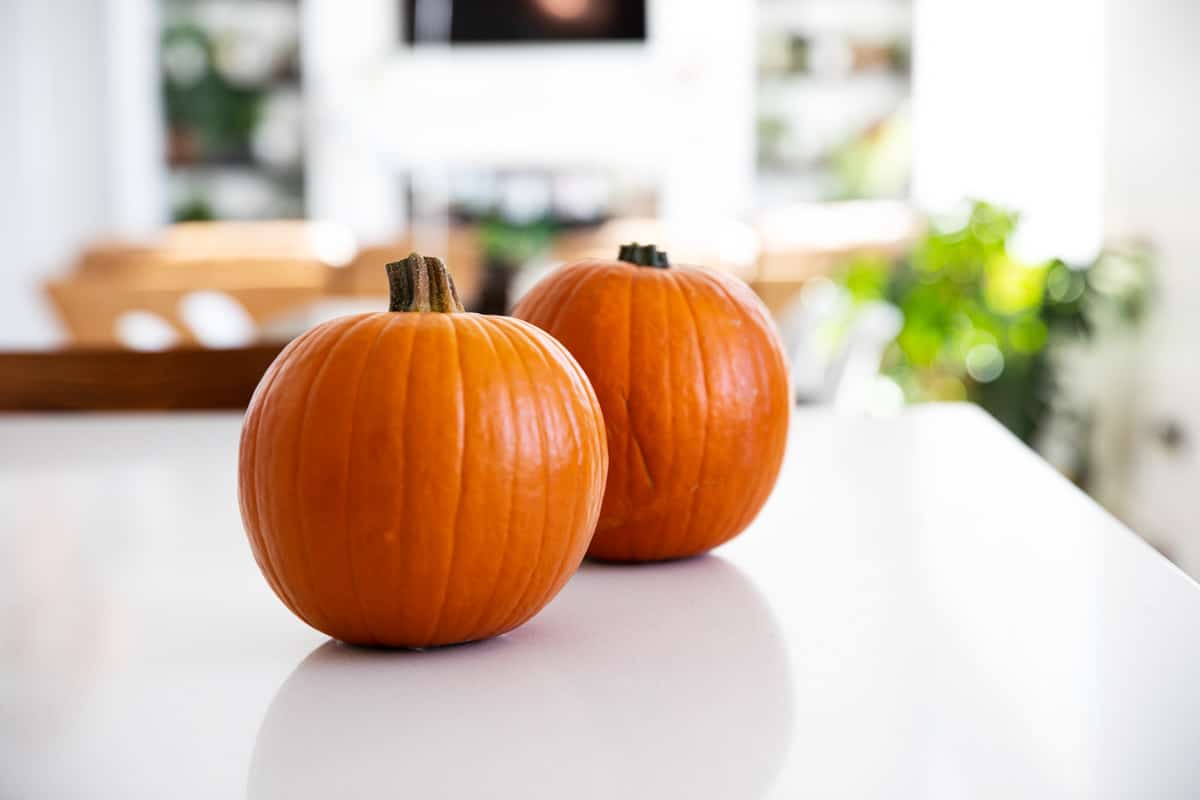
Typically, most canned pumpkin comes from what stores will call a sugar pumpkin or a pie pumpkin. This pumpkin has a more flesh, and the flesh is less stringy and sweeter. It is a smaller pumpkin, and you can usually find these in the produce section at your grocery store.
There are also many other smaller varieties of pumpkins that work well for puree. These aren’t found at your grocery store as often, but you’ll see them at the farmer’s market. If you are looking for a good pumpkin to roast for puree, ask the farmer and they will be able to tell you which variety is best.
While your larger, more common carving pumpkins are edible, I don’t use them for puree. They have less flesh, are more stringy, and not nearly as sweet. I keep those just for carving (and for the seeds – oh, how we love roasted pumpkin seeds!)
How to Make Pumpkin Puree
This is super easy to do! Here’s how you do it:
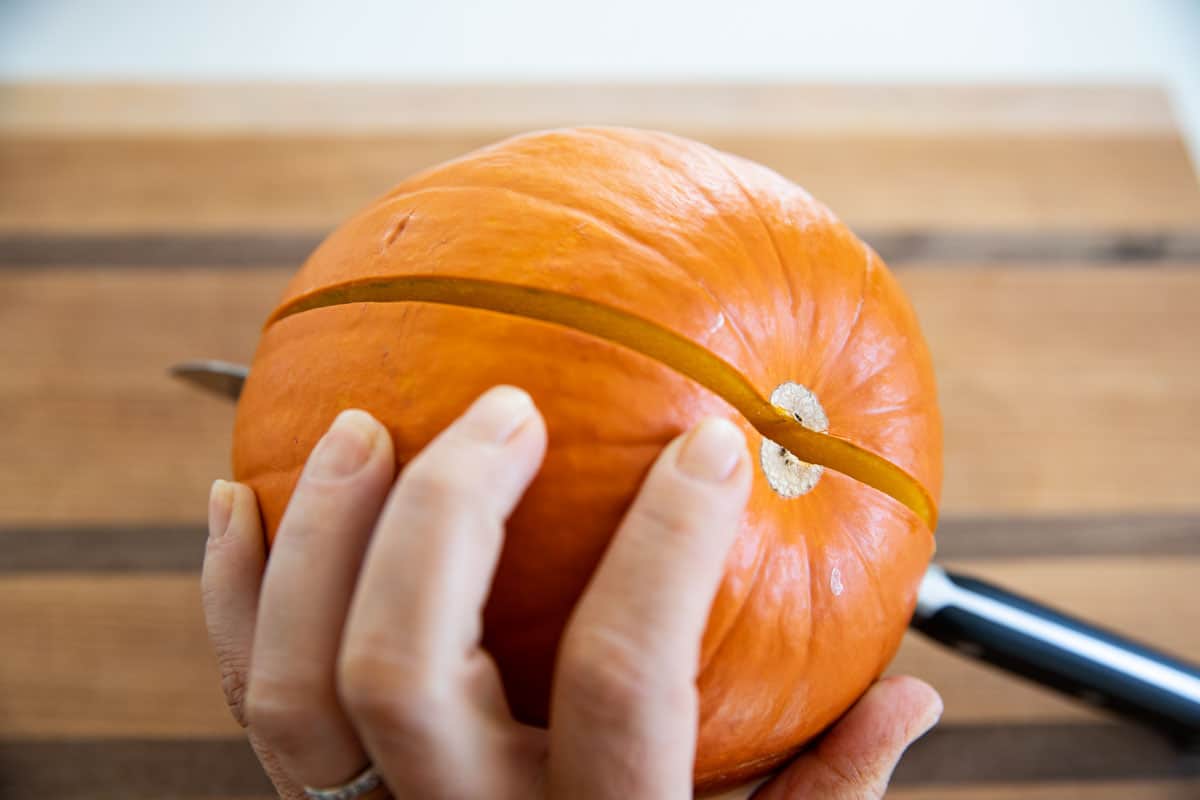
Start by cutting your pumpkin in half. This is probably the hardest step. Use a sharp knife, and start from the root end. Once you cut through to the stem, you should be able to just pull it apart. You don’t want to have to cut through the stem because it is very hard.
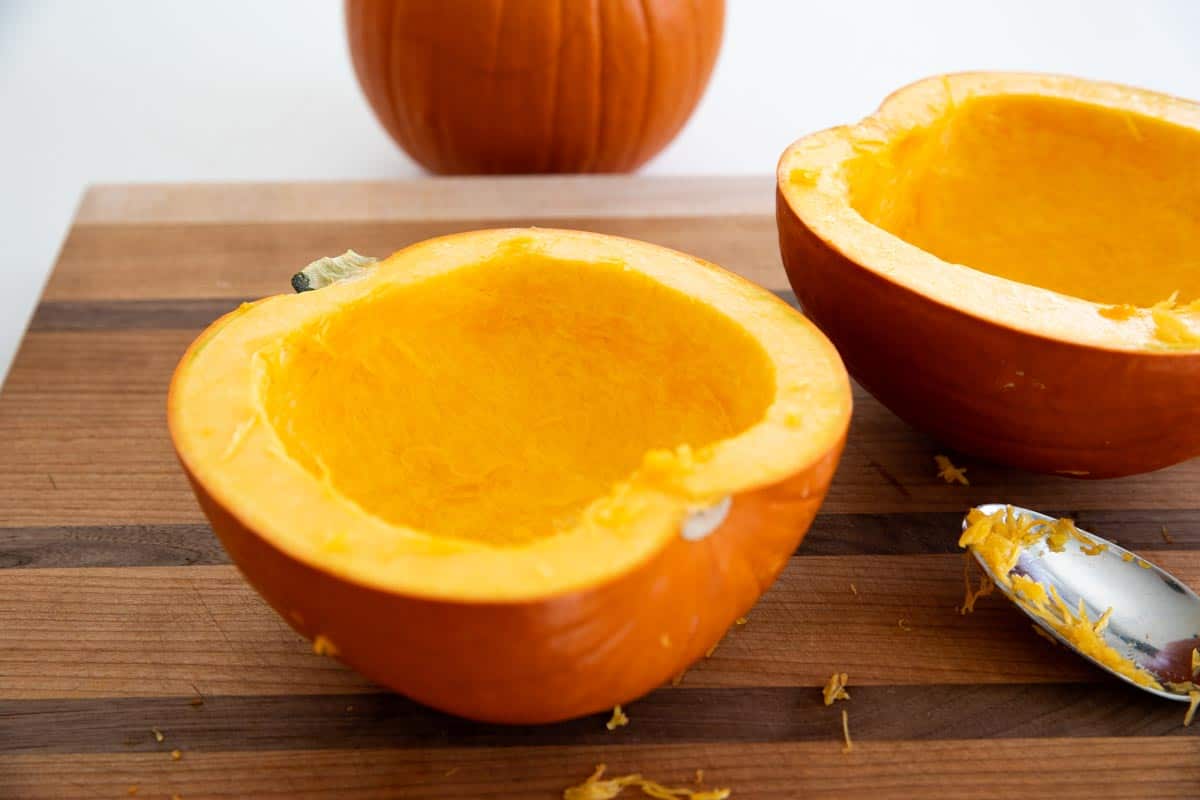
Use a spoon to scoop out the seeds and the strings. You don’t have to go crazy, but you want as much removed as possible. Some people will add oil or salt here, but I keep things as pure as possible and leave the pumpkin just as is.
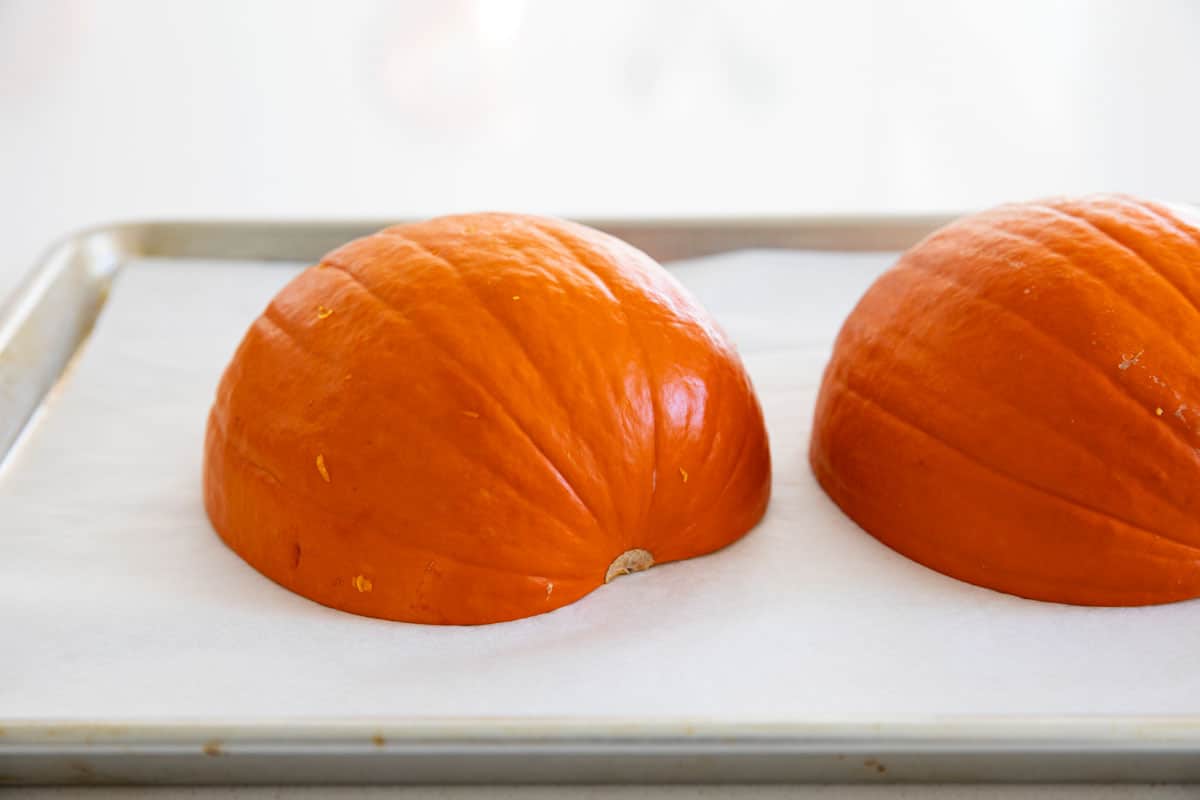
Place the pumpkin halves on a baking sheet. I like to line it with parchment paper to make it easy to clean after. Place the pumpkin in an oven preheated to 400ºF.
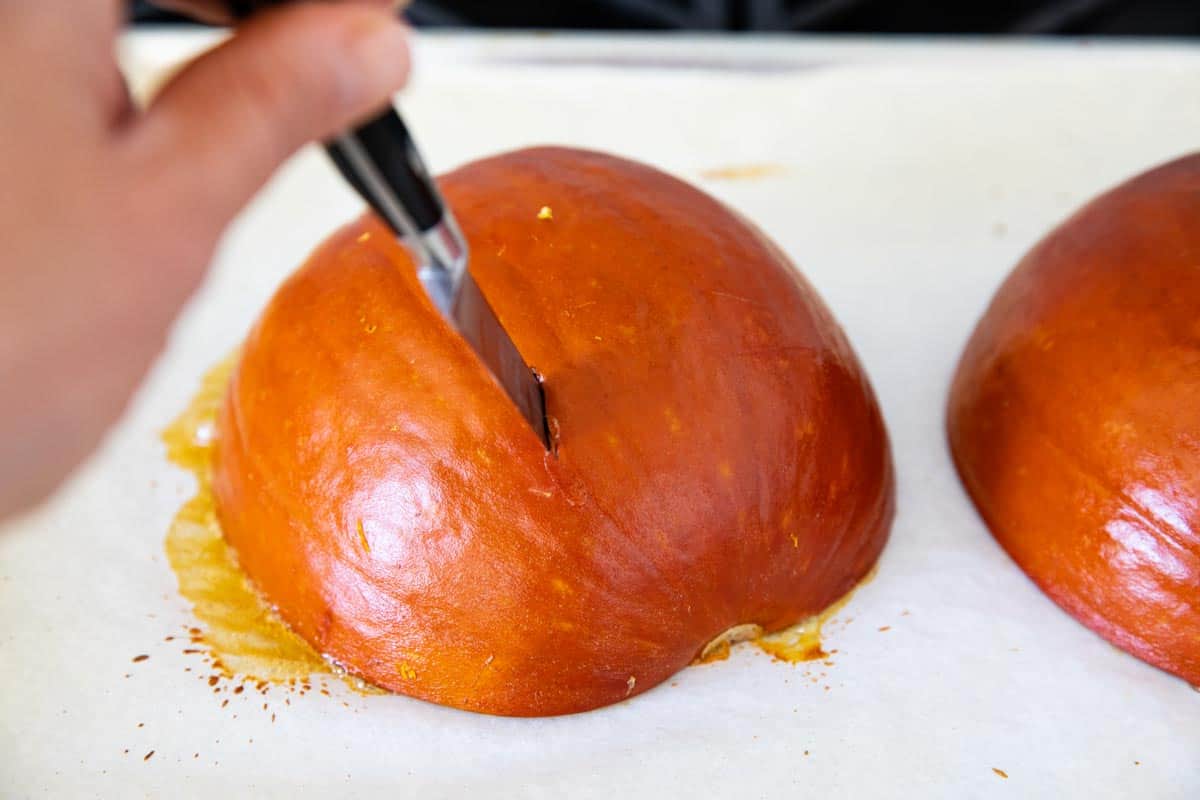
Bake the pumpkin until it is completely tender. I like to test it by inserting a knife – the knife should go into the pumpkin very easily.
Remove from the oven and let it cool completely, about an hour.
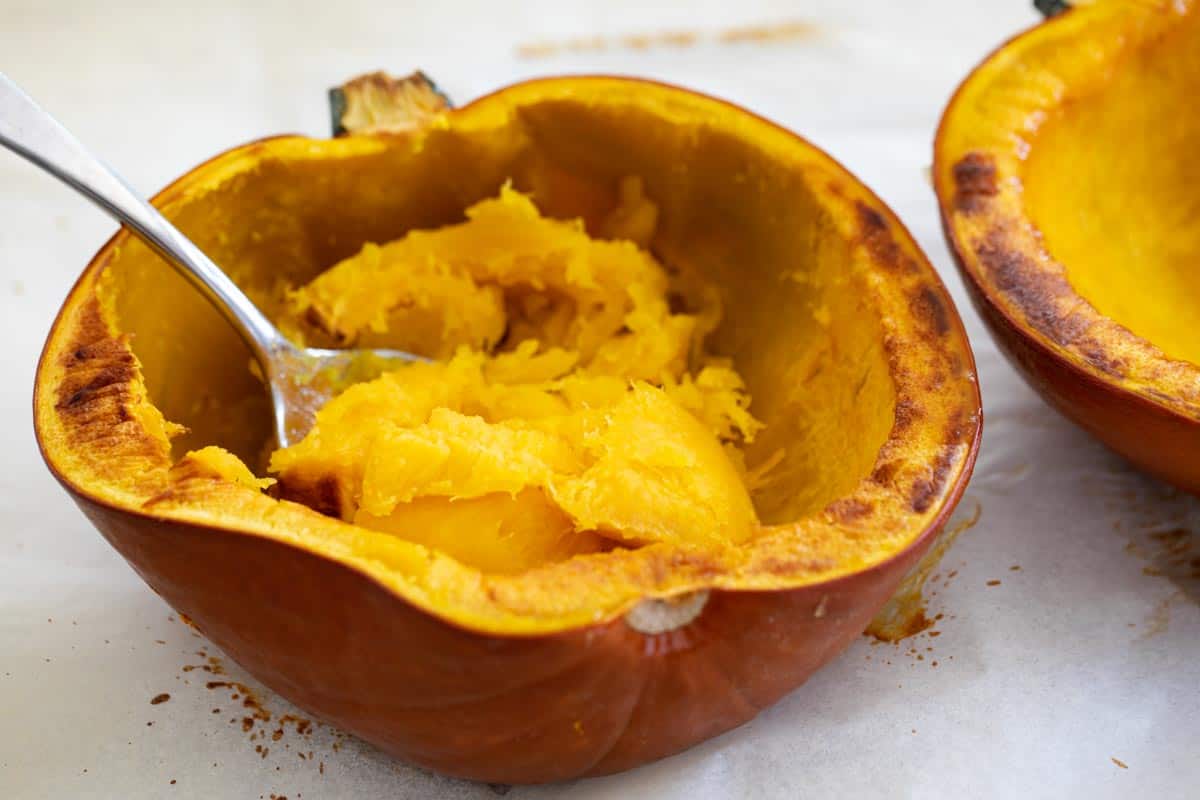
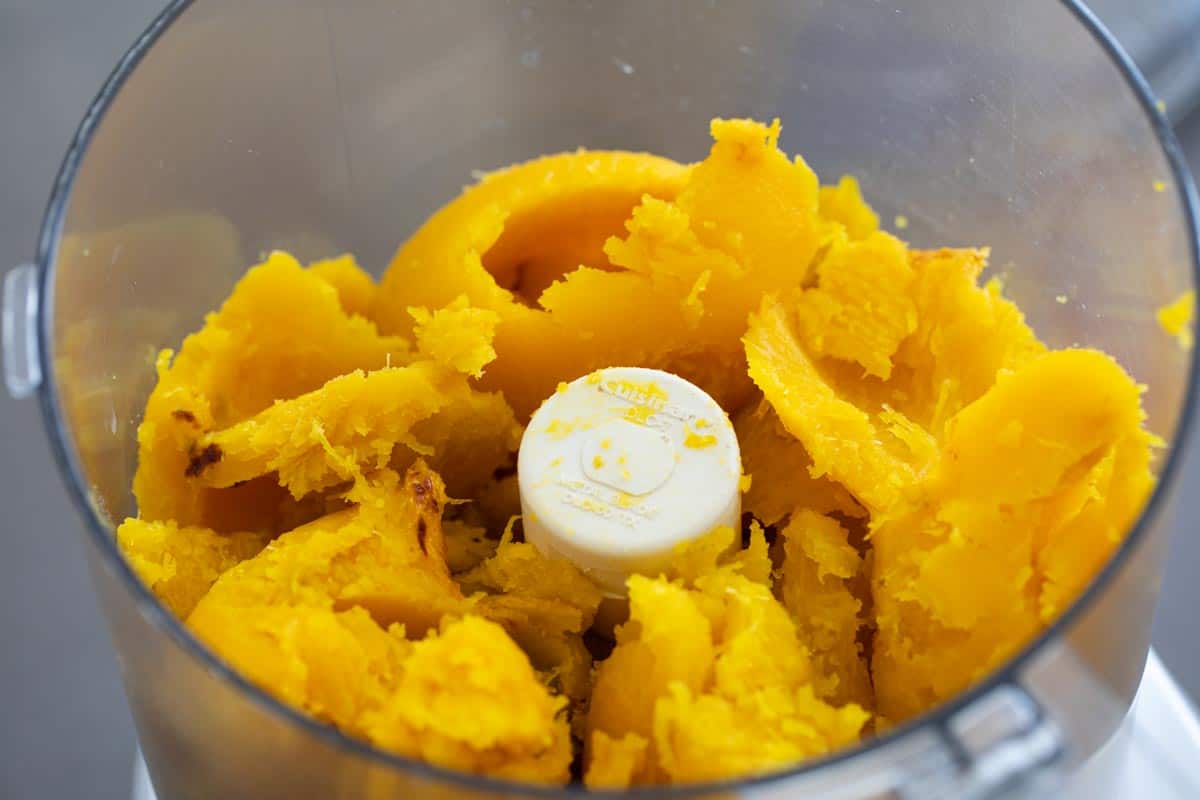
Once the pumpkin is cool, scoop out the flesh with a spoon. Discard the skin and place the flesh in a food processor.
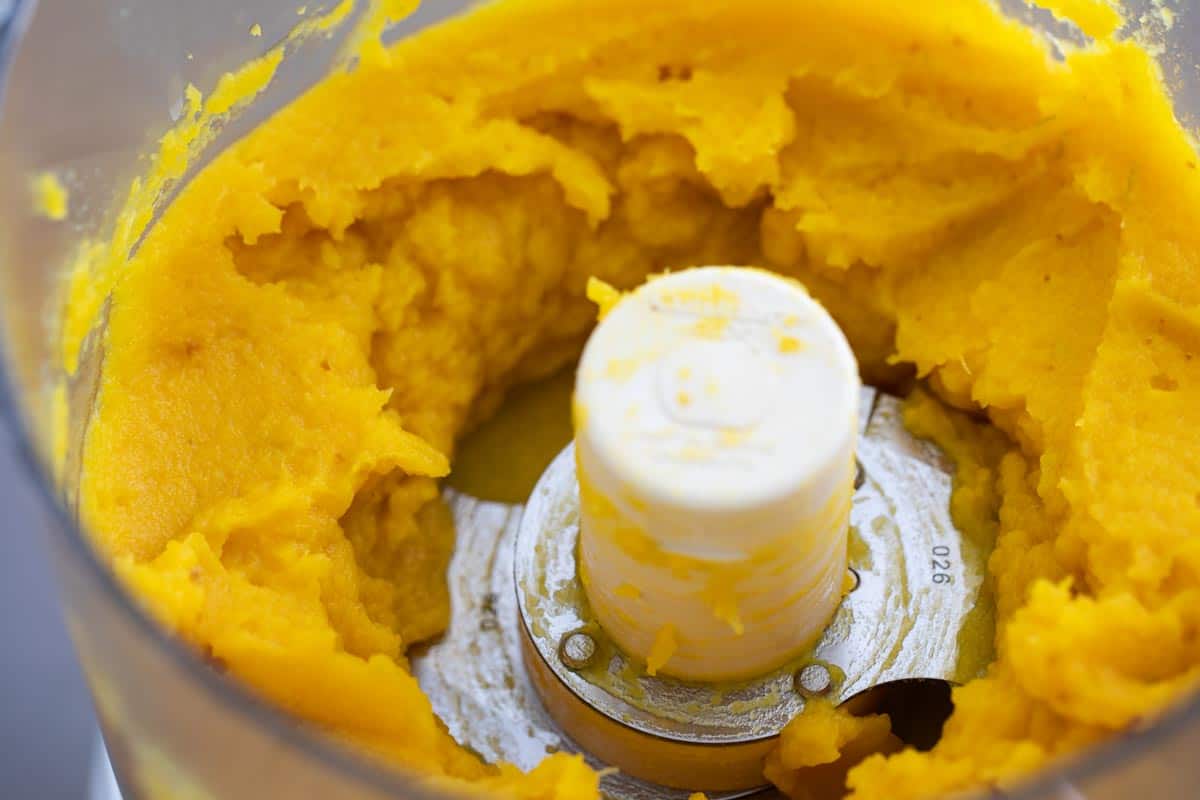
Process the pumpkin until it is smooth. You may need to scrape down the sides a few times to make sure everything is smooth.
At this point you are welcome to press it through a strainer to make sure it is completely smooth, but I don’t usually go to that much trouble.
Also, homemade pumpkin puree will have a higher water content than canned puree, so you can also drain it at this point if you want to as well. Just place a piece of cheesecloth over a strainer and place the puree on top of the cheesecloth. Let it drain until you have your desired consistency. I typically won’t drain the puree until I’m ready to use it, depending on what I am putting it in. I’ll drain for baked goods, but not usually for other uses.
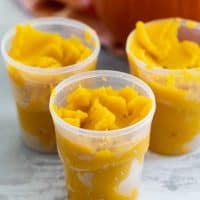
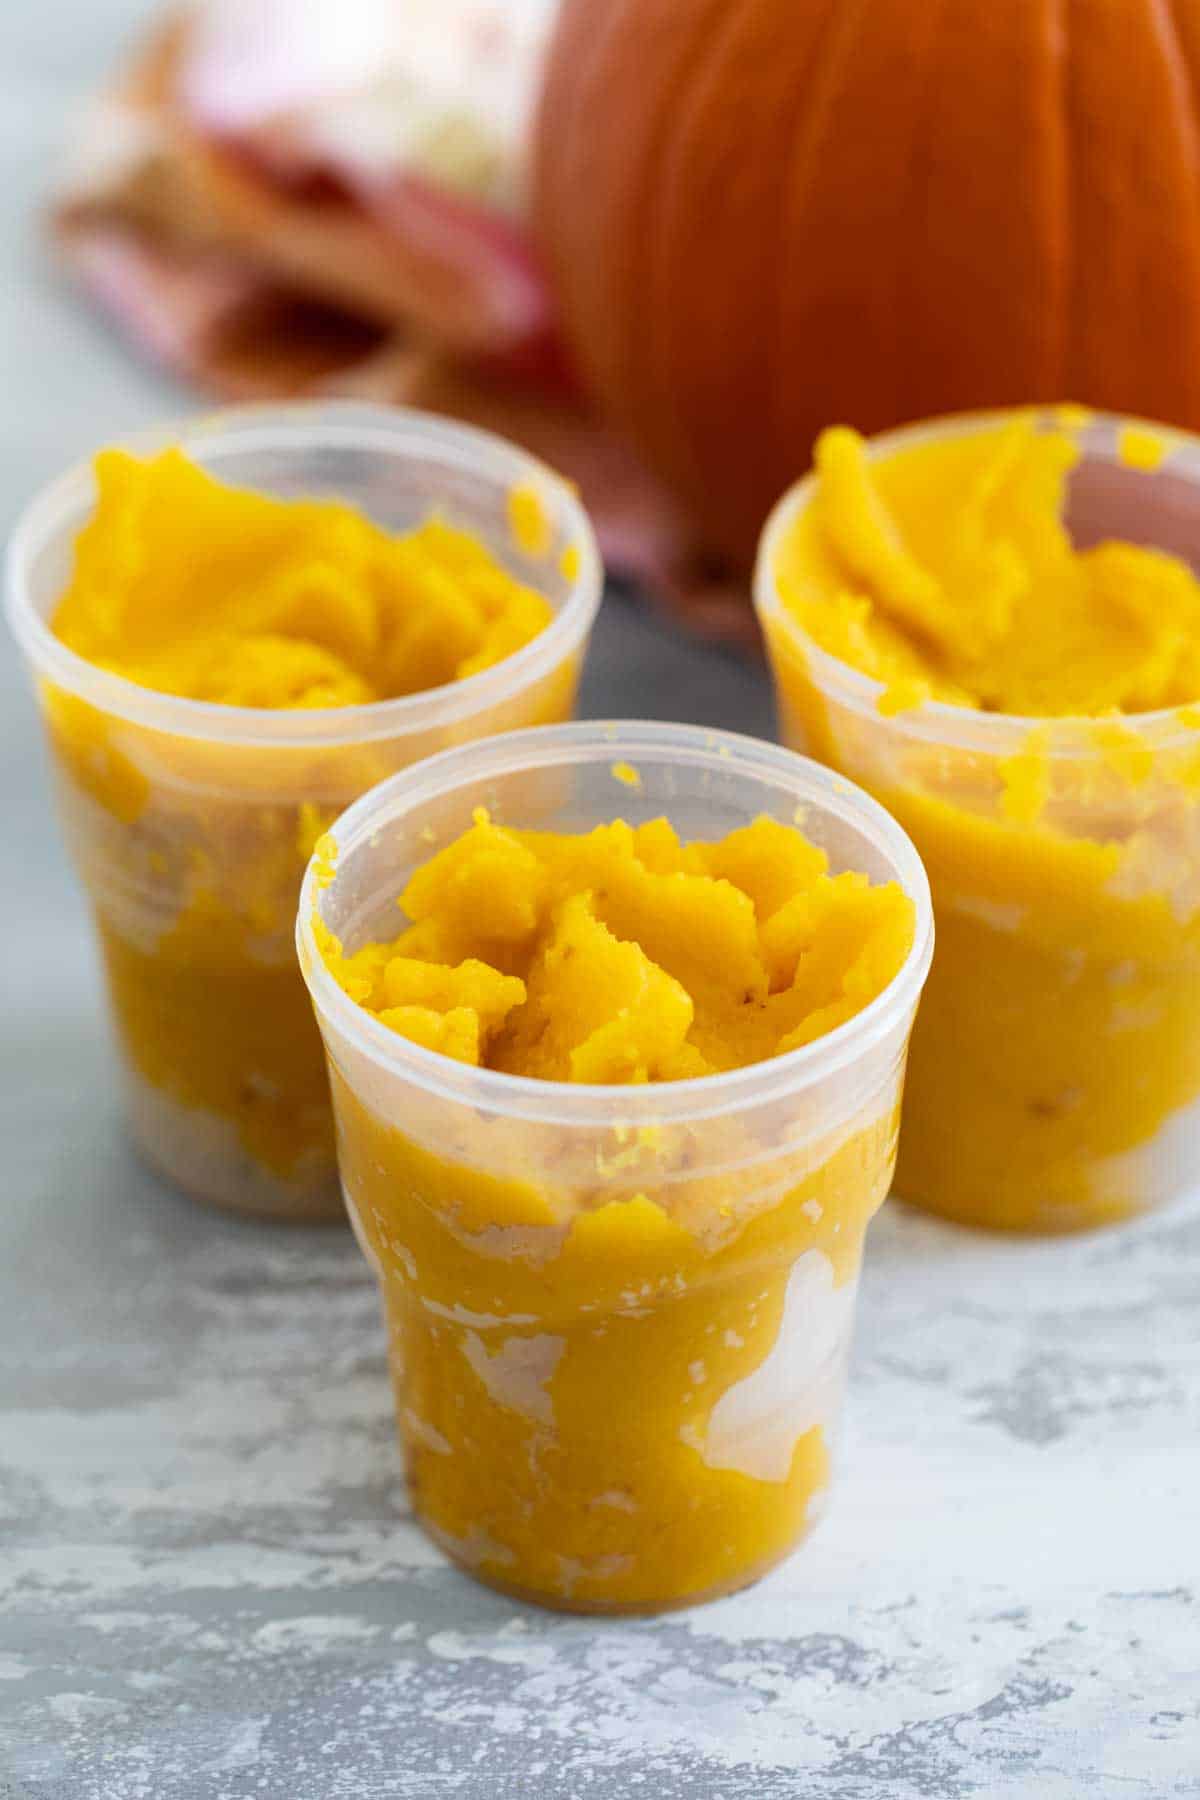
I transfer the puree to freezer safe containers in 1/2 cup portions for freezing. You can refrigerate the puree for up to a week, or freeze it for up to 3 months.
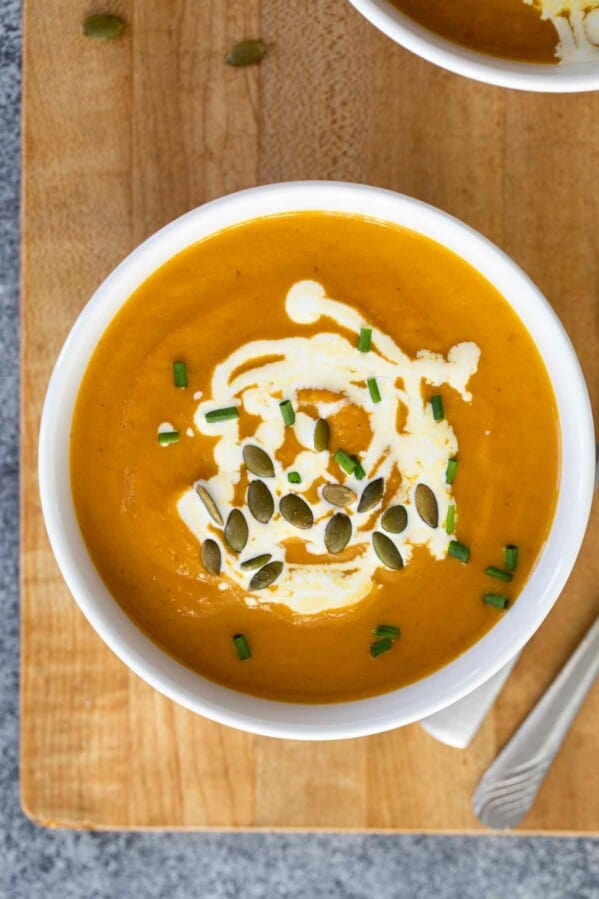
What to do with the puree? Here are some of my favorite pumpkin recipes:
Oatmeal Pumpkin Chocolate Chip Cookies
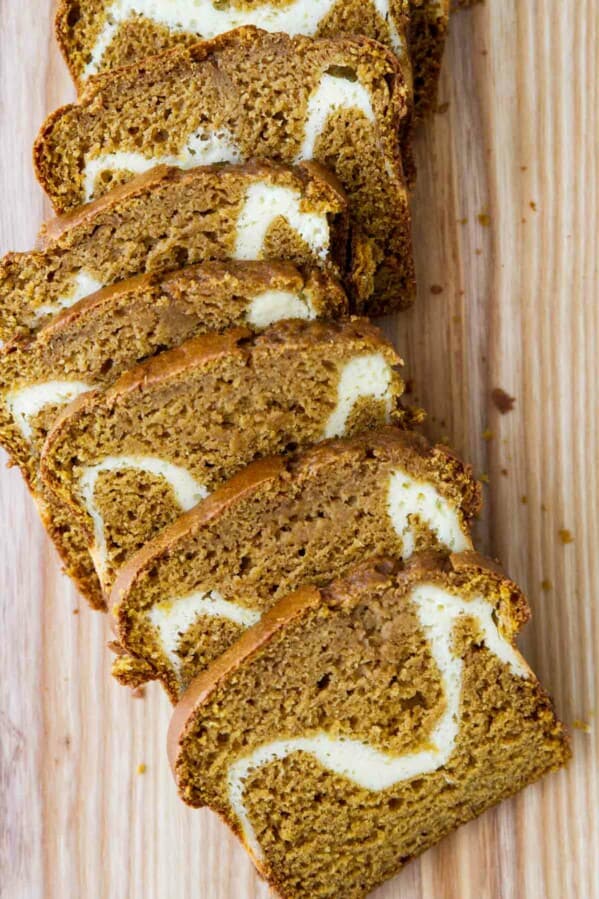
Cream Cheese Pumpkin Bread Recipe
Easy Pumpkin Muffins with Chocolate Chips
Pumpkin Cheddar Mac and Cheese
Ravioli with Pumpkin Alfredo
Pumpkin Pie Bars
How to Make Pumpkin Puree
Ingredients
- 1 sugar pumpkin
Instructions
- Preheat the oven to 400ºF. If desired, line a baking sheet with parchment paper.
- Using a sharp knife, carefully cut your sugar pumpkin in half. I like to start at the root end. When you get to the stem, you should be able to just pull the pumpkin apart.
- Scoop all of the seeds and strings out of the pumpkin. You’ll want to get as many out as possible.
- Place the two halves of the pumpkin cut side down on the baking sheet.
- Place in the oven and bake until the pumpkin is tender, 30-45 minutes. You should be able to pierce it easily with a knife.
- Remove the pumpkin from the oven and allow it to cool completely.
- Once cool, scoop all of the pumpkin flesh out, discarding the skin. Place the flesh in a food processor and pulse until it is smooth, scraping down the sides of the food processor as needed.
- Use right away, or you can refrigerate it for up to 1 week. The pumpkin puree can also be frozen for up to 3 months.




sunita says
Hi Deb, how are you? I haven't been here for ages- the little one must have grown 🙂