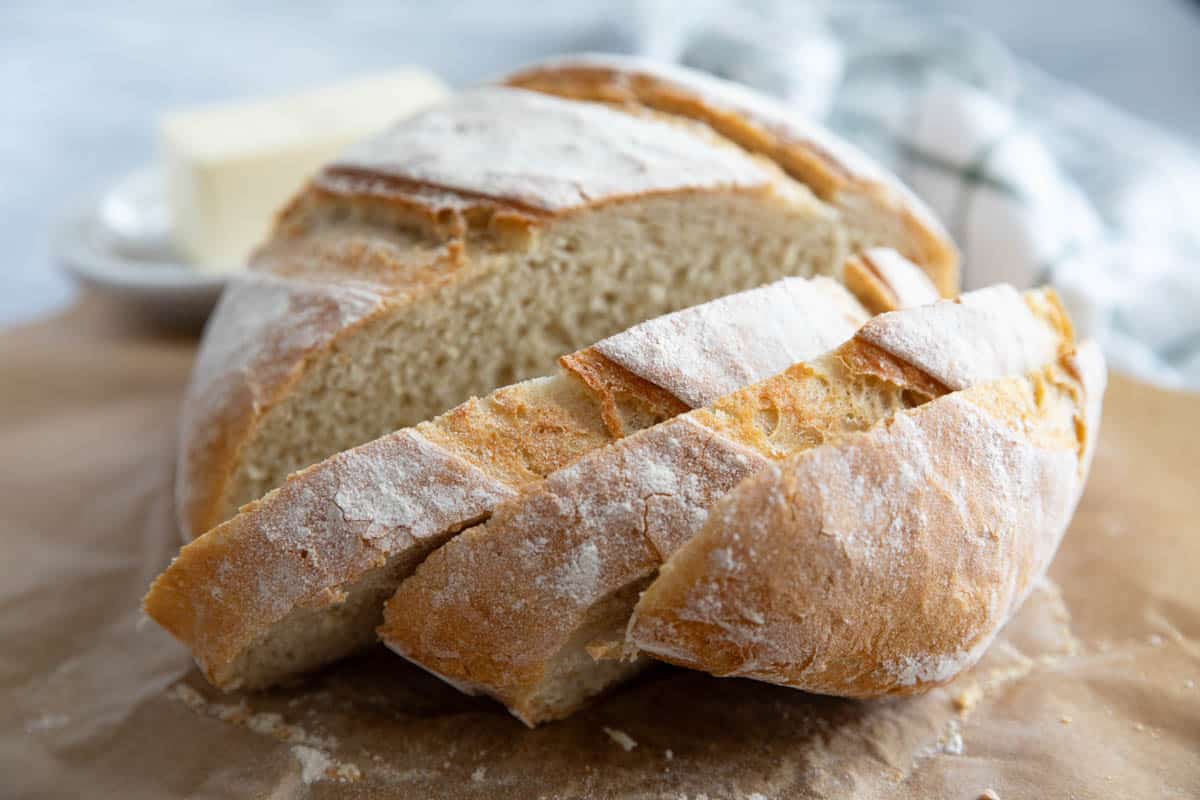
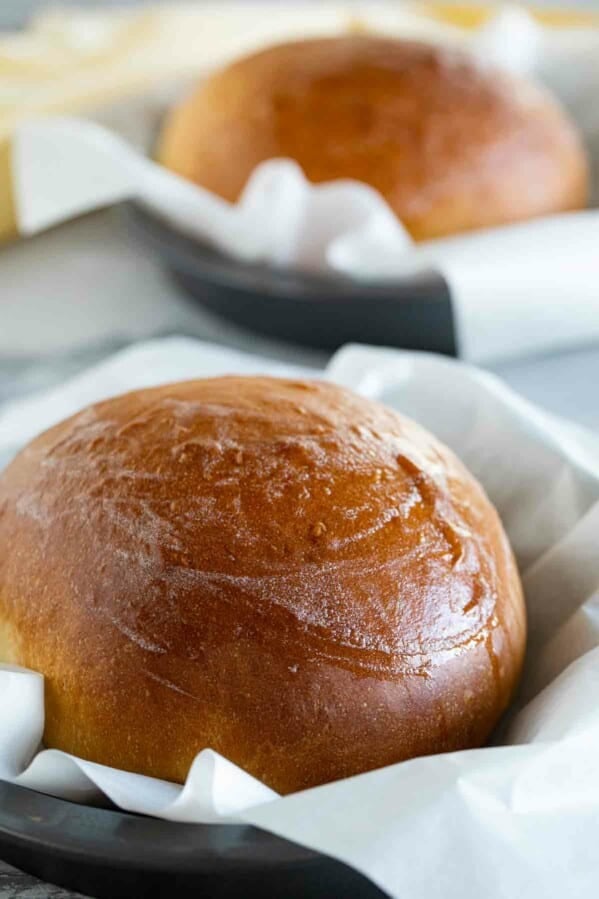
No need to visit the fancy bakery when you can make this Artisan Bread at home! The no knead dough comes together in 5 minutes and can be refrigerated for up to 14 days, making it easy to have freshly baked bread every night.
There is nothing like a fresh slice of bread with a hot bowl of soup or a big plate of pasta! This Artisan Bread is so easy, you’ll easily be able to have fresh bread on the dinner table!
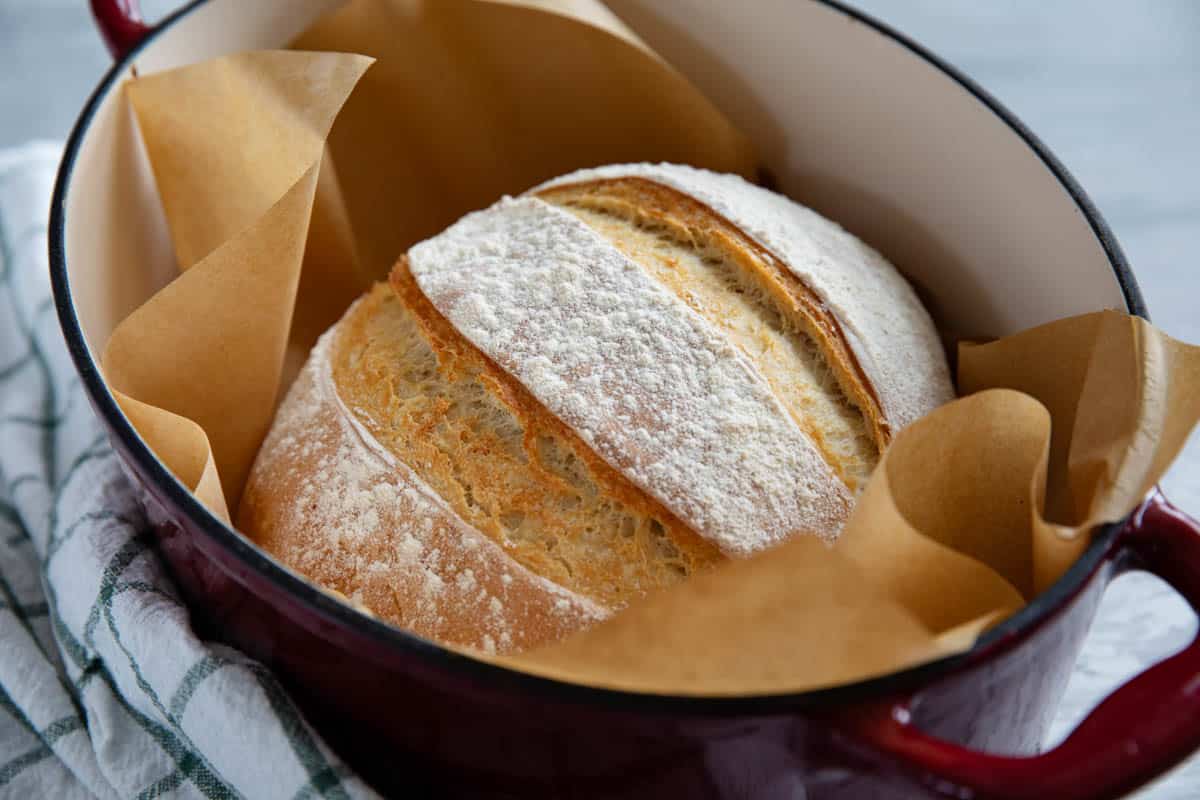
Bread is my love language. I am not that girl that can pass up the bread basket on the table. In fact, I’ll usually take the bread before I take the dinner.
And freshly baked, homemade bread? I cannot resist.
If you are like me, what would you do if I told you that it only takes 5 minutes of hands on time to have fresh bread?
The Easiest No Knead Artisan Bread
I know that bread can be intimidating to some people. I totally get it. I’ve had plenty of times when my bread didn’t rise, or when it burns on the outside but is raw on the inside, or when I just end up with hockey puck dinner rolls.
But this bread will make a bread baker out of anyone.
It is so easy. Really, anyone can make it.
This artisan bread is the best for many reasons.
1st – it’s easy. Only 5 minutes of hands on time.
2nd – it only takes 4 ingredients. And one of those is water. I bet you have everything on hand to make it right now.
3rd – make up a batch of the dough and you have enough for 4 smaller loaves of bread or two bigger loaves. Make one tonight, refrigerate the dough, and make another loaf tomorrow. Or the next day. The dough can actually be refrigerated for up to 14 days, and it gets better with time!
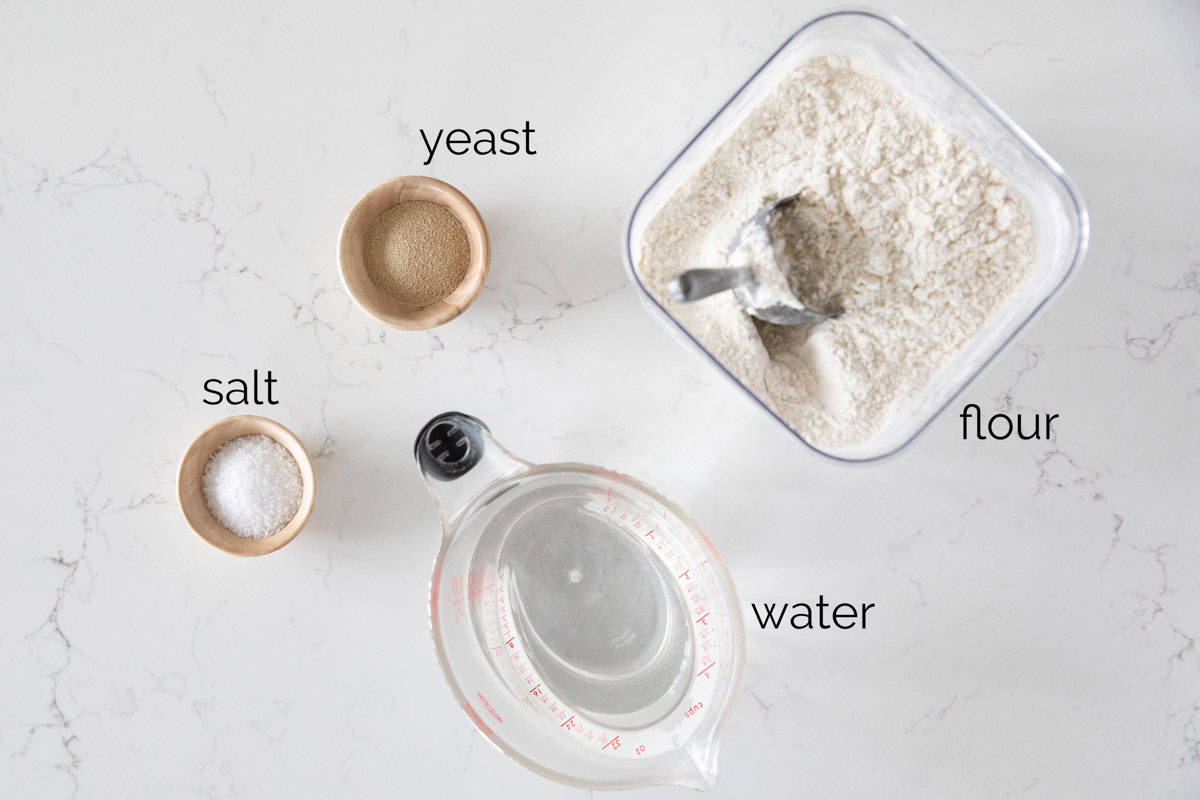
Ingredients
- Water: You want water that is just warmer than room temperature. If you have an instant read thermometer, you can try to get it around 100ºF, but it doesn’t need to be exact. You just don’t want it too warm because you want it to rise slowly.
- Yeast: You could use rapid rise yeast or active dry yeast, but I suggest using active dry yeast. If you do use rapid rise yeast, I would cut the amount down by about 25%.
- Salt: You will get the best results by using a coarse salt. I use coarse kosher salt, but any coarse salt should work.
- Flour: I use regular all-purpose flour. You could definitely use bread flour, if you prefer. It will give you a chewier texture. But I usually just use all-purpose flour!
How to Make Artisan Bread
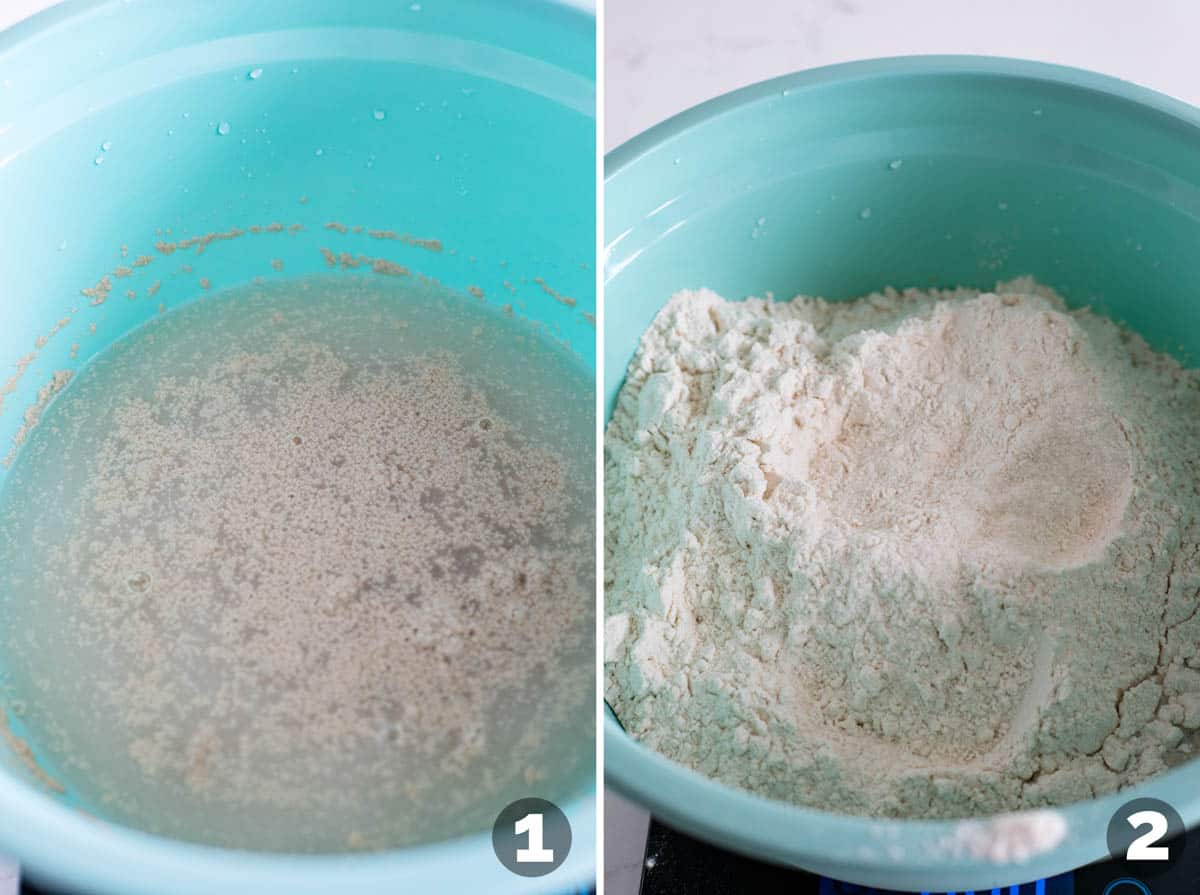
STEP 1: Pour the water into a large bowl, then add the yeast and salt. Use a wooden spoon to stir it together.
STEP 2: Add the flour all at once. Use the spoon to stir everything together.
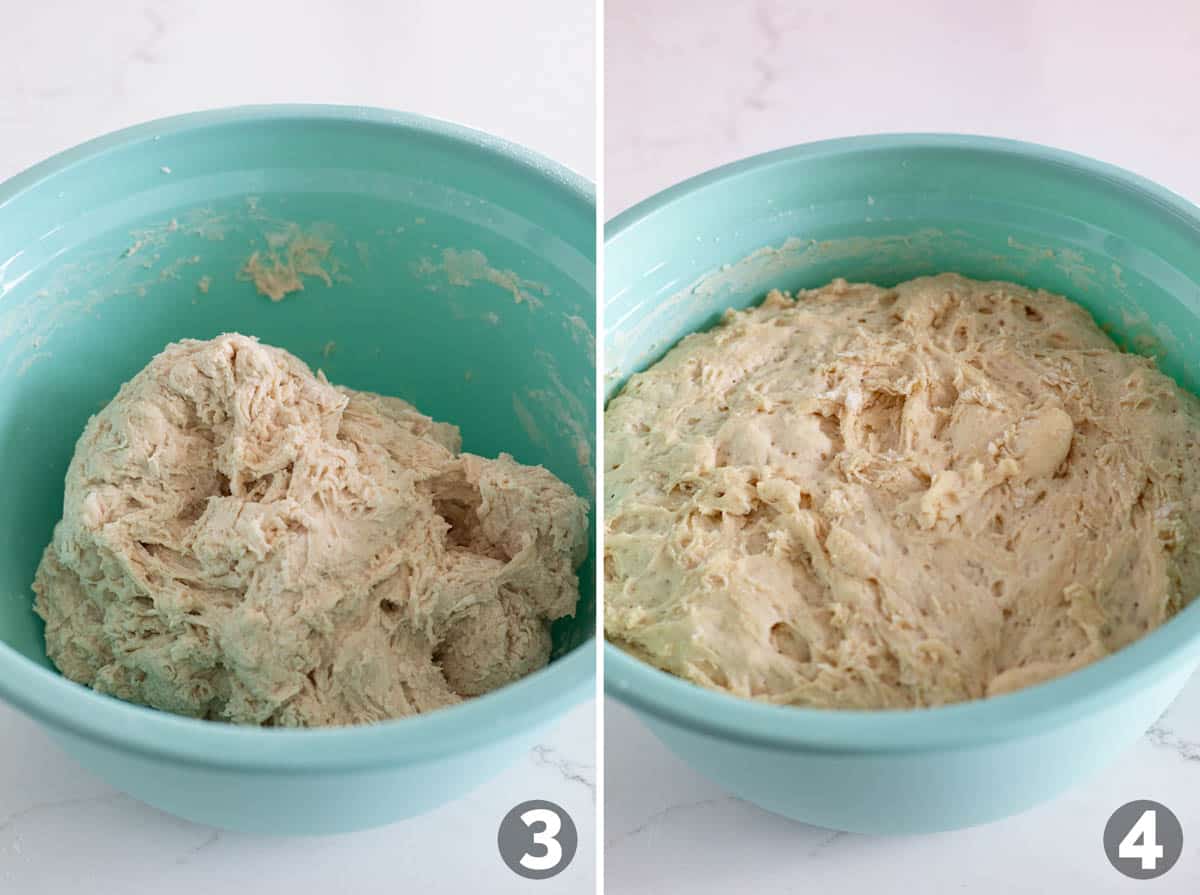
STEP 3: Continue to stir until you don’t have any dry patches. The dough will be sticky, but you don’t need to go crazy. Just make sure it’s mixed. Cover the bowl with a towel or with plastic wrap. Set it in a warm place to rise.
STEP 4: Allow it to rise until it starts to flatten on top. At this point you can bake the dough or refrigerate it to use it later.
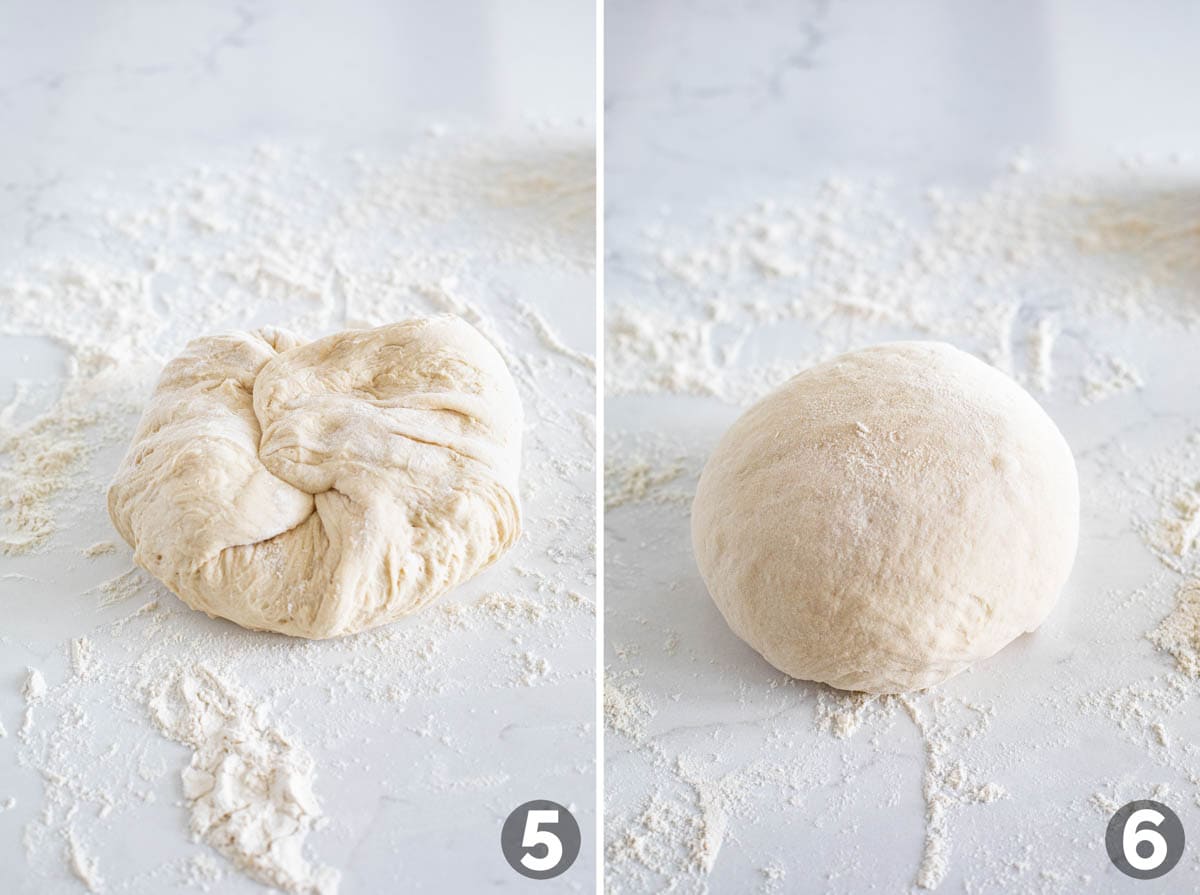
STEP 5: When you’re ready to bake the bread, sprinkle the countertop with flour. If you are only making a portion of the dough, then use your hands and a serrated knife to cut off a portion of the dough. If I’m making a freeform loaf, I’ll usually get 4 loaves from one batch, but if I’m using my Dutch oven, I’ll do 2 loaves. Take the portion of dough and fold it over on itself a few times, rotating as you fold.
STEP 6: Start pulling all of the edges to the bottom, making the top semi smooth. Place both of your hands on the sides of the dough and drag the dough down to create tension on the top of the bread, forming a smooth ball. (You can watch the video to see how to do this.) Place the dough on parchment paper and cover it. Let it rest for 40 minutes.
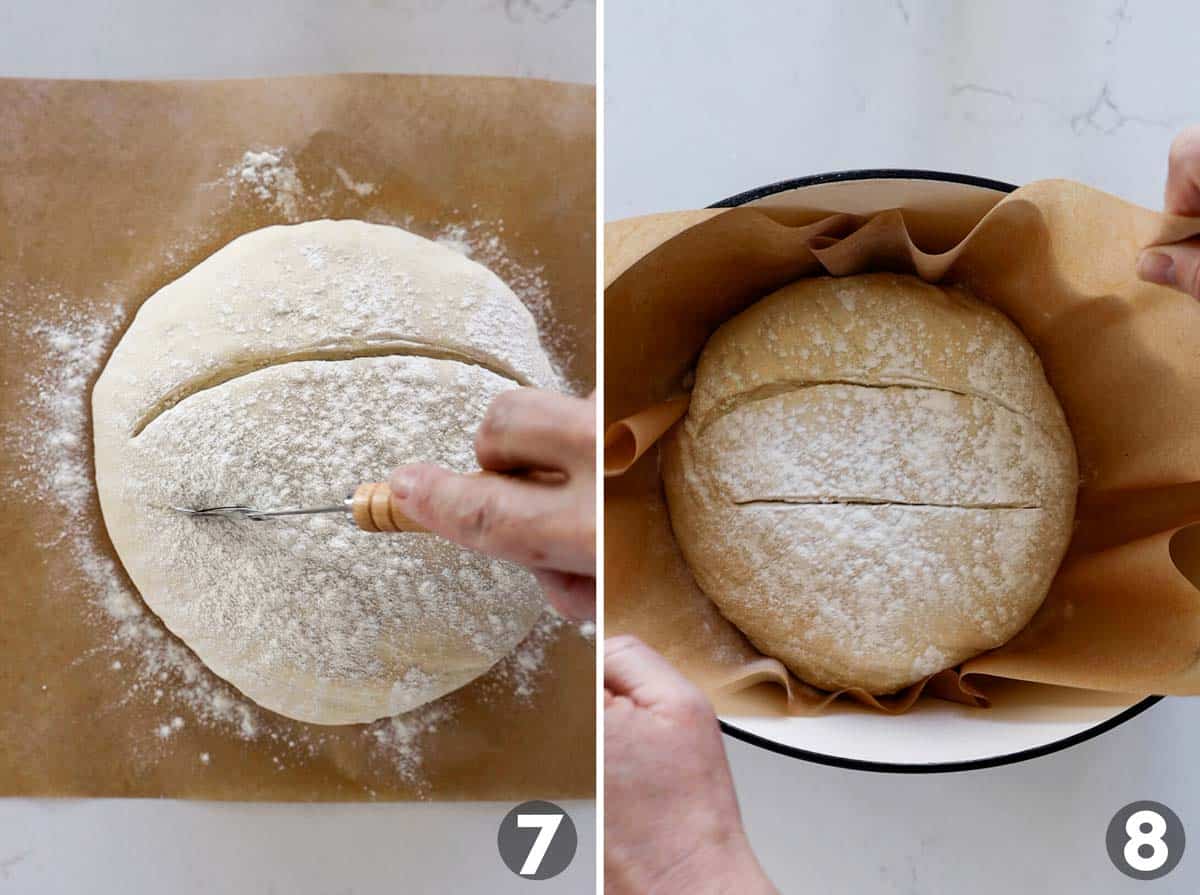
STEP 7: Once the dough has risen dust the top with flour and then use a sharp knife or a lame to score the top of the bread.
STEP 8: Follow the steps below for baking the bread, depending on which method you are using.
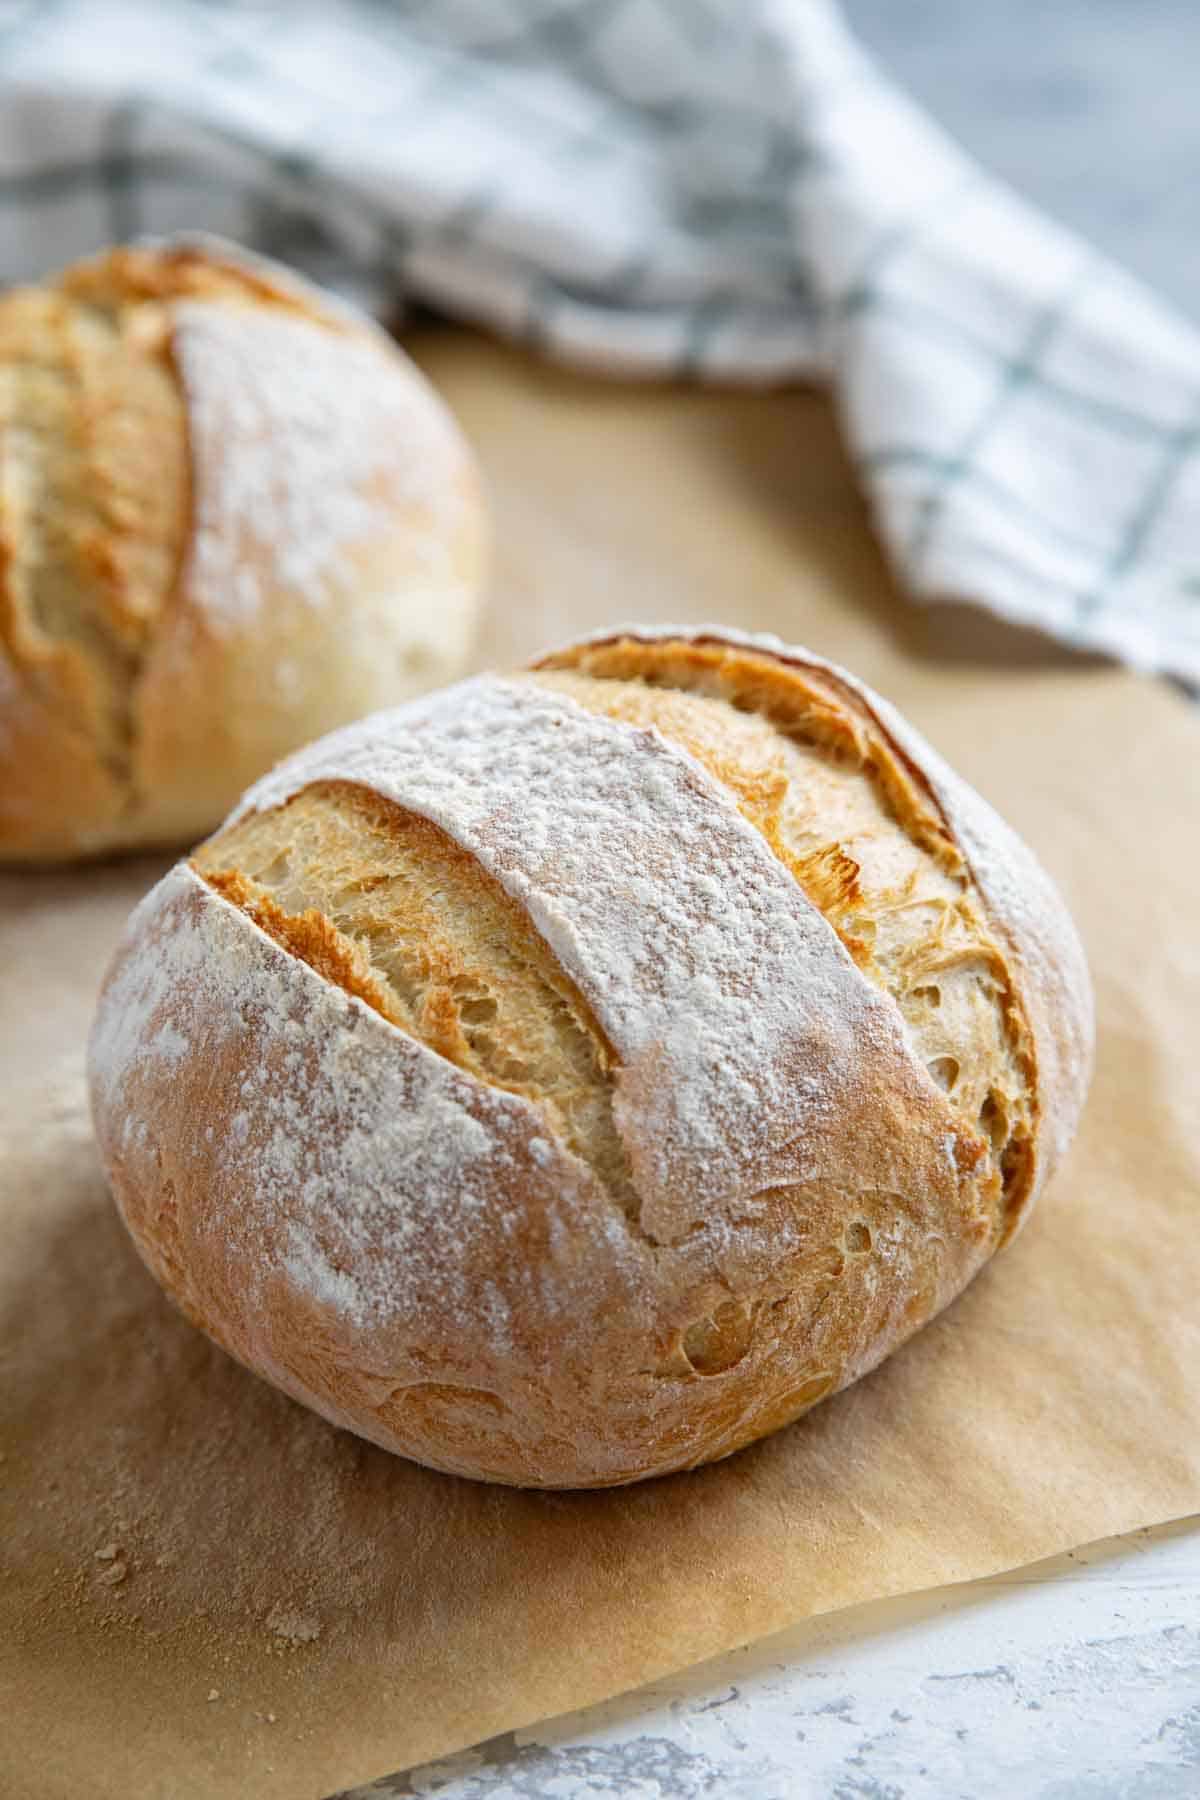
How to Bake Artisan Bread
There are a few ways you can bake this bread:
On a Pizza Stone: This is the method I used when I first started to bake artisan bread. Simply preheat the pizza stone in oven 30 minutes before you want to bake the bread. Place a dish or a broiling pan on the bottom shelf of the oven. Transfer the dough to the pizza stone with a pizza peel, then immediately pour about 1 cup of water in the broiling pan and shut the oven door. Bake until the bread is browned and cooked through.
On a Baking Sheet: The process is much the same as a pizza stone, except you don’t need to preheat the baking sheet in the oven. Simply place the dough on the baking sheet and transfer the baking sheet to the oven to bake. You will still want to do the broiling pan with the water.
In a Dutch Oven: If you have a dutch oven with a lid, this is also an option. You’ll want to make bigger loaves, getting 2 loaves from this recipe instead of 4. Preheat the dutch oven in the oven for 30 minutes with the lid on. Remove the pot from the oven and transfer the dough on the parchment paper into the dutch oven. Put the lid back on and bake for 30 minutes, then remove the lid and continue to bake until browned and cooked through, another 10-12 minutes.
Artisan Bread Video
If you want to see how to make this bread, including both freeform loaves and using a Dutch oven, you can watch the video below, or watch the YouTube version in the recipe card below.
Tips and Tricks
- This bread gets better the longer you refrigerate the dough. It is delicious when you make it right away, but continues to develop more flavor the longer it is refrigerated.
- As tempting as it is to eat the bread straight from the oven, allow it to cool before serving for the best texture.
- I like to shape mine into rounds, but you could always do longer loaves, as well.
- Feel free to make larger loaves by dividing the dough into 3 portions instead of 4.
- If using a Dutch oven, make sure yours is oven proof up to 450ºF. My Le Creuset has a knob on the lid that can only go up to 390ºF. But I do have another enameled Dutch oven that can go up to 450ºF. So you may need to check ahead of time.
How to Store It
Once the dough is made, you can keep it in the refrigerator with a non-airtight lid for up to 14 days.
When the bread is baked, you can keep any leftovers in a plastic or paper bag for a couple of days. It will start to dry out, so if it gets to that point, you may want to toast it and use it for crostini, turn it into breadcrumbs, or make homemade croutons.
You can also freeze the baked bread. Make sure the bread is completely cooled, then wrap in plastic wrap and then foil. Freeze for up to 6 months.
More Bread Recipes
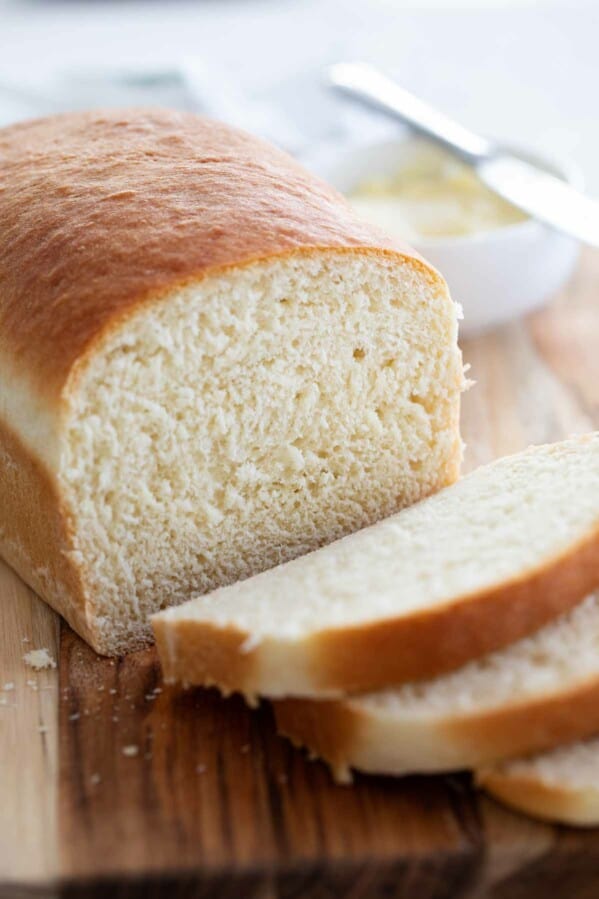
White Bread Recipe
Polenta Bread
Dinner Roll Recipe
Whole Wheat Rolls
Easy French Bread
Potato Bread
LOOKING FOR MORE FREE RECIPES?
Subscribe to my free recipe newsletter to get new family friendly recipes in your inbox each week! Find me sharing more family-friendly inspiration on Pinterest, Facebook, and Instagram.
Artisan Bread
Ingredients
- 3 cups lukewarm water, about 100ºF
- 1 1/2 tablespoons granulated yeast
- 1 1/2 tablespoons coarse salt
- 845 g all-purpose flour
Instructions
Make the dough:
- In a large bowl*, mix together the water, yeast and salt.
- Add the flour all at once. Stir with a wooden spoon until there are no dry patches and everything is uniform. There is no need to knead the dough.
- Cover the bowl with a non-airtight lid or with a kitchen towel. Allow the dough to rise until it flattens on top, about 2 hours. The time will be determined by the temperature of the water that you used and the temperature of the room.
- If making the bread right away, continue on to baking the bread. If not using right away, refrigerate, covered in the non-airtight container for up to 14 days.
Shaping the bread:
- If baking all of the bread, sprinkle the surface of a counter with flour. Dump the dough onto the counter. Cut the dough into portions. (I will do 2 loaves if I’m using a Dutch oven, but 4 smaller loaves if I am baking them freeform.)
- If you are only baking part of the bread and refrigerating the rest of the dough for later, sprinkle the surface of the dough with flour. Using your hands, pull up the dough and cut a portion of the dough with a serrated knife.
- Working with one portion of dough at a time, fold the bread over on itself a few times, rotating after every one or two folds.
- Stretch the dough around to the bottom of the ball, rotating so that the bottom looks like a bunch of ends and the top is smooth. Place the ball on the counter, with the smooth side up. Place both hands on the sides of the bread, and using light tension, drag the dough down, then rotate the loaf. Continue to do this until you have an even, round loaf.
- Place the dough on a piece of parchment paper or a cornmeal dusted pizza peel. (If you are baking in a Dutch oven, you will want to put the dough on parchment paper.) You can also just use a baking sheet. Cover the dough and let it rest for 40 minutes. (If the refrigerated dough is being used, let it rise for 60-90 minutes.)
Baking the bread:
- If baking freeform:
- While the dough is resting, preheat a pizza stone in the oven at 450ºF for 30 minutes. (If you are not using a pizza stone, you won’t need the oven to be preheated for as long, but you will want it up to temperature before the rising time is up.)
- After the dough has risen, lightly dust the top with flour. Use a sharp knife or a lame to score the top of the bread. You can do 2 or 3 parallel slashes, or an x, or get creative with your slashes.
- Place an empty broiling pan in the oven under the pizza stone.
- Slide the dough onto the pizza stone. Quickly pour about 1 cup of water into the broiling pan, and quickly shut the oven door to trap the steam.
- Bake for about 30 minutes, until the crust is browned.
- If using a Dutch oven:
- While the dough is resting, place a Dutch oven in the oven and preheat to 450ºF for 30 minutes. (You will want to make sure your dutch oven is oven proof up to this temperature. My Le Creuset has a lid that is only oven safe to 390ºF, so I use my oval dutch oven instead.)
- Dust the top of the loaf with flour, then use a sharp knife or lame to score the top of the bread.
- Remove the dutch oven from the oven, remove the lid, and lifting the bread by the parchment paper, transfer it to the dutch oven. Replace the lid, then transfer back to the oven.
- Bake the loaf for 30 minutes, then remove the lid and bake an additional 10-12 minutes, until the loaf is golden brown.
- Allow the bread to cool completely before cutting for the best flavor and texture.


Trina Kruse says
very easy to make almist too simple although i added about 2 tsp sugar just to give the yeast something to eat on for activation,
MARSHA says
I have made this many times. We love it!! But please tell me if I can add a little sugar to sometimes change it up a bit?
Brooklyn says
Yes you can add sugar! Mixing maybe 2 tsp in with the water and yeast will actually help the gluten form for fluffier bread 🙂
Linda stansell says
Can I bake the bread in a glass bowl?
Ellijo says
This is a great Artisan bread recipe. I made it and it turned out so good. I’m going to make it again and add my 12 grain mix to it and see what happens. Thanks for sharing!
Alliscirp says
This recipe is so simple and amazing. I have never been a bread maker but I rolled out some hot fresh bread that was pretty darn good. I added a bit too much salt but it had great texture. The first one I cooked in a Dutch oven, and it was crusty and really crunchy on the outside. The others I just cooked on a pan and they were also good. I fried a little garlic and put it in evoo for dipping. It was so good! Thank you so much!
Tiffany says
I had never heard of Dorie until I started reading food blogs. I kept reading about this Dorie person and couldn’t figure out who she was. Then I figured it out. Still don’t have any of her cookbooks. I don’t know, maybe I’m a non-conformist…but since I get so tired of reading about her stuff I just don’t want to do it myself…LOL!!!
Judy says
I discovered this book awhile back while following a thread on eGullet. Zoe will answer any questions you have about the whole process. Looks like I should get a copy and get started.
kellypea says
Clearly, I’m not going to be able to avoid making this bread any longer. I see it everywhere and everyone raves about it. When you mentioned that it gets more like sourdough the longer it’s in the fridge, I was a gonner!
Mandy says
I have heard so much about this! I think I will just cave in one day to get it.
StickyGooeyCreamyChewy says
Hi, Deborah! Your bread looks beautiful! Isn’t that cookbook the best!? I need to make up another batch of dough this weekend and try another one of thos great recipes.
Thanks so much for the link!
Katia says
I am so glad you posted about this- I have been wondering if I should get that book. I am excited the bread turned out as well as it did- can’t wait to try it! Thanks.
Warda says
Your loaf looks spectacular. Although I try not to follow trends (fashion, food..etc) I am craving to mak this bread right now!
Bellini Valli says
I have bookmarked this bread to try out when my daughter is here at Easter. Like you my hips repel bread so I have to deprive myself. But that loaf of occasional bread does taste extremely good straight from the oven slathered in butter.
Susan from Food Blogga says
I’ve got Dorie’s book (it is amazing), but I don’t have the second one. Thanks for alerting me to it. Now, if I only had room on my book shelf….
kelly.dee says
I love that book! But it’s easy to catch “Bread Making Disease” or “Eating a Loaf of Bread Every Single Night” Syndrome.
It is so addictive!
sher says
Wow! That’s amazing. It looks magnificent. I want some!