Fluffy on the inside and crispy on the outside, this Belgian Waffle Recipe just may become your new favorite! Using yeast as a leavener, this easy waffle batter is made the night before, making breakfast the next morning a snap!
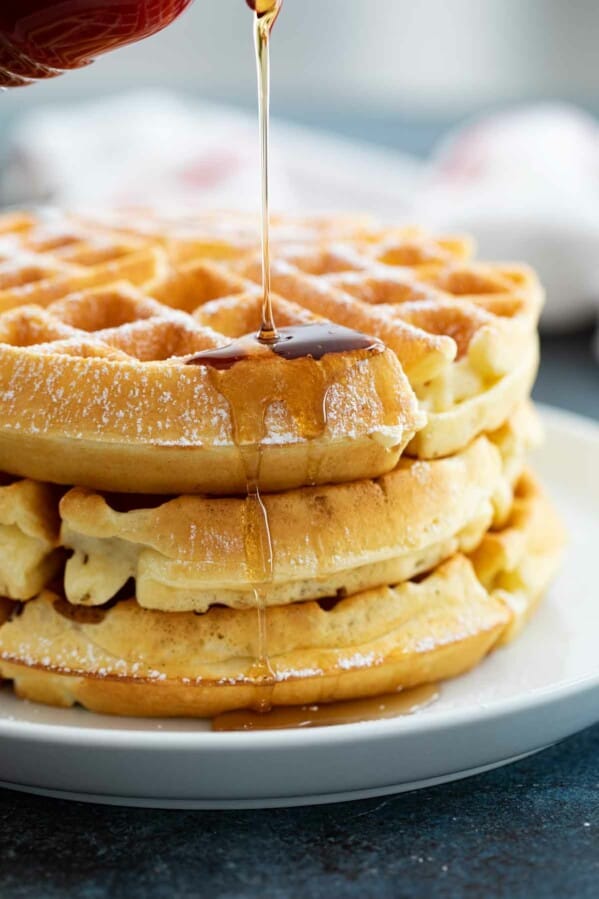
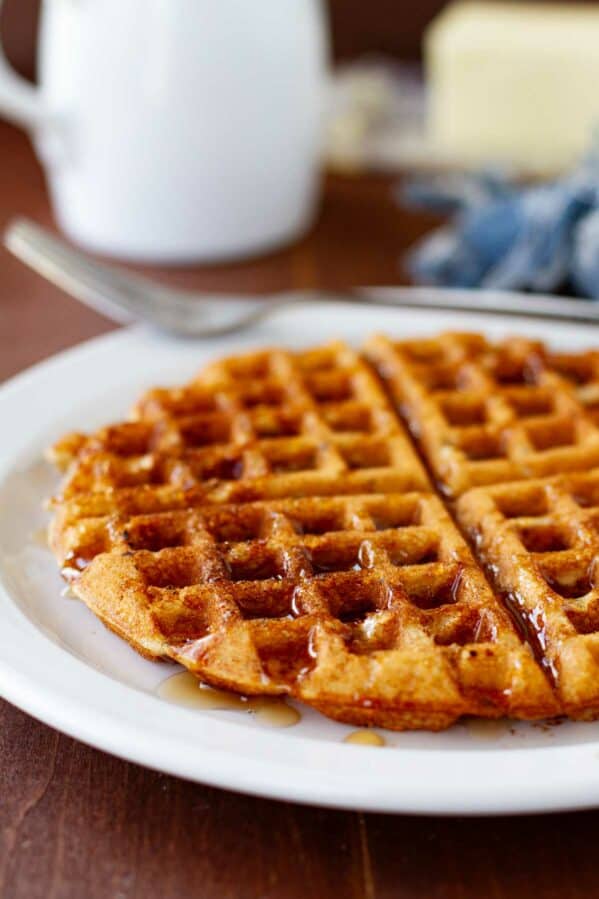
While you can never go wrong serving these with maple syrup, you can also take things up a level and serve the with Buttermilk Syrup or Coconut Syrup!
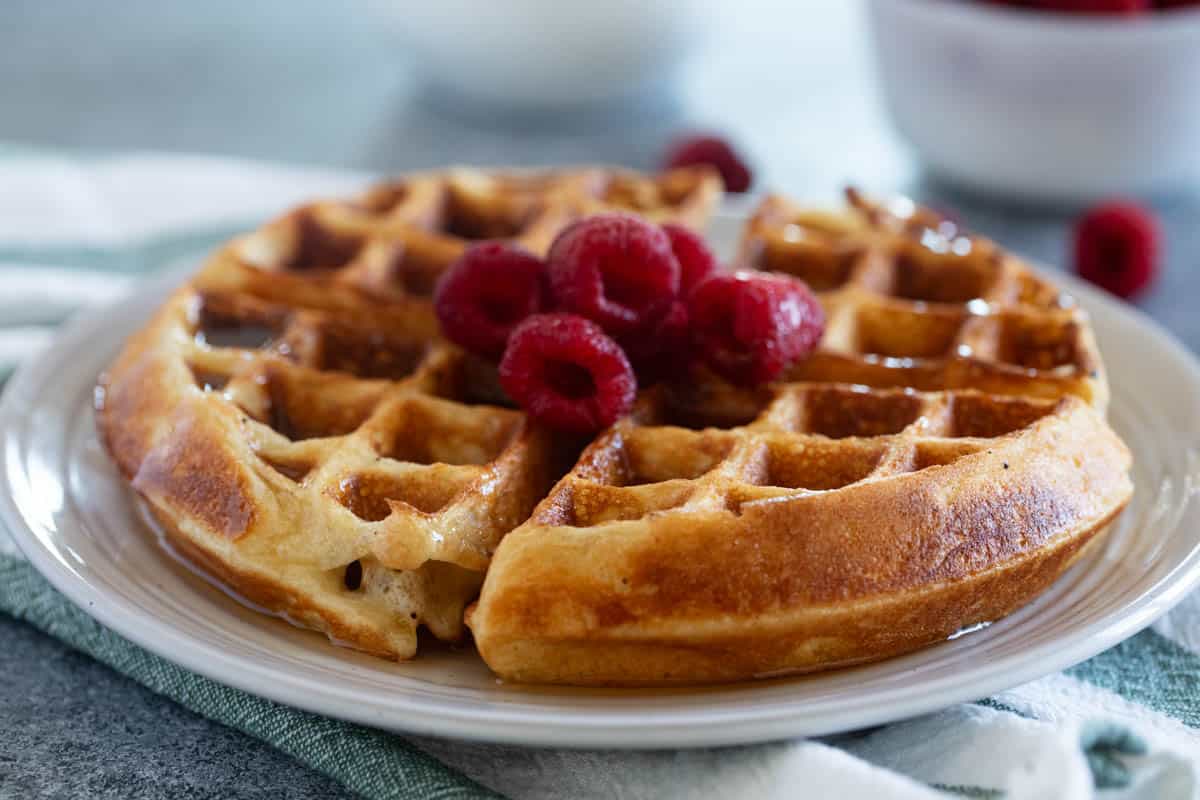
There is a reason that waffles are such a breakfast staple in both restaurants and at home. They are the perfect breakfast!
And there is nothing better than a waffle that is perfectly crisp on the outside, and nice and fluffy on the inside. And this Belgian Waffle Recipe gives you just that – waffles with the perfect texture. And it doesn’t hurt that they only take minutes to make the batter, and that you can make them the night before!
Belgian Waffles vs Regular Waffles
These days, you will often see waffles labeled as Belgian waffles that are simply waffles with deep grooves to hold all of the butter and syrup. But traditionally, Belgian waffles have one special ingredient – yeast.
My traditional waffle recipe (that we make all the time) is a waffle that uses baking powder as the raising agent. And I love that waffle recipe because it can be made on a moment’s notice.
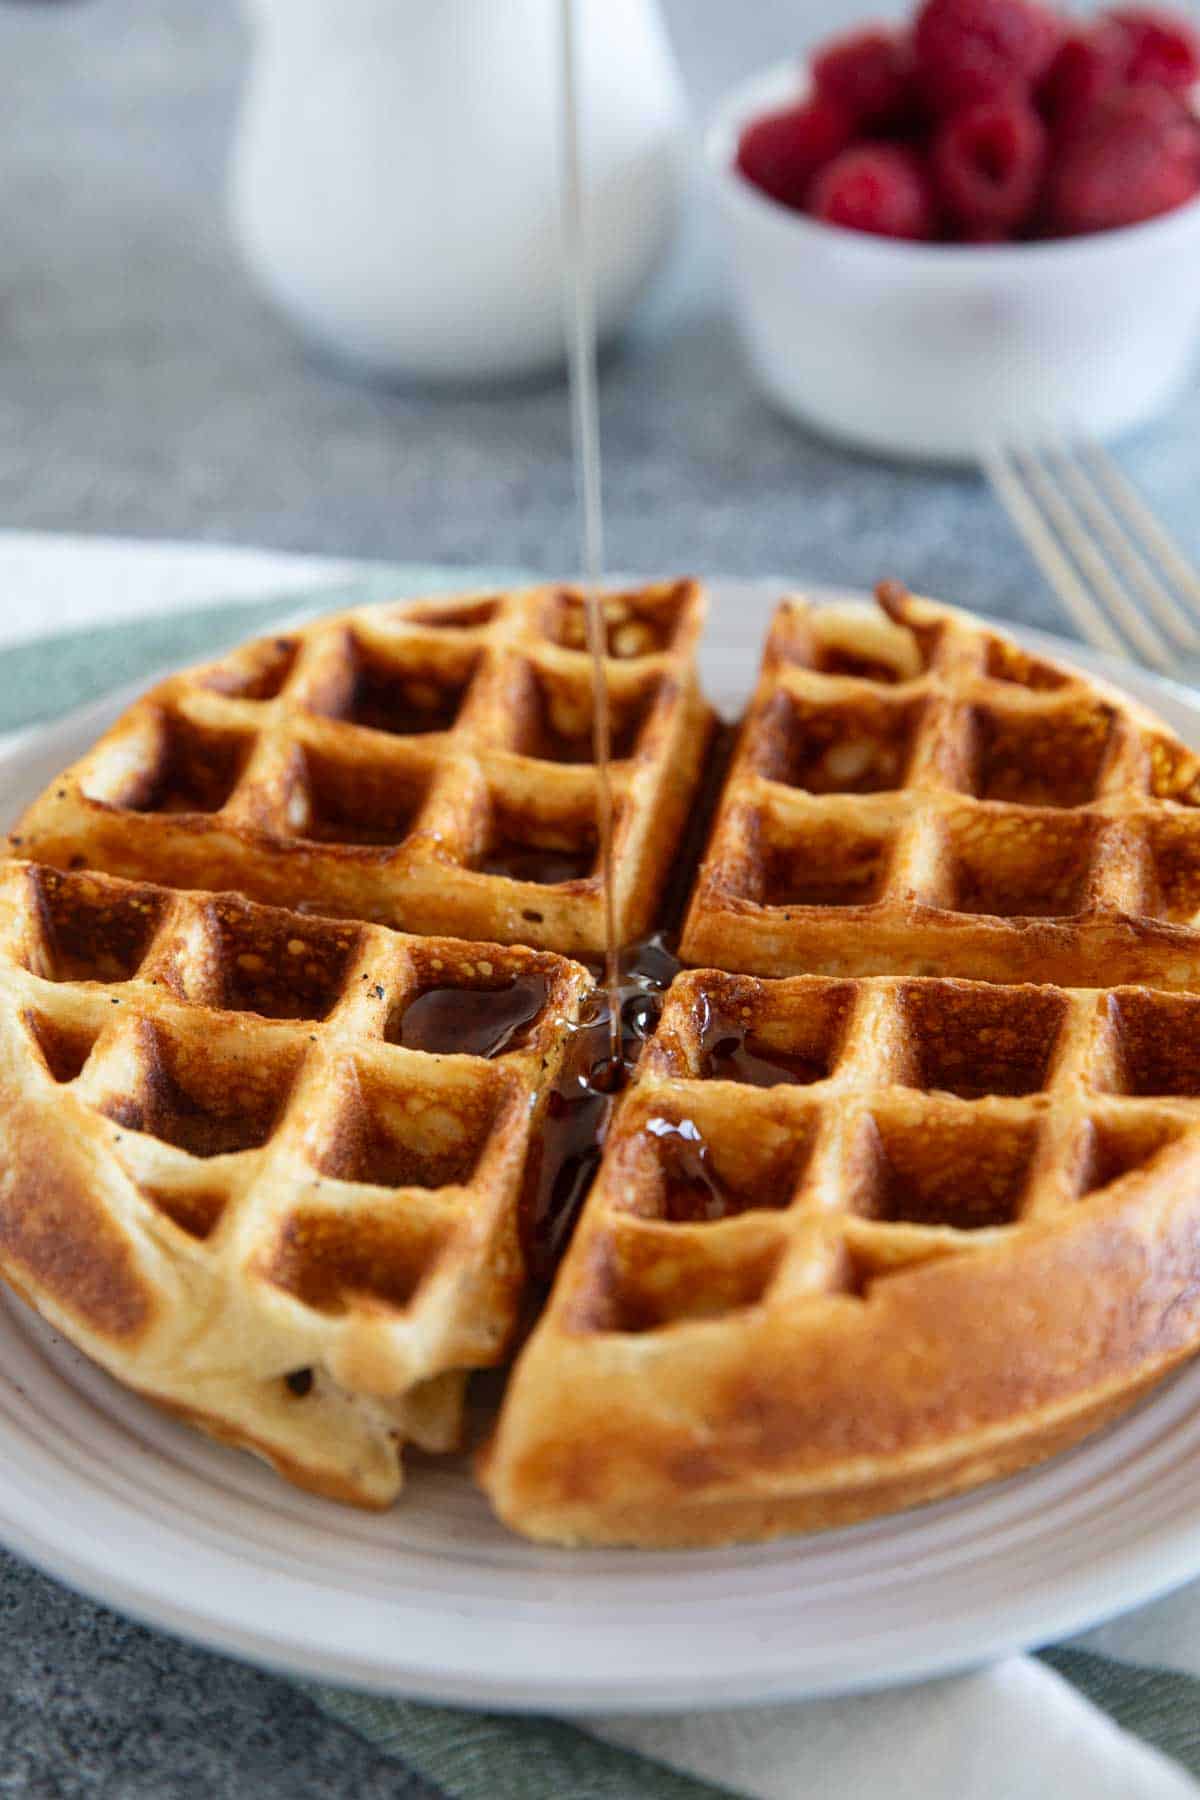
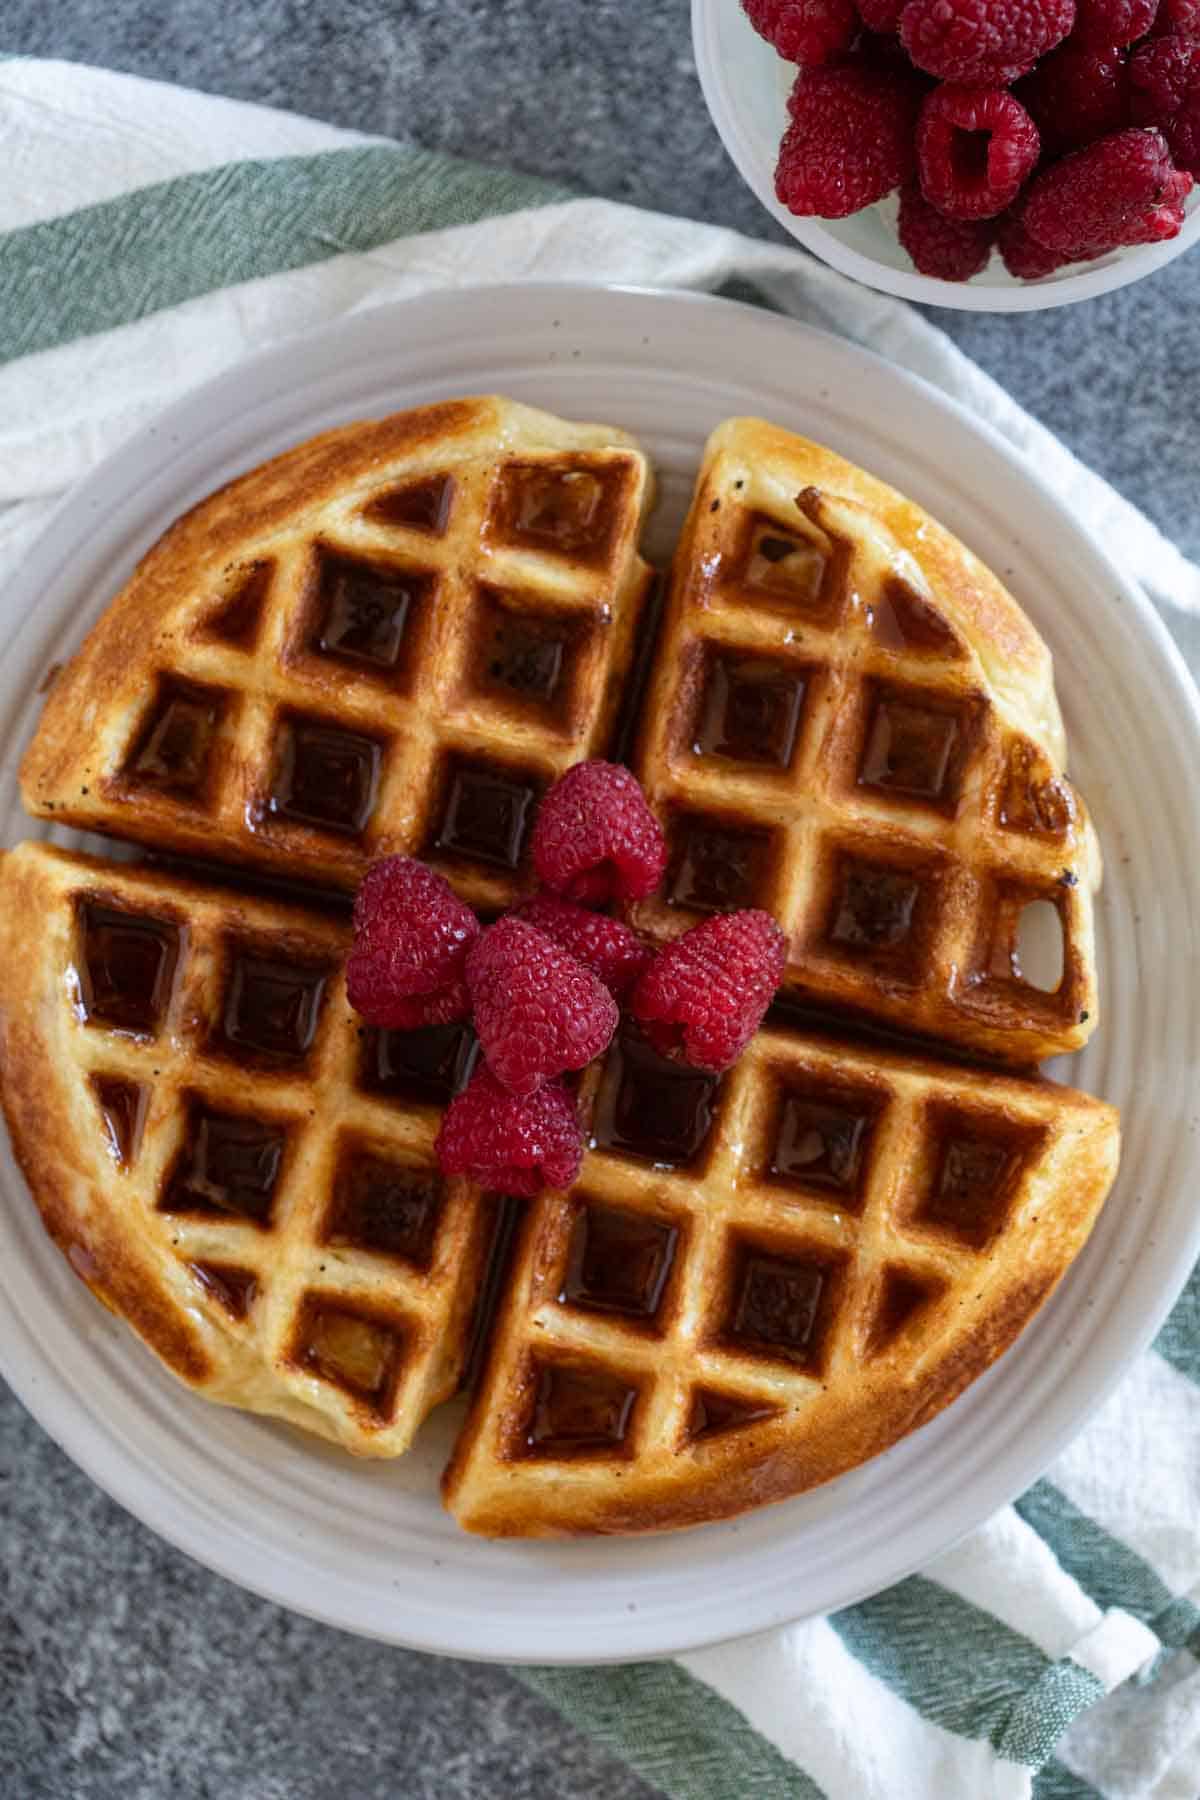
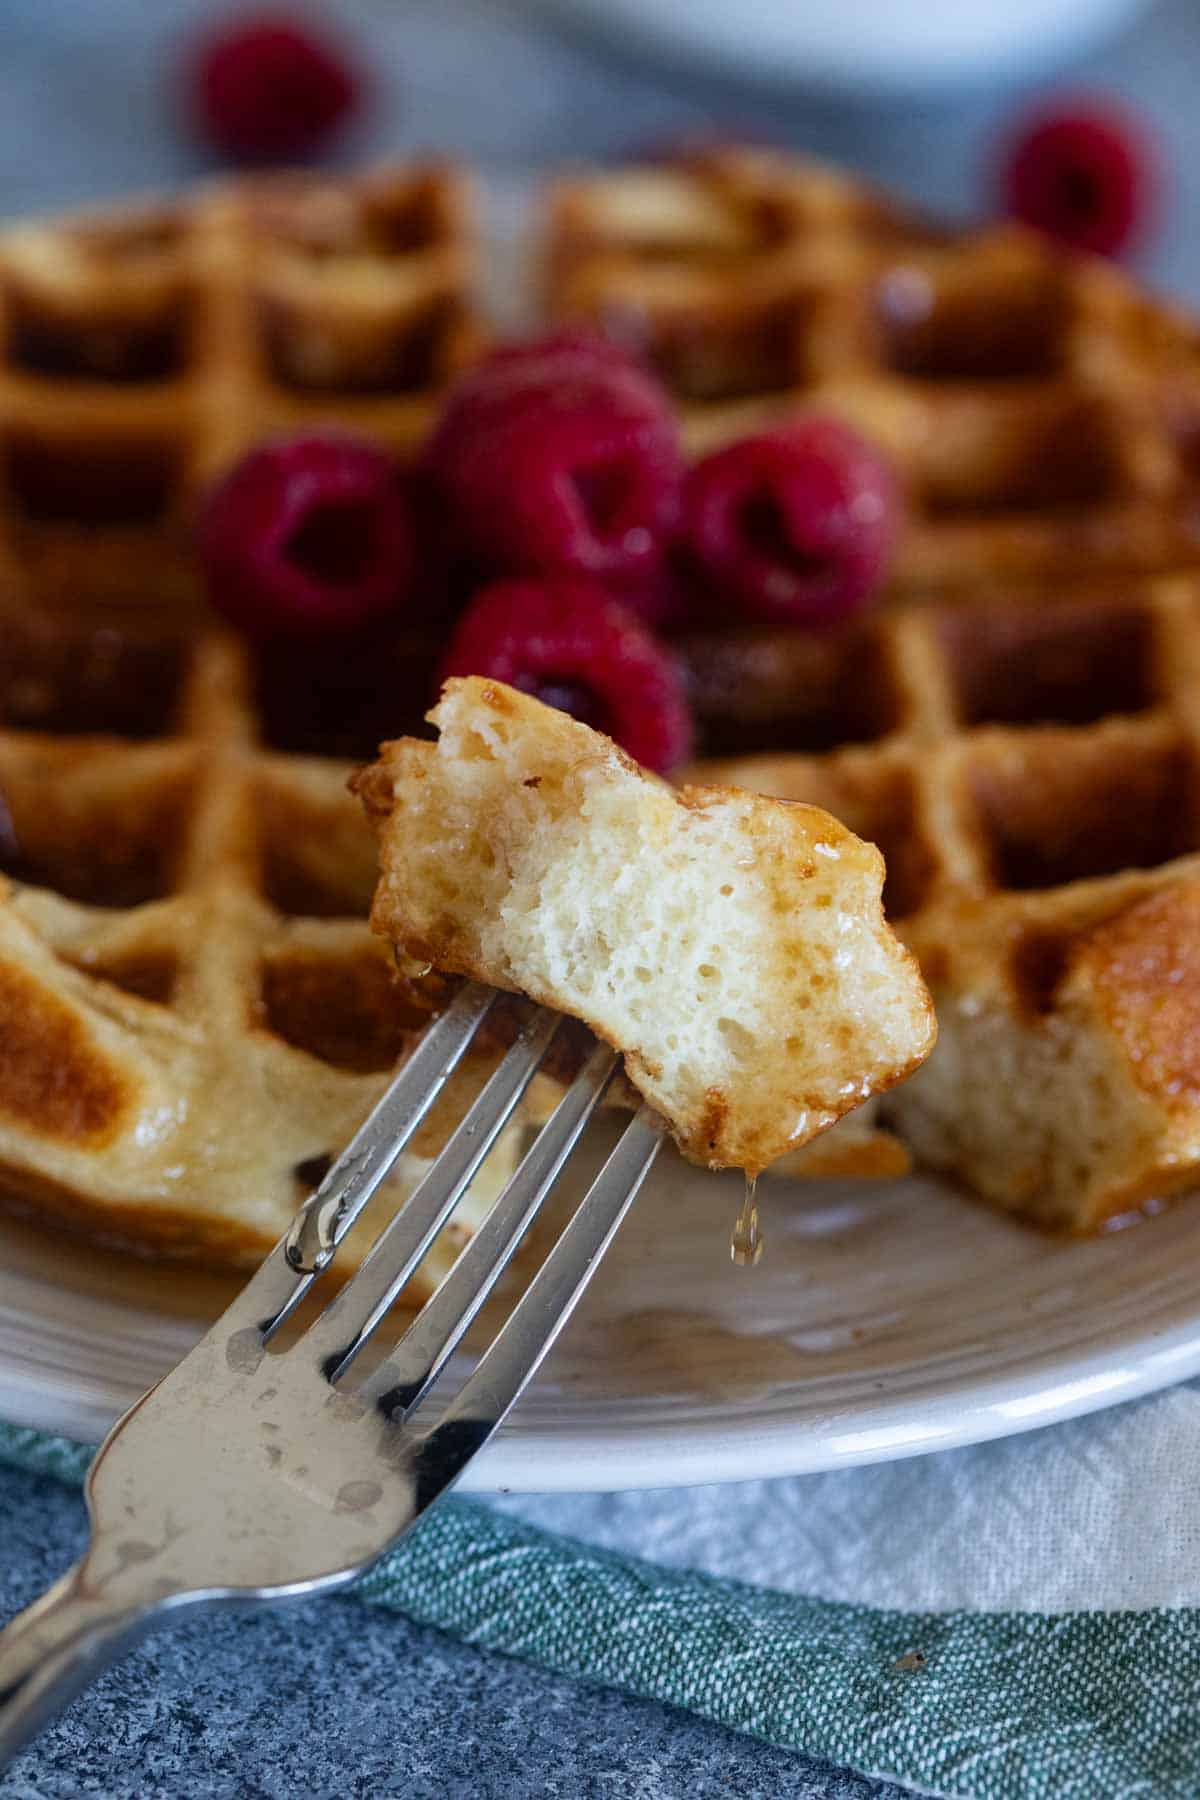
But there is something really special about this Belgian waffle recipe. The yeast really makes the inside of the waffles super tender and light, while the outside of the waffles are nice and crisp to hold up to any toppings you want.
And there are also Liege Waffles, which are also yeasted waffles, but they have pearl sugar in them, and their batter is more of a dough, forming a thicker waffle.
This Belgian Waffle Recipe is perfect when you want to make your batter ahead of time, and when you want something a little more special!
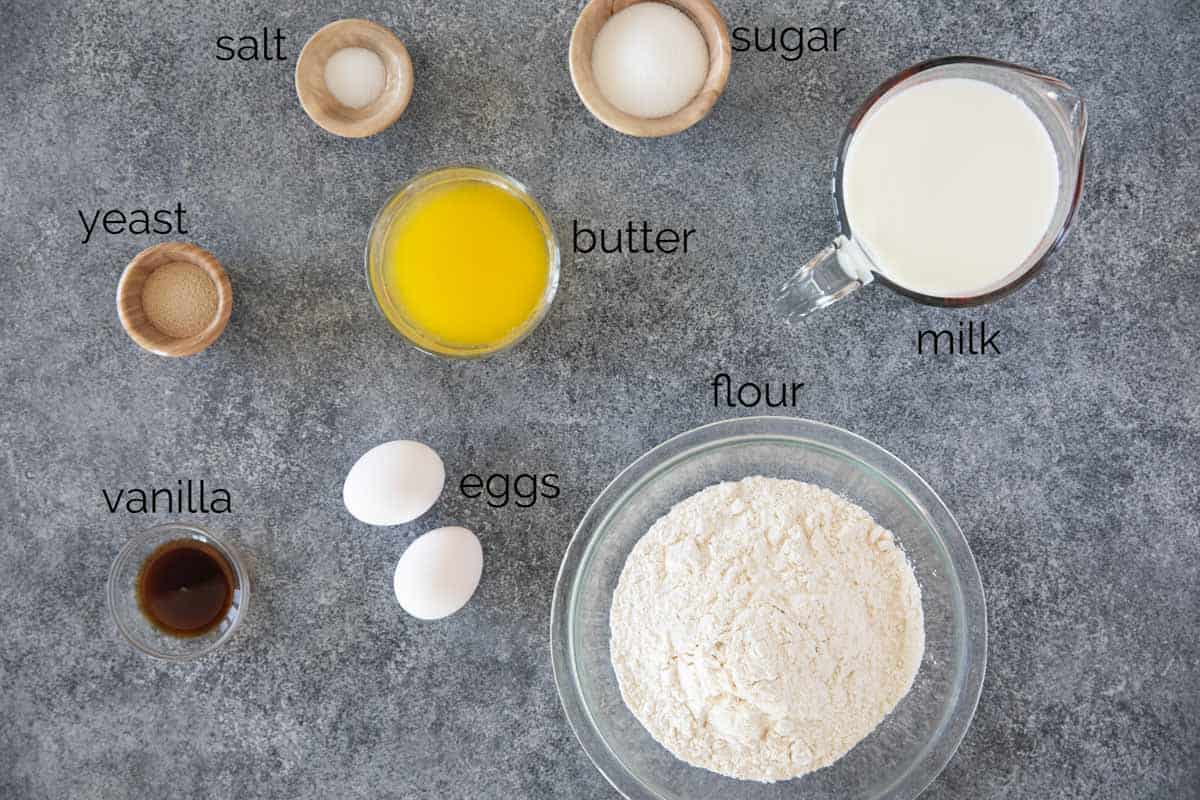
Ingredients
- Flour: I have only tested this recipe with all-purpose flour.
- Sugar: Some Belgian waffle recipes have quite a bit of sugar in them, but I found that 2 tablespoons was the perfect amount of sweetness.
- Yeast: I use active dry yeast, but instant yeast will work in this recipe, as well.
- Salt: I just used regular table salt.
- Milk: You can use whole milk, 2% or 1% milk. I have not tested this recipe with milk alternatives (like almond milk) but my guess is that they should work as well.
- Butter: You want to melt the butter and let it cool slightly before adding it in.
- Vanilla: A good dose of vanilla extract gives great flavor.
- Eggs: You will need 2 large eggs.
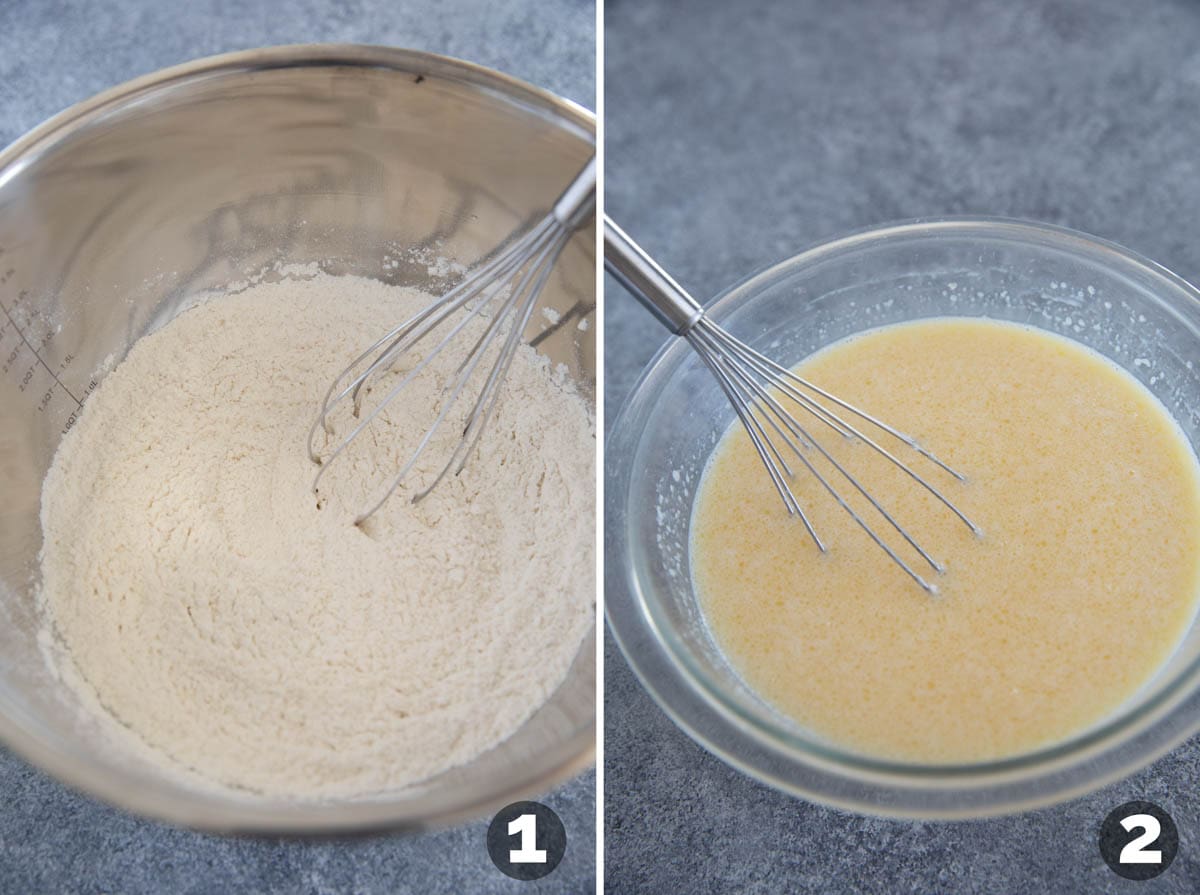
How to Make This Belgian Waffle Recipe
PHOTO 1: Whisk all of the dry ingredients together in a large bowl. You want a bowl big enough to give the batter a little room to rise.
PHOTO 2: In another bowl, whisk the wet ingredients. You can do this in a bowl, but I will often just use a large liquid measuring cup that I measure the milk in so that I have less dishes to do.
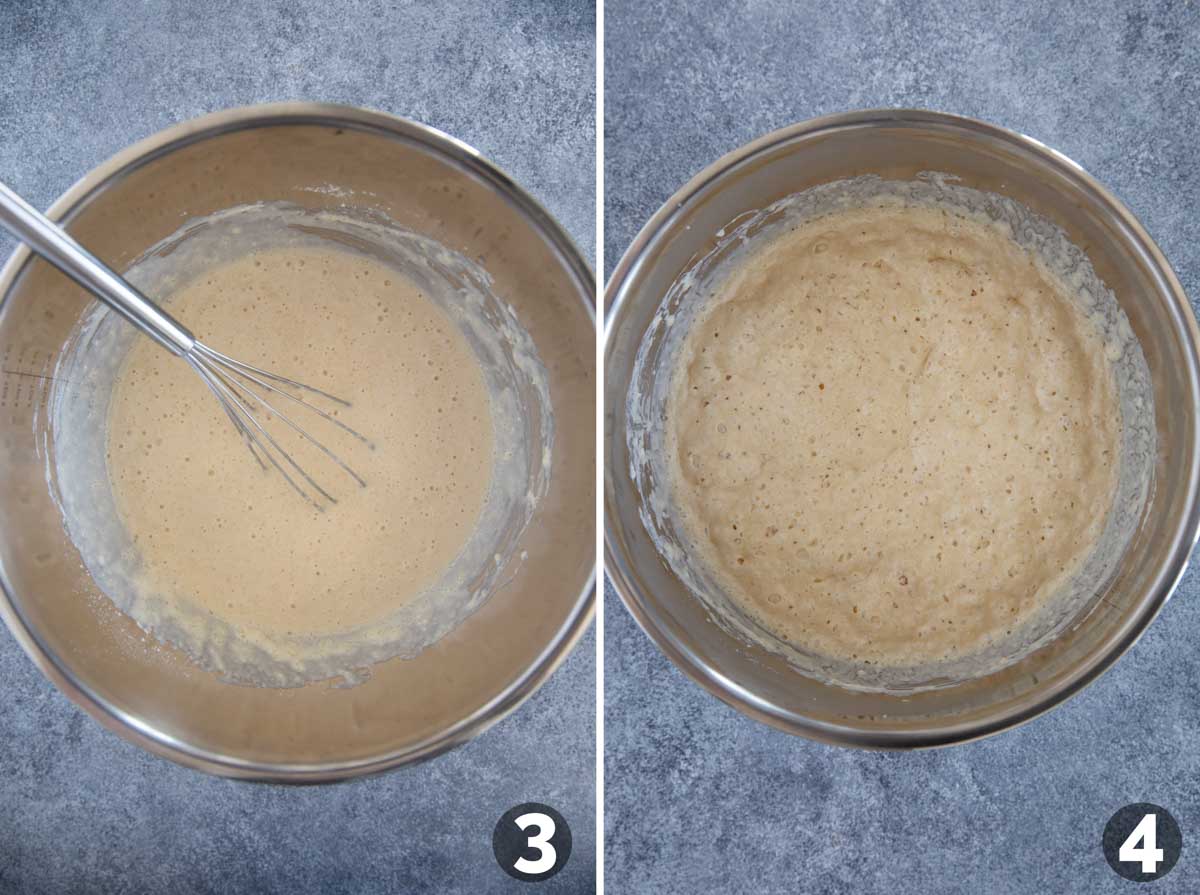
PHOTO 3: Stir the wet ingredients into the dry ingredients. I whisk this together a few times, making sure to fully combine the batter and to get out any large clumps, but the batter should not be completely smooth. Some small lumps are ok.
PHOTO 4: Cover the bowl and place it in the refrigerator overnight.
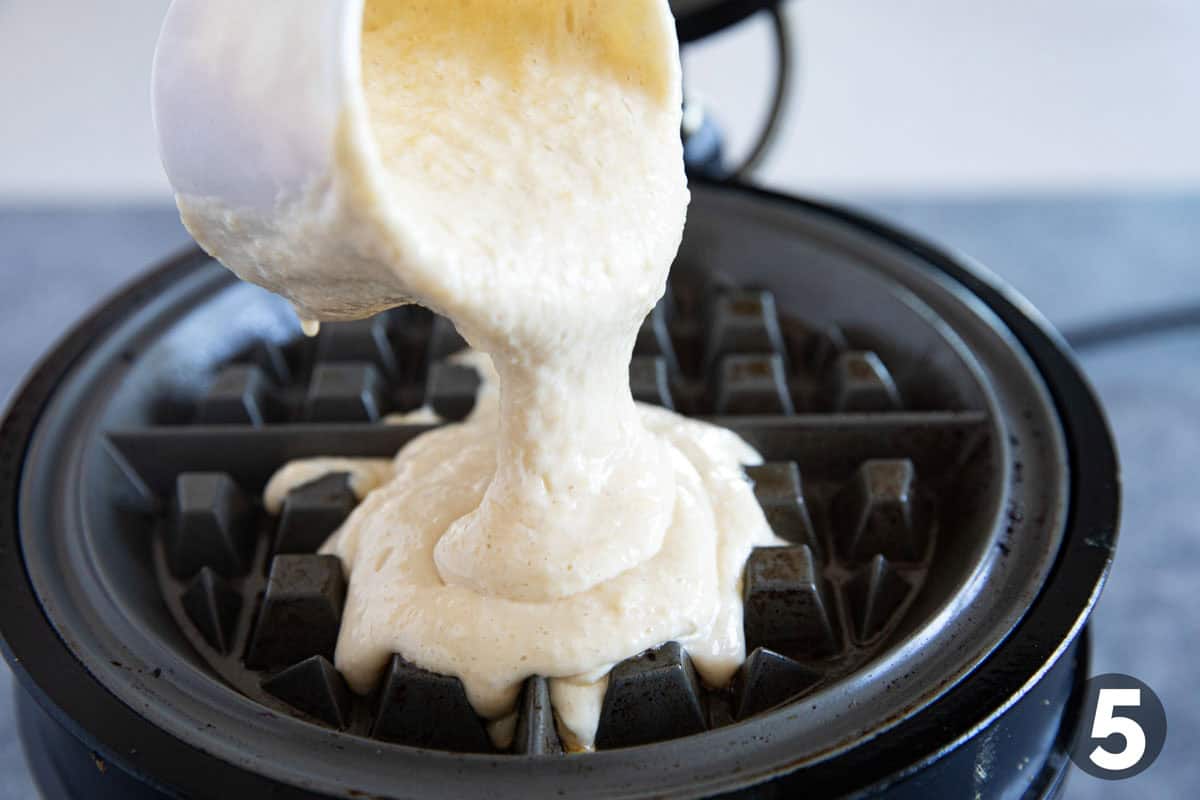
PHOTO 5: Preheat your waffle iron, then remove the batter from the refrigerator. Gently stir it a few times – you don’t want to deflate it, but you want to mix together anything that has separated. The cook the batter according to the manufacturers instructions for your waffle iron.
Tips and Tricks
As it is with most waffle/pancake batters, you want to find the happy medium between mixing the ingredients together, but not over-mixing the batter. Over mixed batter will be more tough, and not as tender.
If you don’t have all night, you can set the batter out for a couple of hours to rise. I didn’t think there was enough rise after one hour at room temperature, so if you do want it to rise faster, I would suggest using instant yeast instead of active yeast.
A waffle iron with deep crevices is imperative for this recipe. You want those deep pockets for the authentic Belgian waffle experience. The waffle iron I have is no longer on the market, but it is very similar to this waffle iron.
This recipe yields enough batter for 4 full waffles in my waffle iron. You may get more or less, depending on the size of your waffle iron.
Storing and Reheating
This Belgian Waffle Recipe is best when the waffles are eaten fresh. But don’t despair if you’ve got leftovers!
Store any leftovers in the refrigerator. I like to wrap them in plastic wrap, or put them in a ziplock bag. You can store them in the refrigerator for 2-3 days. Or wrapped tightly, they can be frozen for up to 3 months.
I suggest reheating the waffles in the oven or in an air fryer. My husband actually likes to put them back on the waffle iron to reheat and re-crisp them. I would not suggest reheating in the microwave, as they will get soggy.
More Waffle Recipes
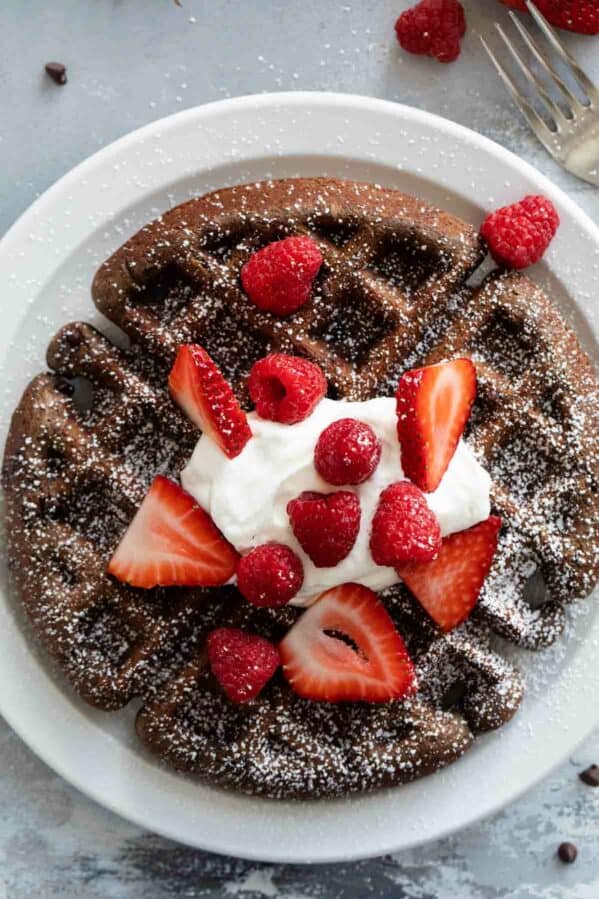
Chocolate Waffles
Blueberry Waffles
Banana Waffles
LOOKING FOR MORE FREE RECIPES?
Subscribe to my free recipe newsletter to get new family friendly recipes in your inbox each week! Find me sharing more family-friendly inspiration on Pinterest, Facebook, and Instagram.

Belgian Waffle Recipe
Ingredients
- 2 1/2 cups all purpose flour
- 2 tablespoons sugar
- 2 1/2 teaspoons active yeast
- 3/4 teaspoon salt
- 2 cups milk
- 1/2 cup butter melted and slightly cooled
- 2 teaspoons vanilla extract
- 2 large eggs
Instructions
- In a large bowl, whisk together the flour, sugar, yeast, and salt.2 1/2 cups all purpose flour, 2 tablespoons sugar, 2 1/2 teaspoons active yeast, 3/4 teaspoon salt
- In another bowl, whisk together the milk, butter, vanilla, and eggs.2 cups milk, 1/2 cup butter, 2 teaspoons vanilla extract, 2 large eggs
- Pour the wet ingredients into the dry ingredients. Whisk to combine, but it doesn’t have to be completely smooth – a few lumps are ok.
- Cover the bowl (I will usually use plastic wrap, or a lid that is not completely air tight) and refrigerate overnight.
- When ready to make your waffles, preheat the waffle maker. (You will want to use a waffle iron with deep grooves.)
- Uncover your waffle batter and gently stir a few times, just to recombine everything.
- Butter your waffle iron, or spray with nonstick cooking spray. Pour enough batter into the waffle iron to mostly fill it, leaving room for the batter to spread. Cook according to the manufacturers instructions, or until golden brown.
- Continue with the remaining batter. Serve warm.


Leave a Comment...