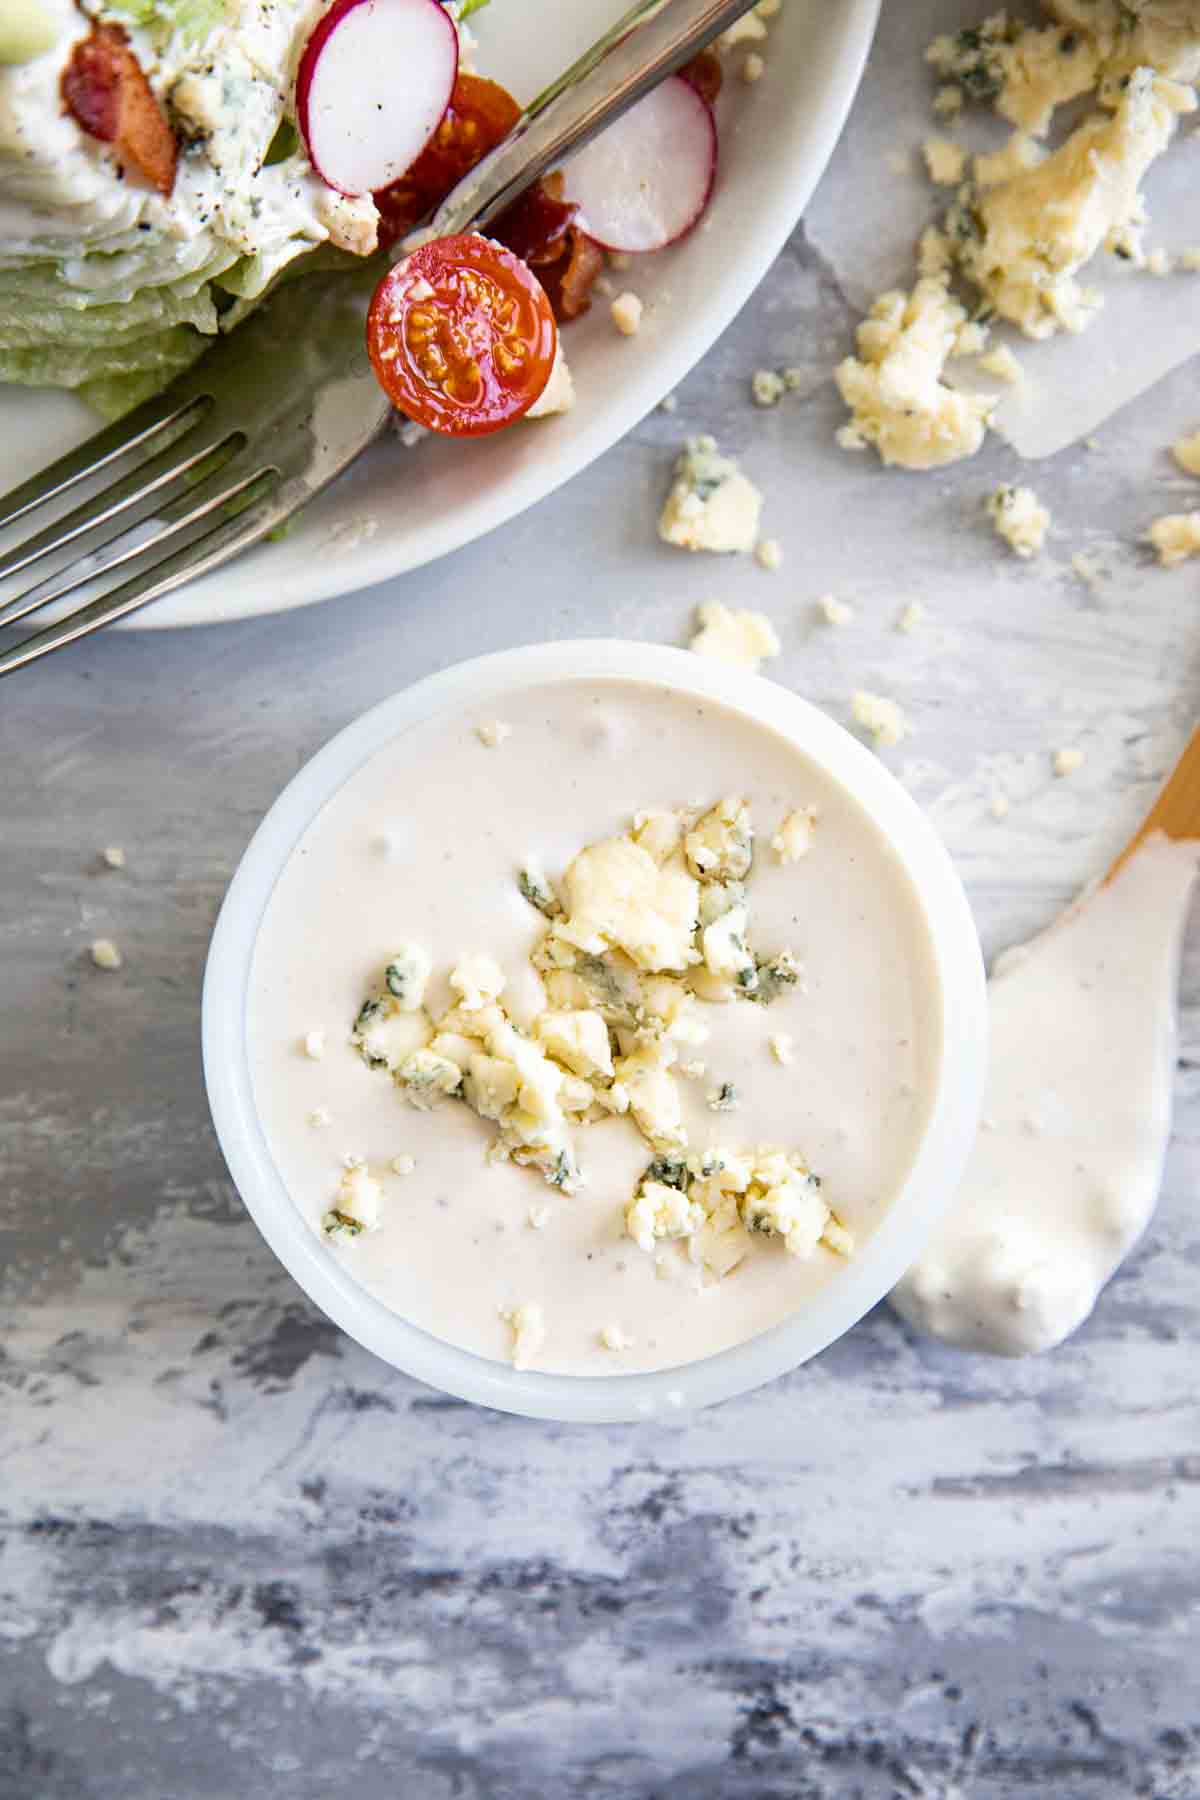
Tangy and creamy, this blue cheese dressing is better than bottled! Use it on a salad, serve it to dip with wings, or as a vegetable dipper.
From salads to wings to tacos, homemade Blue Cheese Dressing is the perfect accompaniment! Once you try this homemade dressing, you’ll never want to go back to store bought again.

I feel like the older I’ve gotten, the more of a salad dressing snob I’ve become. Watery, thin dressings that lack flavor and substance just aren’t worth it.
Which is why it’s so important to have a few good salad dressing recipes on hand.
And this blue cheese dressing has got to be a favorite.
It is definitely not lacking in the flavor department, and it is thick and creamy and everything you want from a blue cheese dressing. It really will beat out any store bought blue cheese dressing!

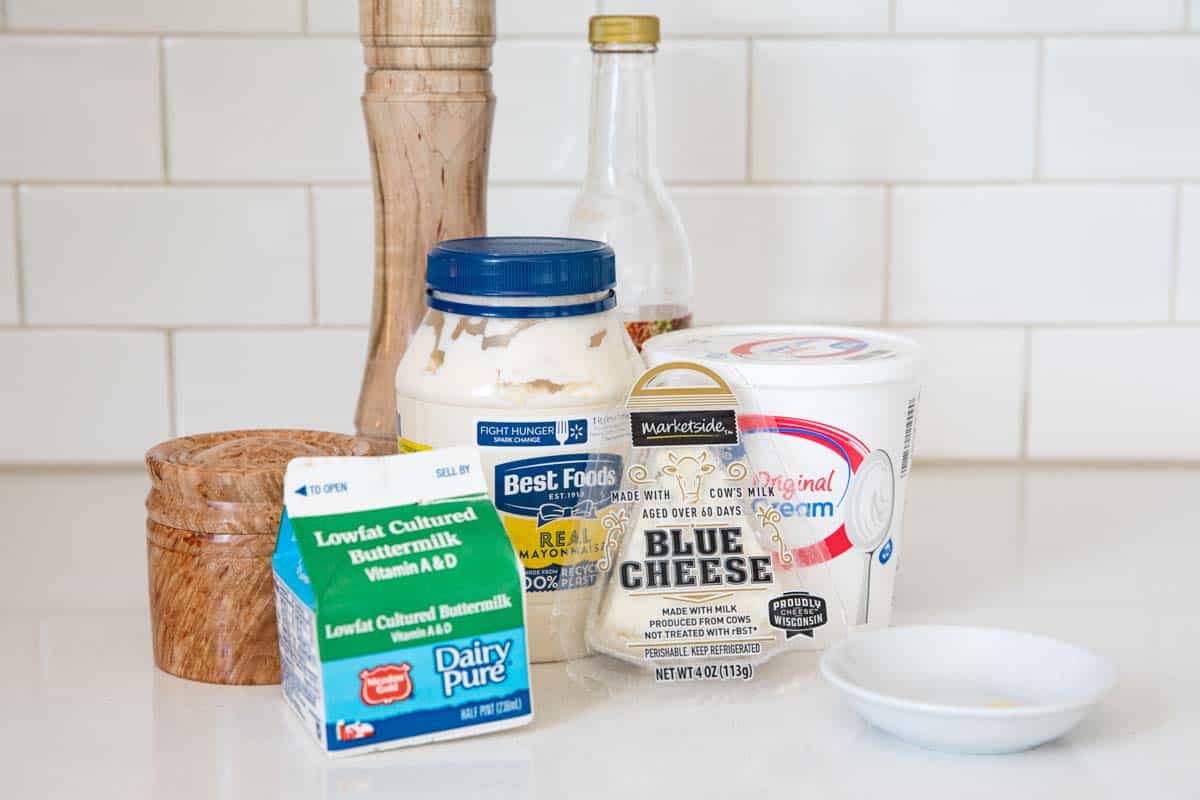
WHAT YOU’LL NEED
- Blue Cheese: I would recommend buying a block of blue cheese instead of crumbled. The pre-crumbled cheese tends to be dryer and not as good. The blue cheese pictured above is just from the grocery store, but the better the blue cheese, the better the dressing.
- Mayonnaise: I like the tang that you get from mayonnaise, but if you are wanting to skip it, you can either add more sour cream or swap in plain Greek yogurt.
- Sour Cream: This helps with the creaminess of the dressing.
- Buttermilk: The recipe only calls for 1/4 cup of buttermilk, but for a looser dressing, you can add more.
- Red Wine Vinegar: It would be easy to swap out the red wine vinegar for your favorite vinegar. You do need that acid, so I wouldn’t skip it, but this could easily be swapped out for apple cider vinegar or even balsamic vinegar.
- Sugar: You only need a small amount to help balance the flavors. You could leave it out, but I think this small amount really does make a positive difference.
- Garlic Powder: For more of a garlic punch, try adding in a clove of finely minced garlic.
- Salt and Pepper: Never underestimate how important salt and pepper can be. Always taste your dressing and add more if needed.

HOW TO MAKE BLUE CHEESE DRESSING
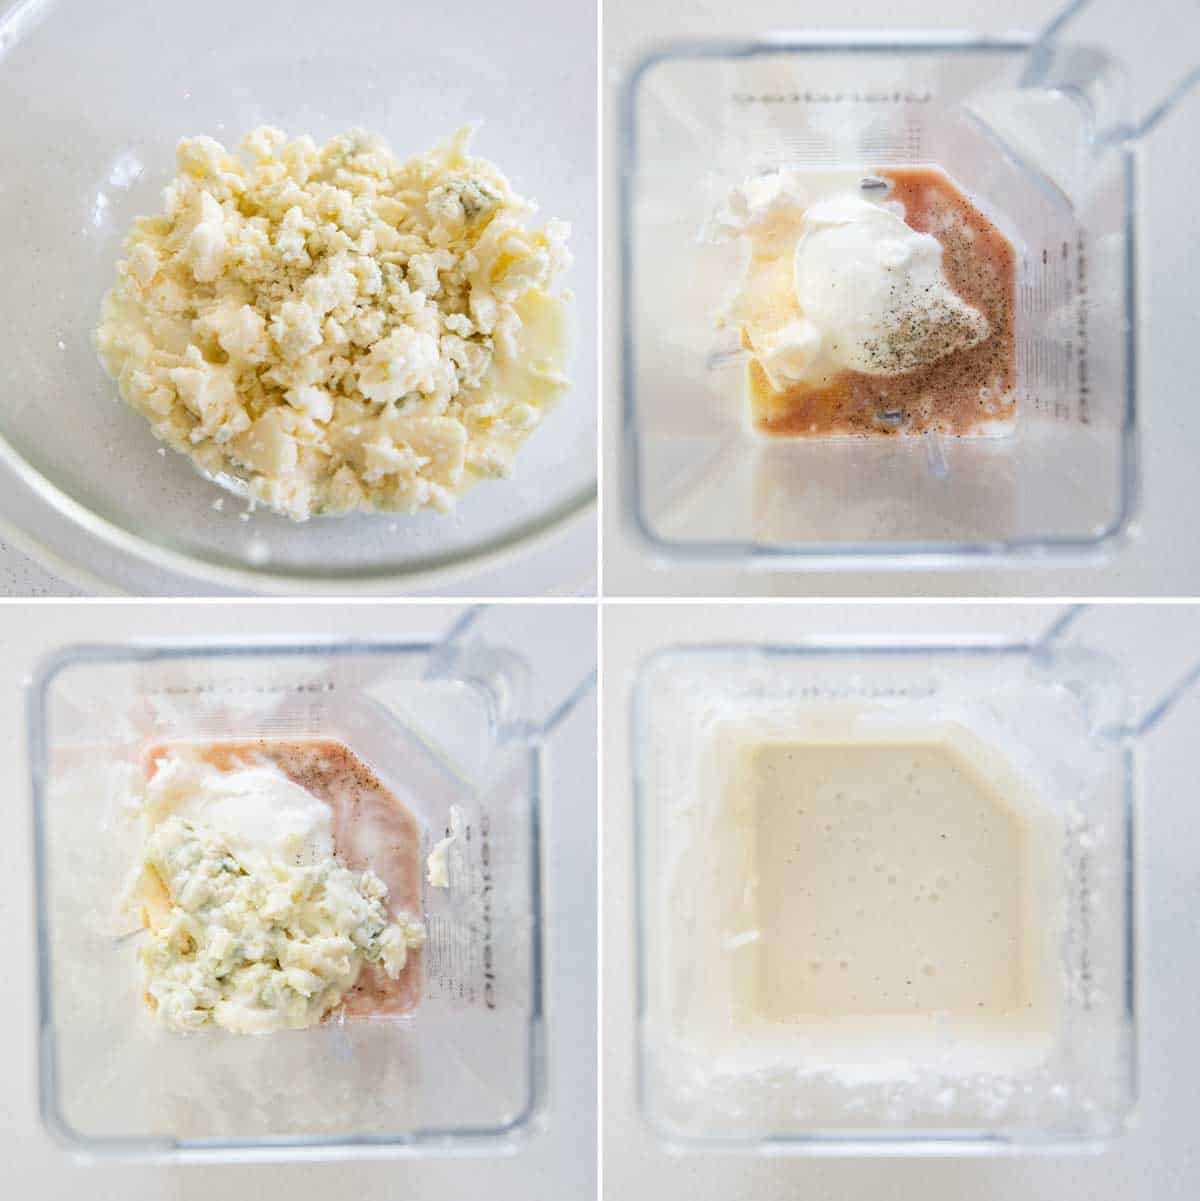
- Partially melt the cheese. I picked this trick up from an Ina Garten recipe many years ago and this tip really stuck with me. She melted the blue cheese just until the edges were melted but everything else was just soft. It makes the dressing so smooth and thick!
- Combine the rest of the ingredients in a blender or a food processor.
- Add the partially melted blue cheese.
- Blend everything together until it is smooth.
- I like to have a few good chunks of blue cheese, so I add in a bit more crumbled blue cheese.
- Refrigerate! This dressing will thicken up as it sits in the refrigerator, so if it seems thin right away, just give it some time in the refrigerator. But if it thickens up more than you like, you can always thin it out with buttermilk.

MAKING AHEAD AND STORING
This blue cheese dressing is great to make ahead. It thickens up as it is refrigerated (like I mentioned above) so it is actually better if you do.
You can make it ahead and store it in the refrigerator for up to 10 days. You may need to give it a quick stir before serving, though.
Do make sure to store it in an airtight container, like a jar, to keep it fresh.

Love Blue Cheese? Here are some more favorite recipes using blue cheese:
- Blue Cheese Burgers
- Bacon Blue Cheese Coleslaw
- Blue Cheese and Bacon Pizza
- Beef and Blue Cheese Baked Spaghetti
- Blue Cheese and Walnut Mashed Potatoes
LOOKING FOR MORE FREE RECIPES?
Subscribe to my free recipe newsletter to get new family friendly recipes in your inbox each week! Find me sharing more family-friendly inspiration on Pinterest, Facebook, and Instagram.

Blue Cheese Dressing
Ingredients
- 4 oz blue cheese crumbled and divided
- 1/4 cup mayonnaise
- 1/4 cup sour cream
- 1/4 cup buttermilk
- 2 teaspoons red wine vinegar
- 1/4 teaspoon sugar
- 1/4 teaspoon garlic powder
- Salt and pepper
Instructions
- Place 3 oz of the blue cheese in a small bowl and microwave for 15-10 second, until it is starting to melt.
- In a blender or food processor, combine the mayonnaise, sour cream, buttermilk, red wine vinegar, sugar, garlic powder, and pepper. Add the partially melted blue cheese. Process until smooth.
- Stir in the remaining 1 oz of blue cheese, then season to taste with salt. Refrigerate until ready to use.


Leave a Comment...