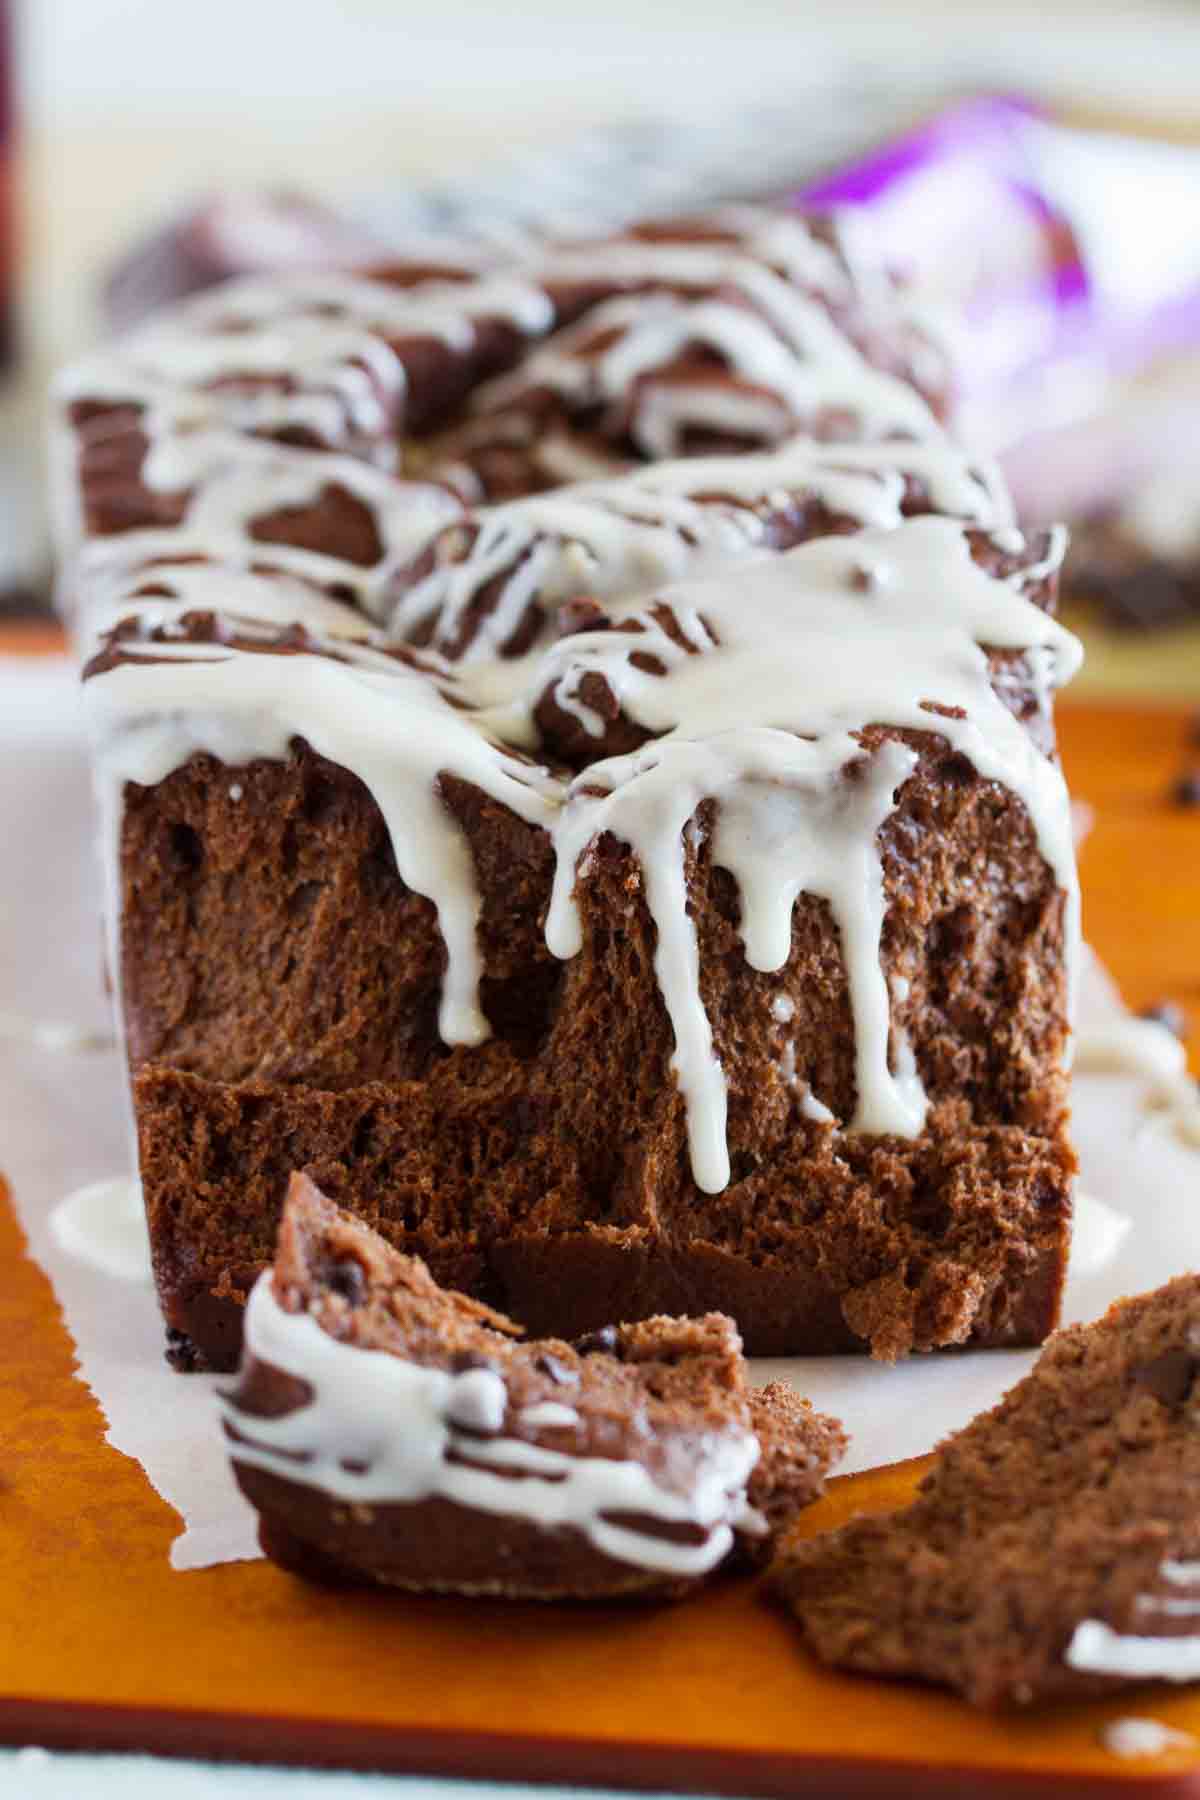
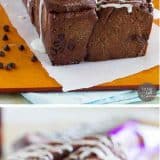
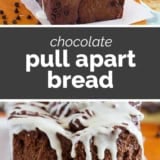
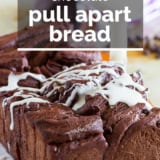
Loaded with layers and layers of chocolate and sugar, this Chocolate Pull Apart bread is as show-stopping as it is good!
This post has been sponsored by The Hershey Company, but all opinions are my own. Thank you for supporting me and the companies I partner with.
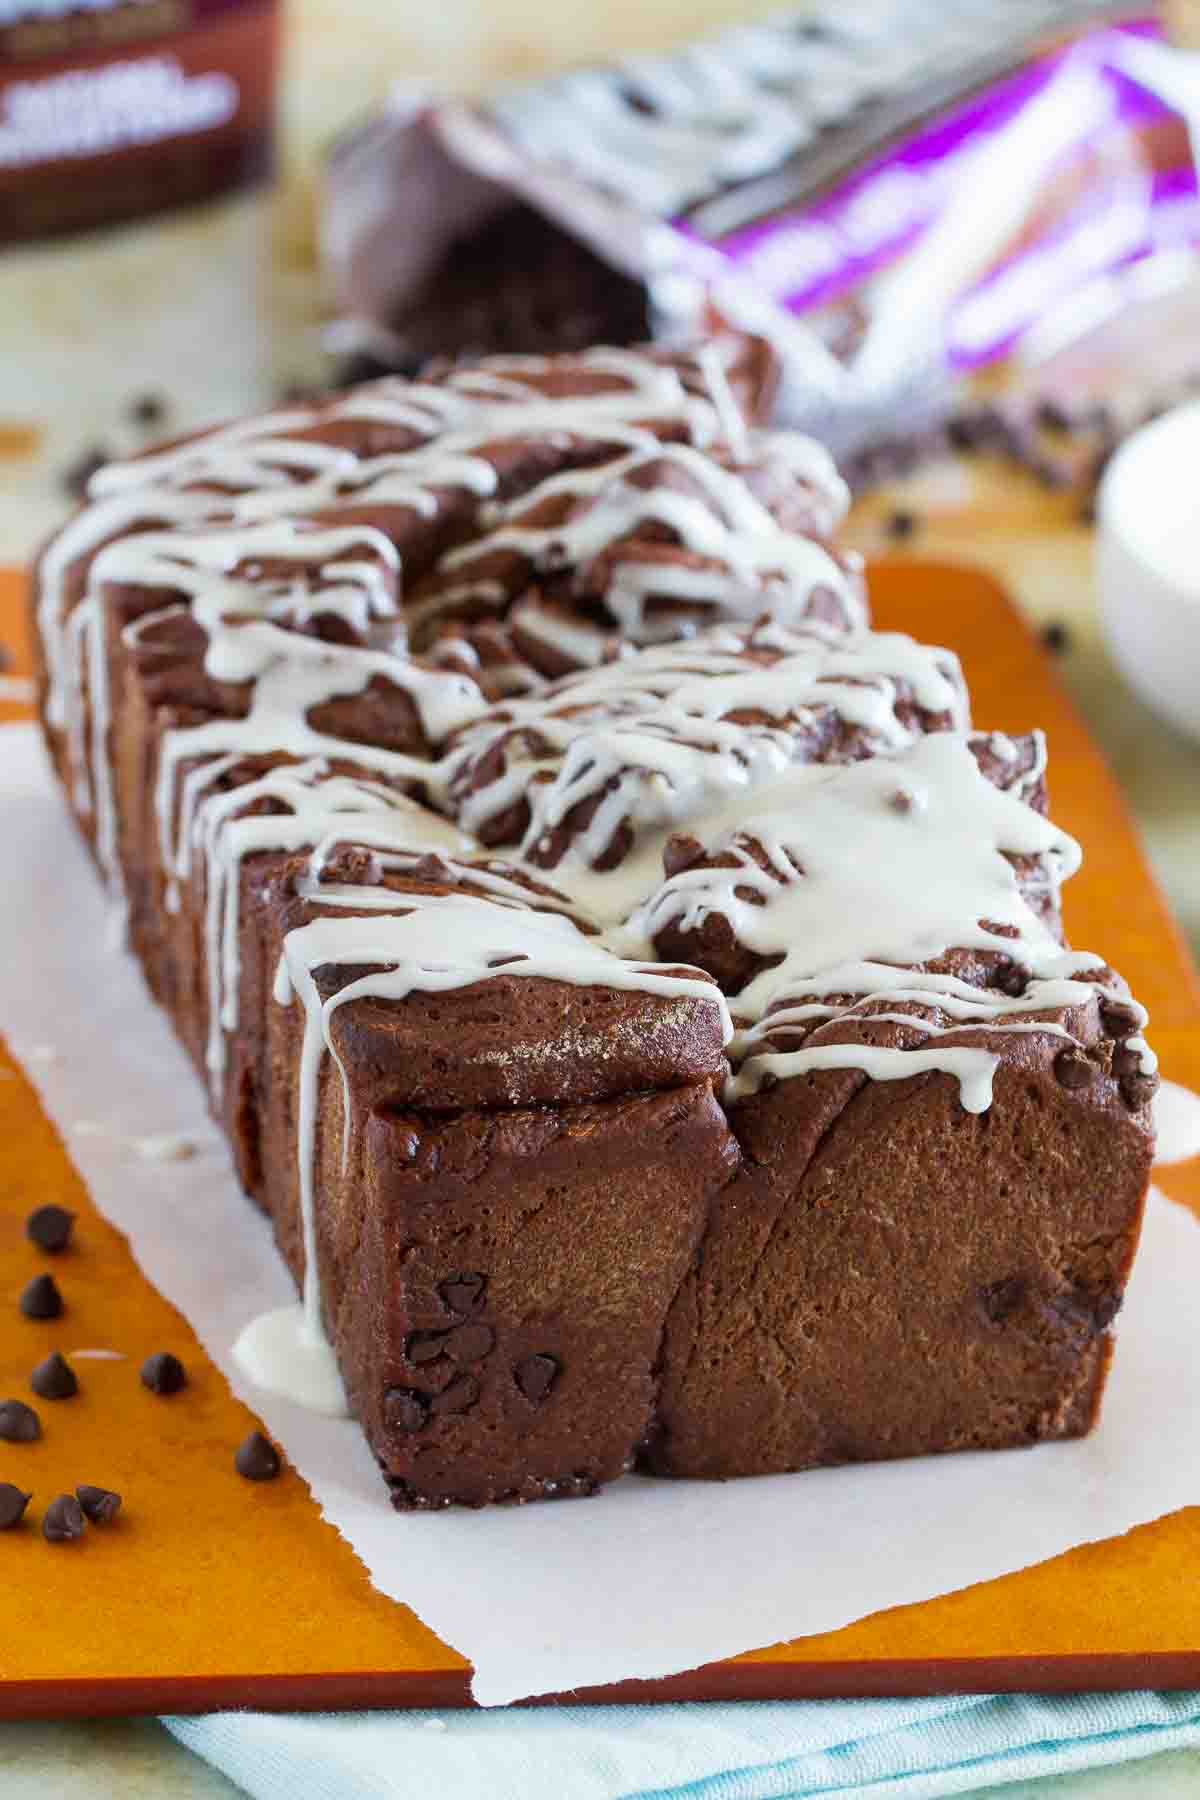
Boy, do I have a good recipe for you today. 🙂
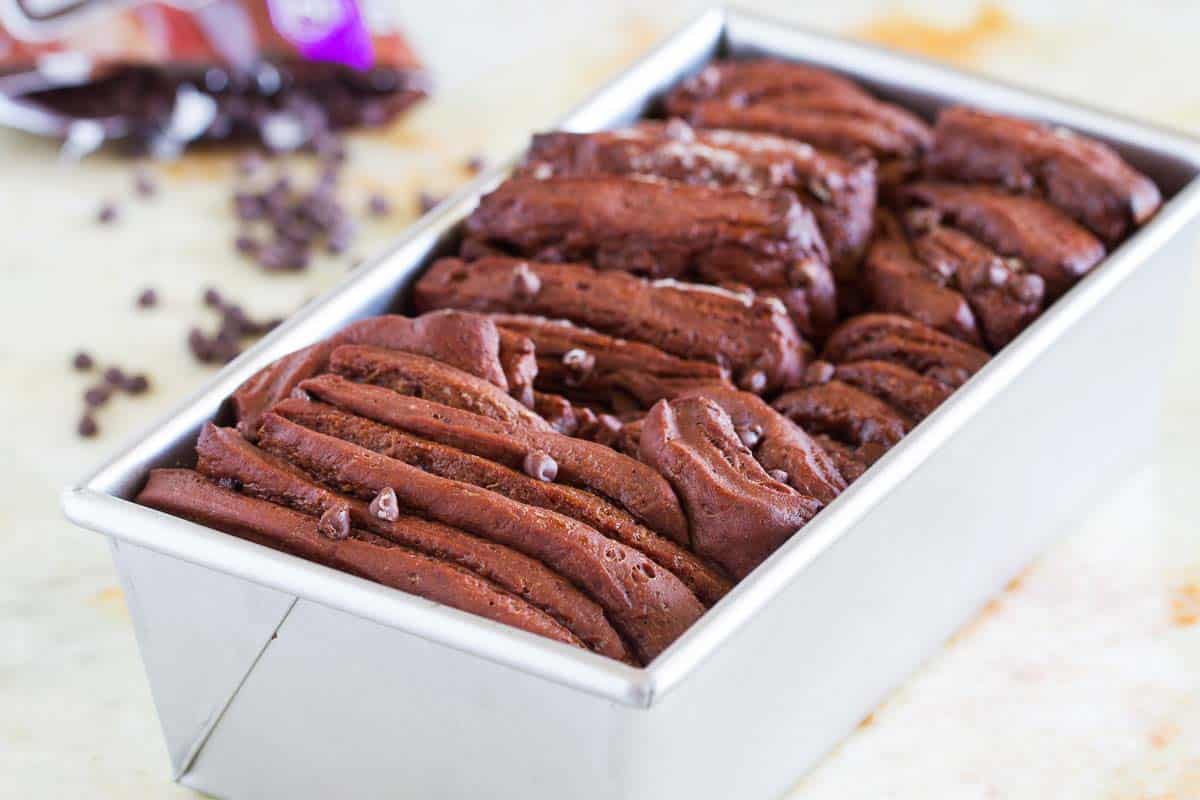
Years ago, when I first started blogging, the pull apart bread craze hit the internet. I quickly learned that this bread had been around for quite some time. I loved the concept (and the taste!!). Similar to other desserts where you can pull of individual pieces, but it just seemed so much cooler in loaf form.
I have made several versions over the years, including a red velvet version in my Red Velvet Lover’s Cookbook. But I quickly noticed the obvious lack of a chocolate version. And that just wouldn’t do. You need a chocolate version of pretty much everything. Am I right?
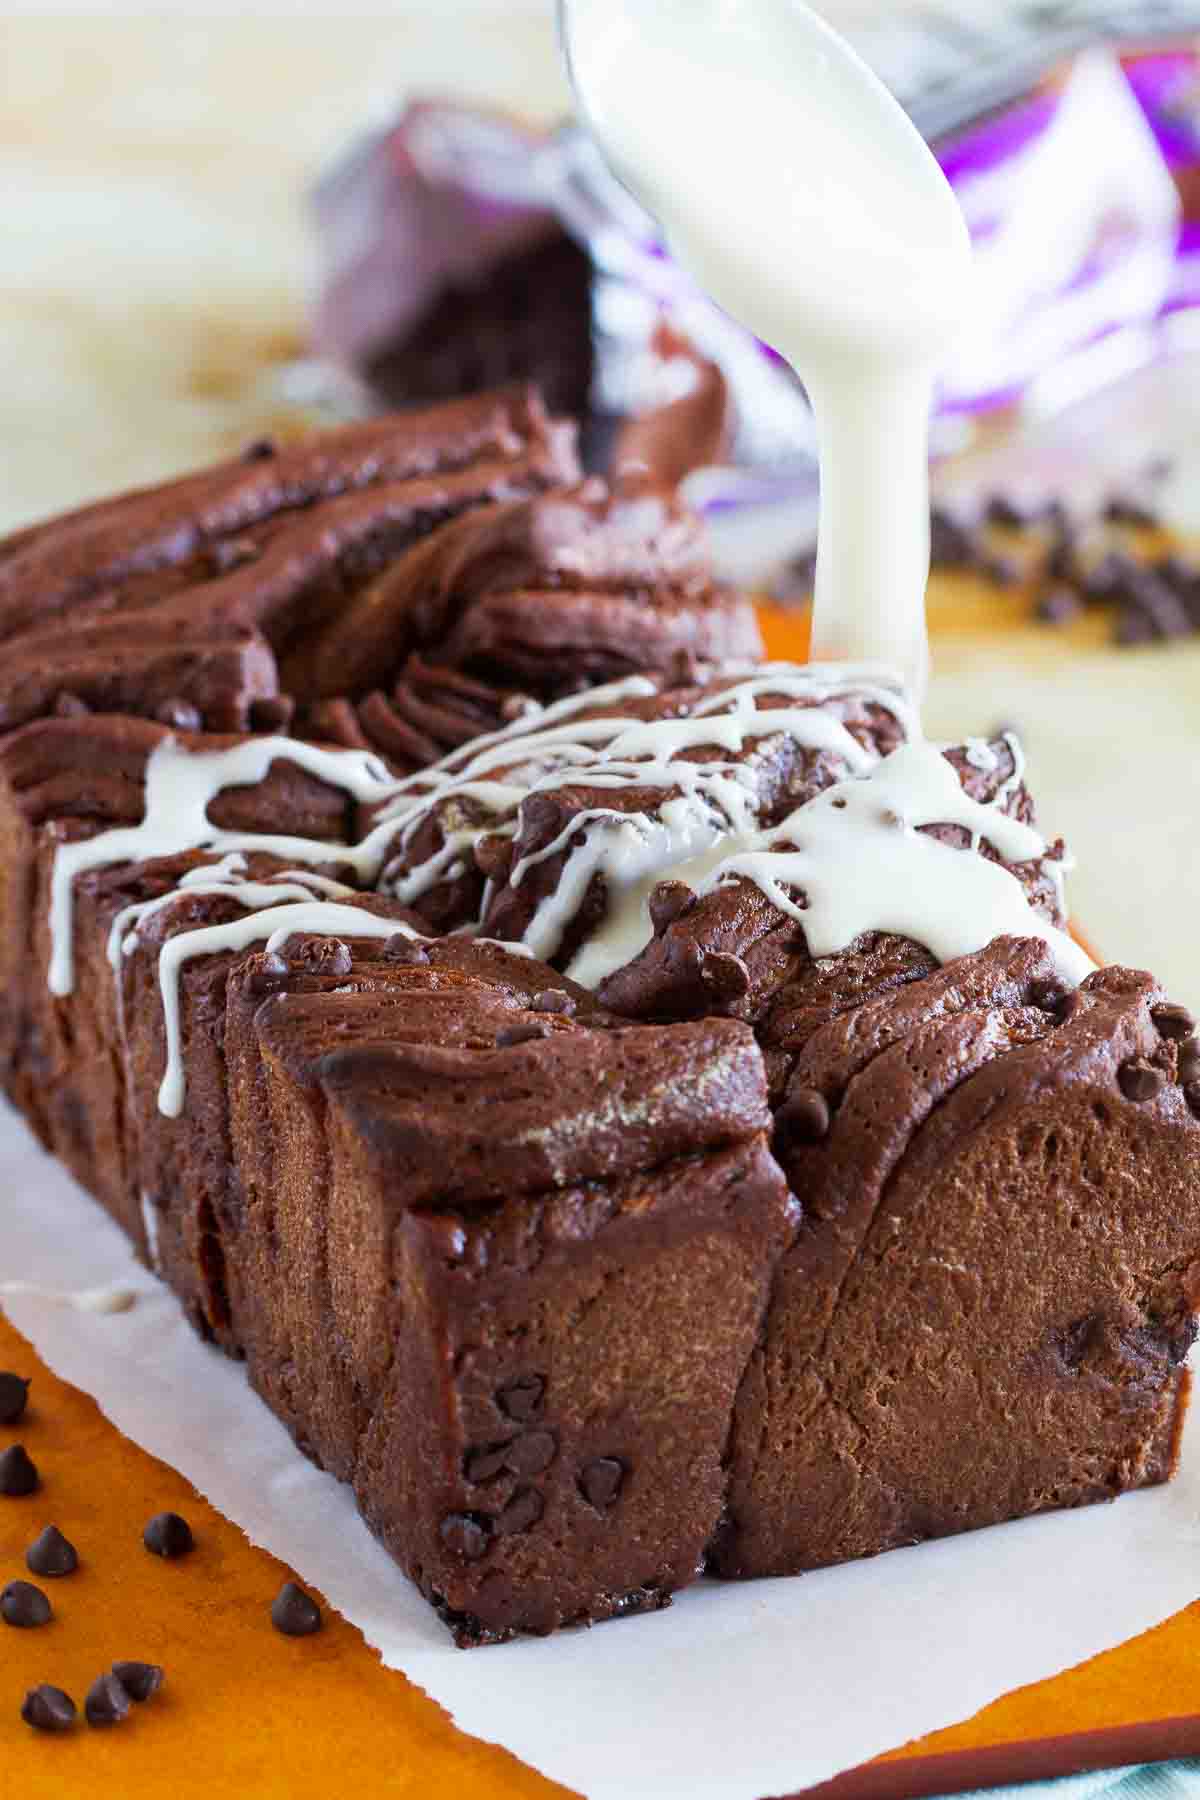
So it was time to get in the kitchen and do some playing and testing. And that is when this Chocolate Pull Apart Bread came to be.
I actually started with the recipe for my Red Velvet Pull Apart Bread as a guide. But instead of making it red velvet – with just a light cocoa flavor – I went all out. HERSHEY’S Cocoa made this easy!! The bread itself is not too sweet with the perfect amount of chocolate flavor, but to bump up the sweetness and chocolate factor, I decided that there needed to be more chocolate between the layers. I used HERSHEY’S KITCHENS Semi-Sweet Mini Chips to bump up that chocolate intensity. I prefer to use the mini chips over regular chips because they won’t all sink to the bottom of the bread, and that way, every bite will have some of that chocolate flavor. And then, to prove that you can never really go overboard, I added a simple cream cheese glaze to the top.
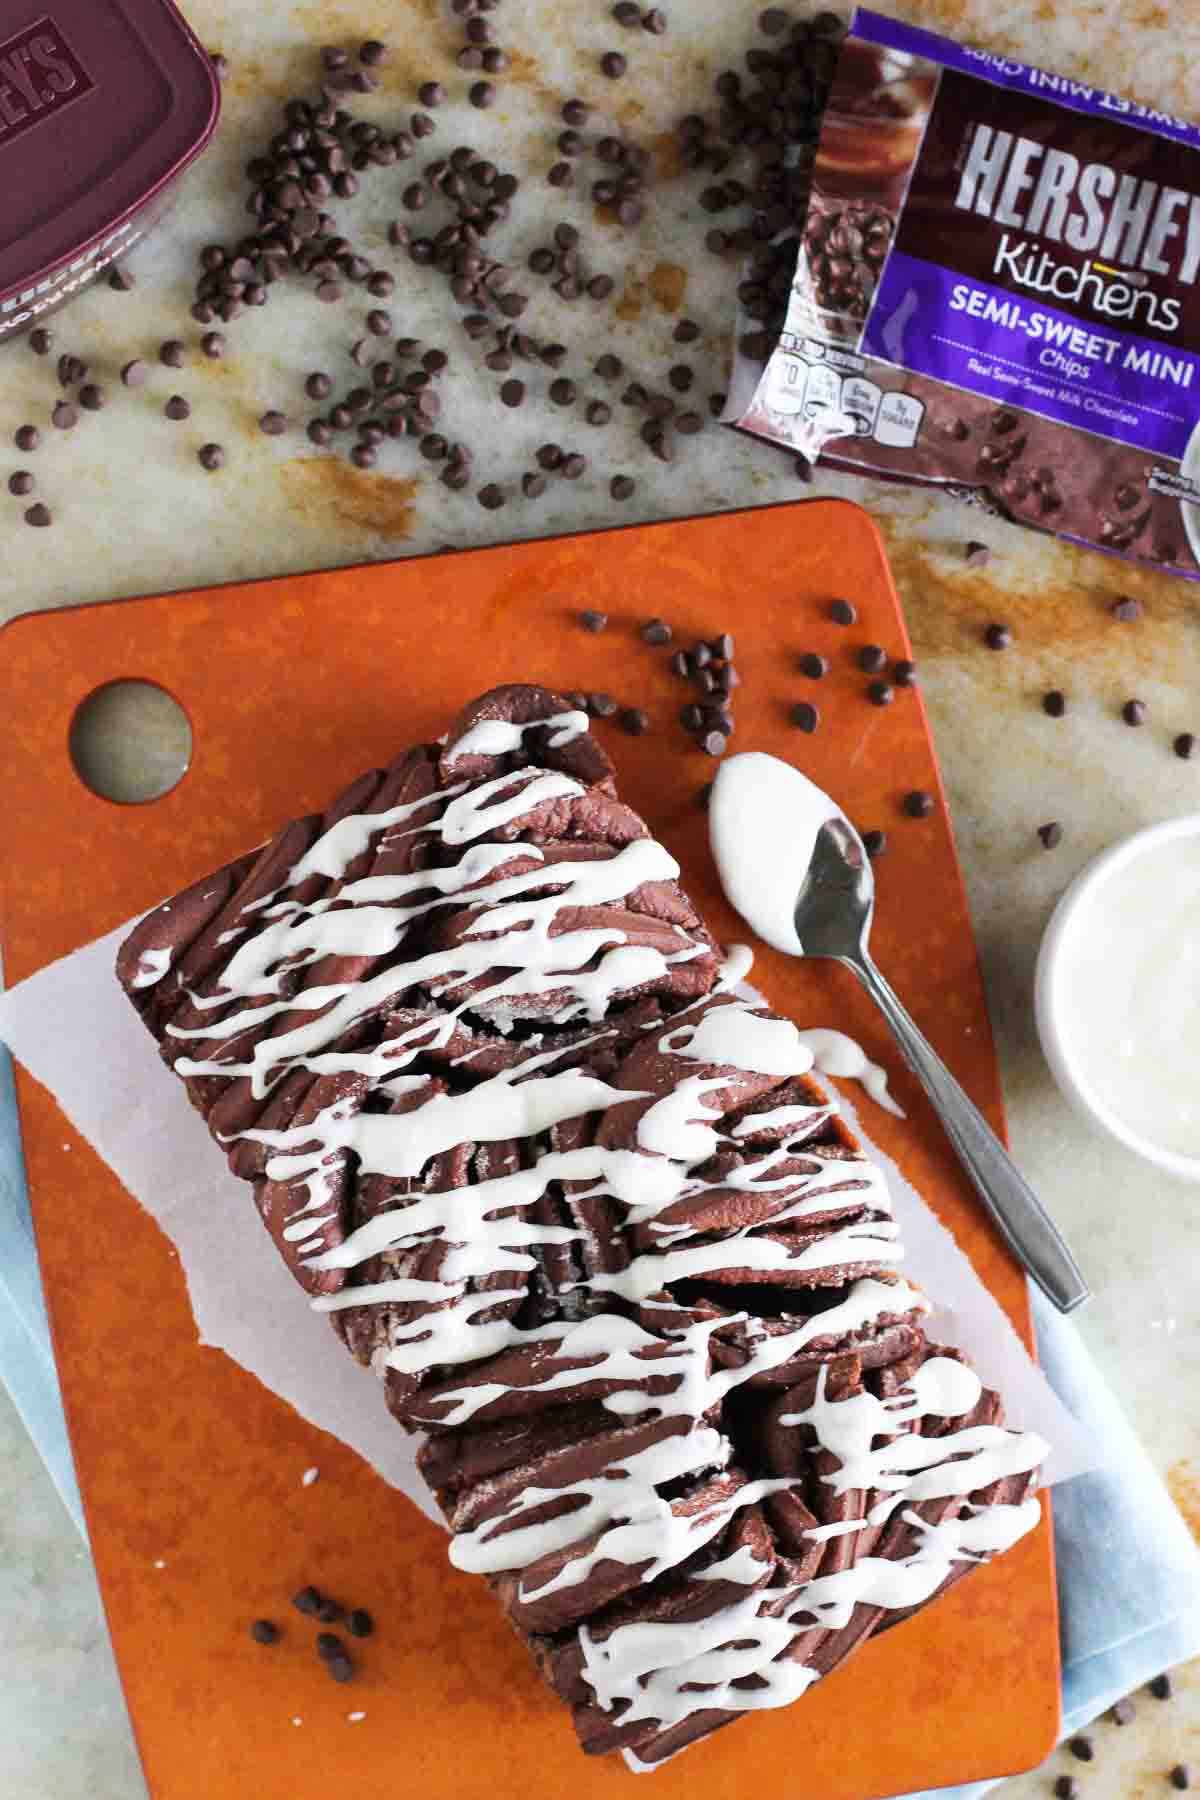
Let’s just say that I think chocolate bread should be a requirement in every household from now on. This was good.
Even after making loaf after loaf, I kept going back for another piece. It’s fun for the kids since they can just pull off their own pieces, and it just tastes amazing. I think I need to explore like this in the kitchen more often!!
Chocolate Pull Apart Bread Video
More Pull Apart Breads
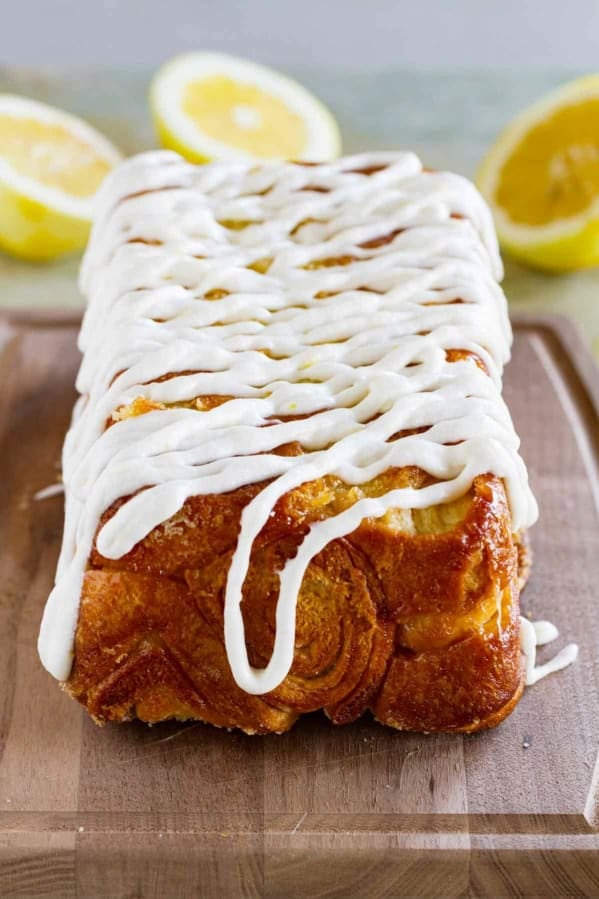
Lemon Roll Pull Apart Bread
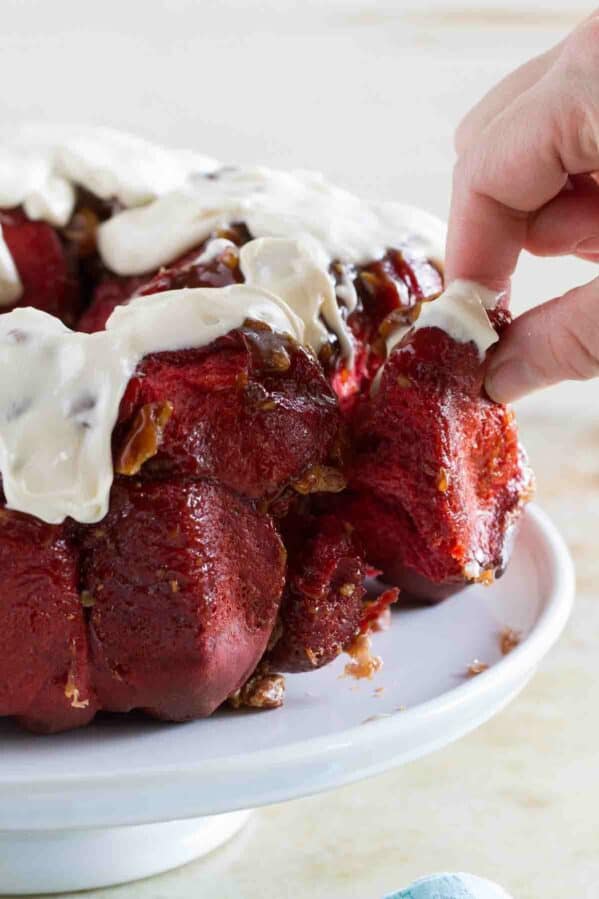
Red Velvet Pull Apart Bread
Monkey Bread (from scratch)
LOOKING FOR MORE FREE RECIPES?
Subscribe to my free recipe newsletter to get new family friendly recipes in your inbox each week! Find me sharing more family-friendly inspiration on Pinterest, Facebook, and Instagram.
Chocolate Pull Apart Bread
Ingredients
For the bread:
- 1 1/2 cups milk
- 8 tablespoons butter cut into pieces
- 1/2 cup warm water
- 2 (0.25 oz) each packages active dry yeast
- 3/4 cup granulated sugar plus an additional pinch
- 2 teaspoons salt
- 1/2 teaspoon baking soda
- 3/4 cup HERSHEY’S cocoa
- 5 cups bread flour
For the filling:
- 3 tablespoons butter softened
- 1/2 cup granulated sugar
- 1/2 cup HERSHEY’S KITCHENS Semi-Sweet Chocolate Mini Chips
For the Glaze:
- 4 oz. cream cheese softened
- 3/4 cup confectioners’ sugar
- 1 tablespoon butter softened
- 3 tablespoons milk
Instructions
- Heat the milk and the butter in a saucepan over medium heat until the butter is melted. Remove from the heat and cool to lukewarm.1 1/2 cups milk, 8 tablespoons butter
- Combine the warm water, yeast, and a pinch of sugar in a small bowl and let sit until the yeast is foaming, 5 to 10 minutes.1/2 cup warm water, 2 (0.25 oz) each packages active dry yeast
- Combine the milk/butter mixture and the yeast mixture in the bowl of a stand mixer fitted with the paddle attachment. Mix in the 3/4 cup of sugar, the salt and the baking soda. Mix in the cocoa and 2 cups of the flour. Switch to the dough hook and continue to add flour, 1/2 cup at a time, until the dough starts to pull away from the sides of the bowl. (You may need a little less or a little more flour.) Knead at medium-low speed until the dough is smooth and tacky but not overly sticky, 3-5 minutes.3/4 cup granulated sugar, 2 teaspoons salt, 1/2 teaspoon baking soda, 3/4 cup HERSHEY’S cocoa, 5 cups bread flour
- Oil a large bowl with vegetable oil. Turn the dough onto a counter and form it into a ball. Put the dough in the bowl and turn it over to coat it with the oil. Cover the bowl with plastic wrap and allow the dough to rise in a warm spot until doubled in size, about 1 1/2 hours.
- Spray two 9×5-inch loaf pans with nonstick cooking spray.
- Divide the dough in half. Roll one half of the dough into a 12×15-inch rectangle. Brush the dough with half of the softened butter. Sprinkle with half of the sugar and mini chips, pressing them lightly into the dough with your hands. Slice the dough into 6 strips (each 2×15 inches), stack the strips, and cut each stacked strip into 6 pieces. Set the strips upright, side by side, in one of the loaf pans. Repeat with the remaining dough and ingredients. Cover the pans with plastic wrap and allow the loaves to rise in a warm spot until doubled, about 1 hour.3 tablespoons butter, 1/2 cup granulated sugar, 1/2 cup HERSHEY’S KITCHENS Semi-Sweet Chocolate Mini Chips
- About 15 minutes before the loaves finish rising, preheat the oven to 350ºF. When the rising is complete, bake the loaves until cooked through, 30 to 35 minutes. Cool on racks.
- To make the glaze, beat the cream cheese, confectioners’ sugar and butter in a bowl until light and fluffy. Beat in the milk, 1 tablespoon at a time, until the mixture reaches a drizzling consistency. Remove the loaves from the pans and drizzle with the glaze.4 oz. cream cheese, 3/4 cup confectioners’ sugar, 1 tablespoon butter, 3 tablespoons milk
- Cover with plastic wrap and store in the refrigerator for up to 2 days.
This post has been sponsored by The Hershey Company, but all opinions are my own. Thank you for supporting me and the companies I partner with.
Deanna H says
Can you freeze this bread?
Deborah says
I haven’t tried personally, but I think it should freeze just fine.
Michelle says
you are so cute!