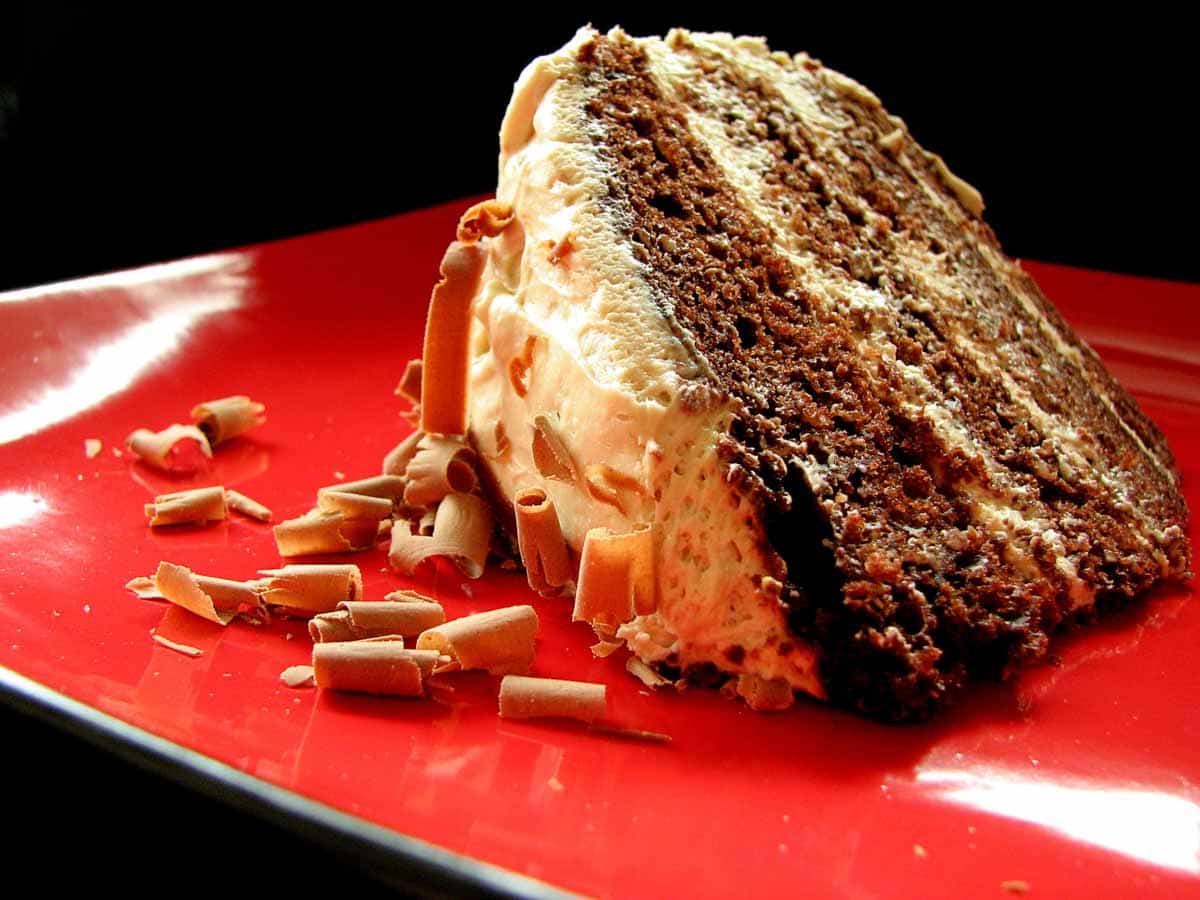
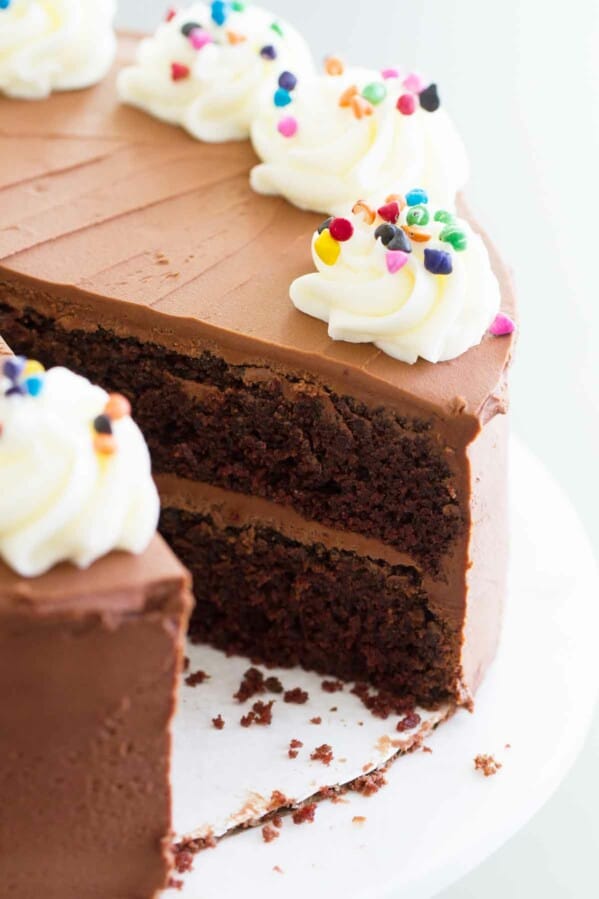
This Chocolate Torte has chocolate cake layers that are filled and frosted with a light, whipped cream and cream cheese frosting.
If you love chocolate cake, you also need to try this German Chocolate Cake or this Cookies and Cream Cake.
I always love it when I have the opportunity to bake. I don’t bake very much at home these days, seeing that there is just the two of us, and we can’t (nor should we!) eat a whole cake ourselves. Baking used to happen all of the time – share with roommates, co-workers, family, but these days, a cake is pretty rare.
It was a co-worker’s last day today, so we were throwing a shin-dig, and I volunteered to bring a cake because I have been dying to try this chocolate torte recipe I ran across.
I have never made a “torte” (a cake with many layers) and the frosting on this just sounded divine. So I used this chance to make my torte.
I think it was a big success. Everyone that ate some complimented me, and I was even able to manage a small slice to try out. The cake portion is just a plain old cake mix (sometimes I love to take a shortcut) but any chocolate cake recipe would work just fine.
My biggest complaint about this cake had to do with my abilities, not so much with the recipe. I made the two cake layers, which I later cut into two – forming the four cake layers. I just wish that I knew how to make the layers more uniform. Once you sliced into the cake, you could tell where the layer with the rounded top of the cake was. I was worried about this when I was putting it together, and thought about cutting the top off to make it level, but that wouldn’t leave as much cake. Hmmmm, dilemma. If anyone out there is a cake baker – the solution to this would be welcome!!!
My other trick that I just learned – although it is probably well known out in the cooking world – is a great trick to making the chocolate curls to adorn the cake. I heard years ago to use a vegetable peeler, but when I tried that, all I got was chocolate powder. I read (in the reviews on allrecipes.com) to heat the chocolate in the microwave for a few seconds before trying for the curls. It worked magic!!
Anyway, the recipe is listed below. I definitely would make this again!!
LOOKING FOR MORE FREE RECIPES?
Subscribe to my free recipe newsletter to get new family friendly recipes in your inbox each week! Find me sharing more family-friendly inspiration on Pinterest, Facebook, and Instagram.
Chocolate Torte
Ingredients
- 1 (18.25 oz) box chocolate cake mix, plus ingredients called for on the box
- 12 oz cream cheese softened
- 1 cup packed brown sugar
- 1 1/2 cups heavy whipping cream
- 1 1/2 teaspoons vanilla extract
- 1 o square milk chocolate
Instructions
- Prepare the cake mix as according to the package directions. Bake in 2 9-inch round cake pans. Cool completely. Cut each of the cakes in half, forming 4 layers.
- In a bowl, combine the cream cheese, brown sugar and vanilla. Beat until soft and well combined.
- In a separate bowl, beat the whipped cream until soft peaks have formed. Fold in the cream cheese mixture.
- Place the bottom cake layer on a serving dish. Spread some of the whipped cream on top of the cake. Top with another layer. Add more of the whipped cream. Add the third layer, more whipped cream, and then the last cake layer. Use the remaining whipped cream to frost the top and sides of the cake. Grate the chocolate on top.
- Refrigerate for 6 hours before serving.

Gwen says
Seems sort of silly to leave a comment on a post this long after the fact but… you asked about ways to keep a cake more level and no one else has answered so I’ll take a stab at it. My favorite cake pans for a level cake are cushionair or any of the other brands of insulated pans. They really do help. However, they don’t come in a lot of sizes and are a bit pricey so a more versatile and cheaper solution is cake strips, or bake even strips or even bake strips… they have a lot of names. You can find them at stores that carry cake decorating supplies. They are fabric strips that you soak in water first and then wrap around the cake pans. I find that the strips or insulated pans work well and for most family and friend cake baking the cake is plenty level. If I am doing a cake for something touchy, like a wedding, using the strips means I don’t have to trim as much. There are a bunch of gadgets and tricks for cutting level layers too but that’s a whole ‘nother post and this one is long enough.
Arfi Binsted says
It looks delicious, Deborah!