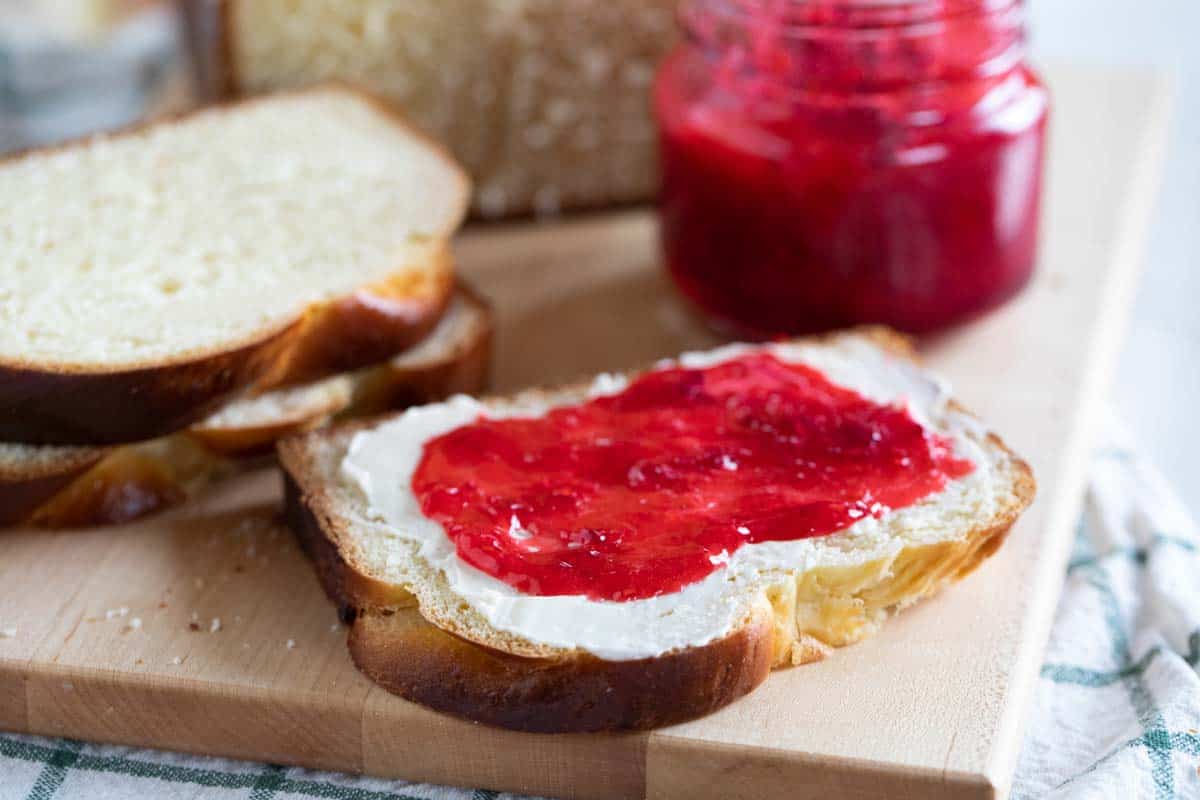
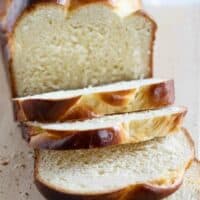
A brioche recipe that is easy enough for the home cook, this bread is soft and light and buttery. It is perfect with butter and jam, or as French toast the next morning!
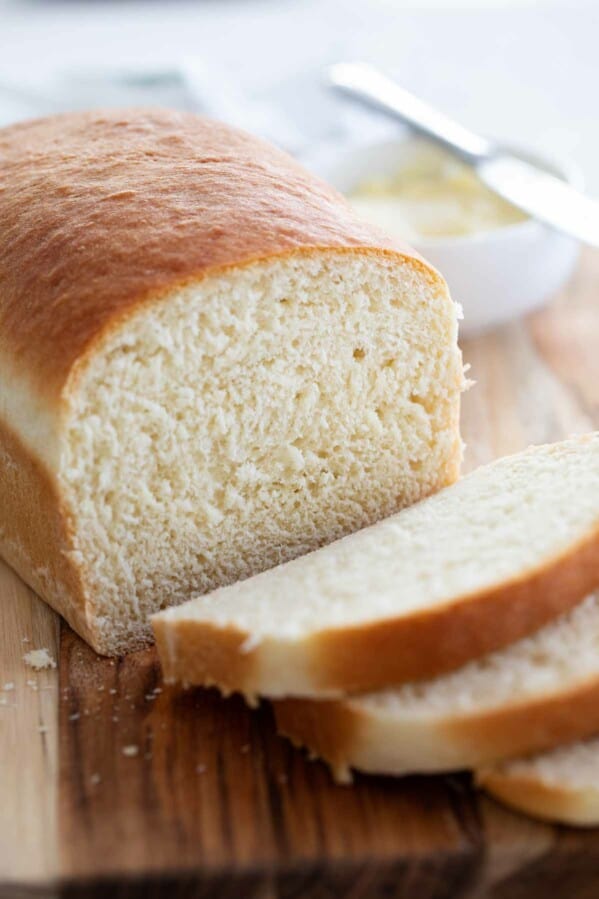
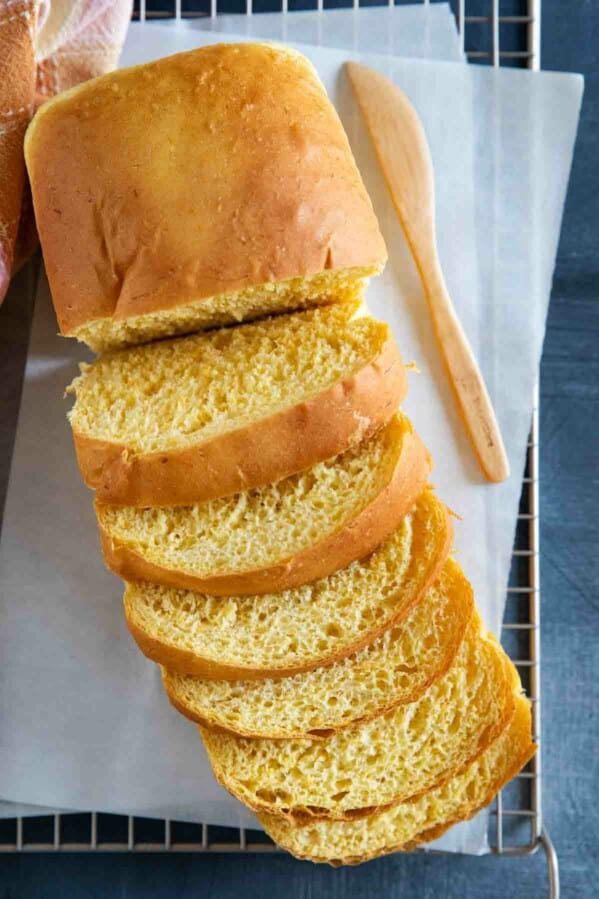
If homemade bread is your jam, try this White Bread Recipe, Potato Bread, Artisan Bread Recipe, or my favorite Dinner Roll Recipe.
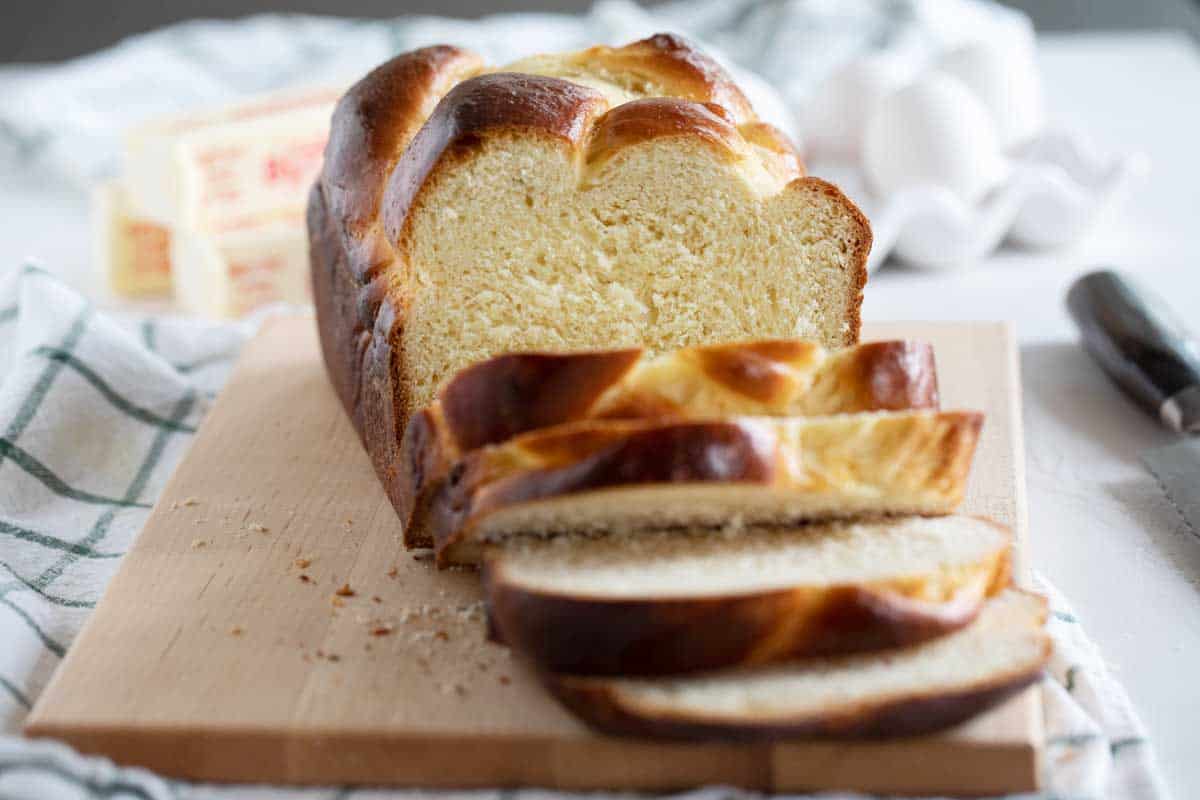
One of my number one goals here at Taste and Tell is to keep everything accessible. I’m just a home cook, and I get it – when I look at a recipe and it takes days to make and has 50 steps, I skip right over it.
So when I went back to the Brioche Bread recipe that was originally posted here, I knew I needed to change it. It took 2 days to make, and it was definitely a more complicated recipe. It was a great recipe, but was not realistically a recipe that I would make often because of the time and effort it took.
That being said, this new recipe may be a bit intimidating for a beginning baker. But rest assured – it’s really not that hard! It can be made in one day, and has a list of ingredients that you probably have in your kitchen right now.
And if you’ve never had a slice of fresh homemade brioche, you definitely need to get in the kitchen and bake up a loaf of this bread!
Want rolls instead? Try this recipe for Brioche Rolls.
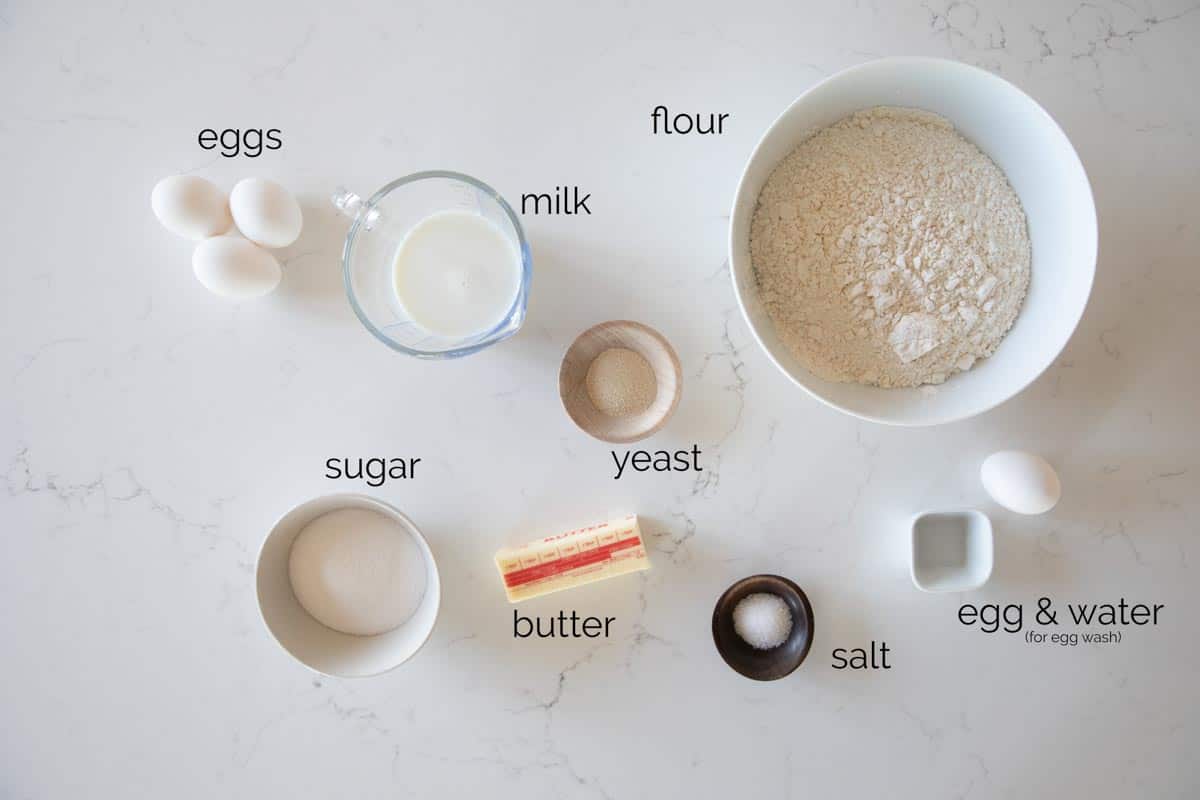
Ingredients
Milk: I use 2% because that is what I keep on hand, but whole milk would be ideal.
Yeast: You’ll want to use active dry yeast. If all you have is instant yeast, that will work, but I’d still suggest activating it in the warm milk.
Eggs: Use large eggs. You’ll need them at room temperature for best results.
Sugar: Just granulated sugar. I would not call this bread sweet, but it does have a bit of sweetness in the background. Maybe that’s why it’s perfect for French toast!
Butter: Use unsalted butter. Usually I say you can switch in salted and cut back on the salt, but I would stick with unsalted butter for this recipe.
Salt: I like to use sea salt, but Kosher salt is great, as well.
Flour: You’ll want to use all-purpose flour. You could use bread flour, but that will change the texture just a bit and give you a chewier bread.
How to Make Brioche Bread
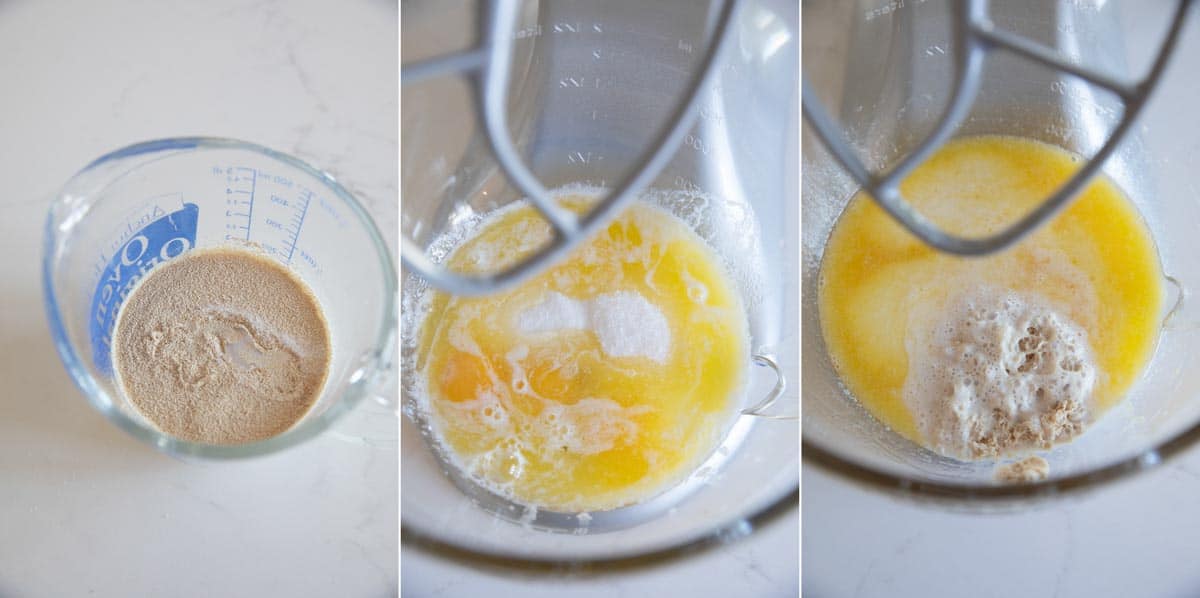
1 – Start by combining your milk, yeast, and a little bit of the sugar. I just do this in my liquid measuring cup that I use to measure the milk.
2 – In the bowl of a stand mixer, combine 3 of the eggs, the remaining sugar, the butter, and the salt.
3 – Add the yeast mixture to the bowl and mix to combine.
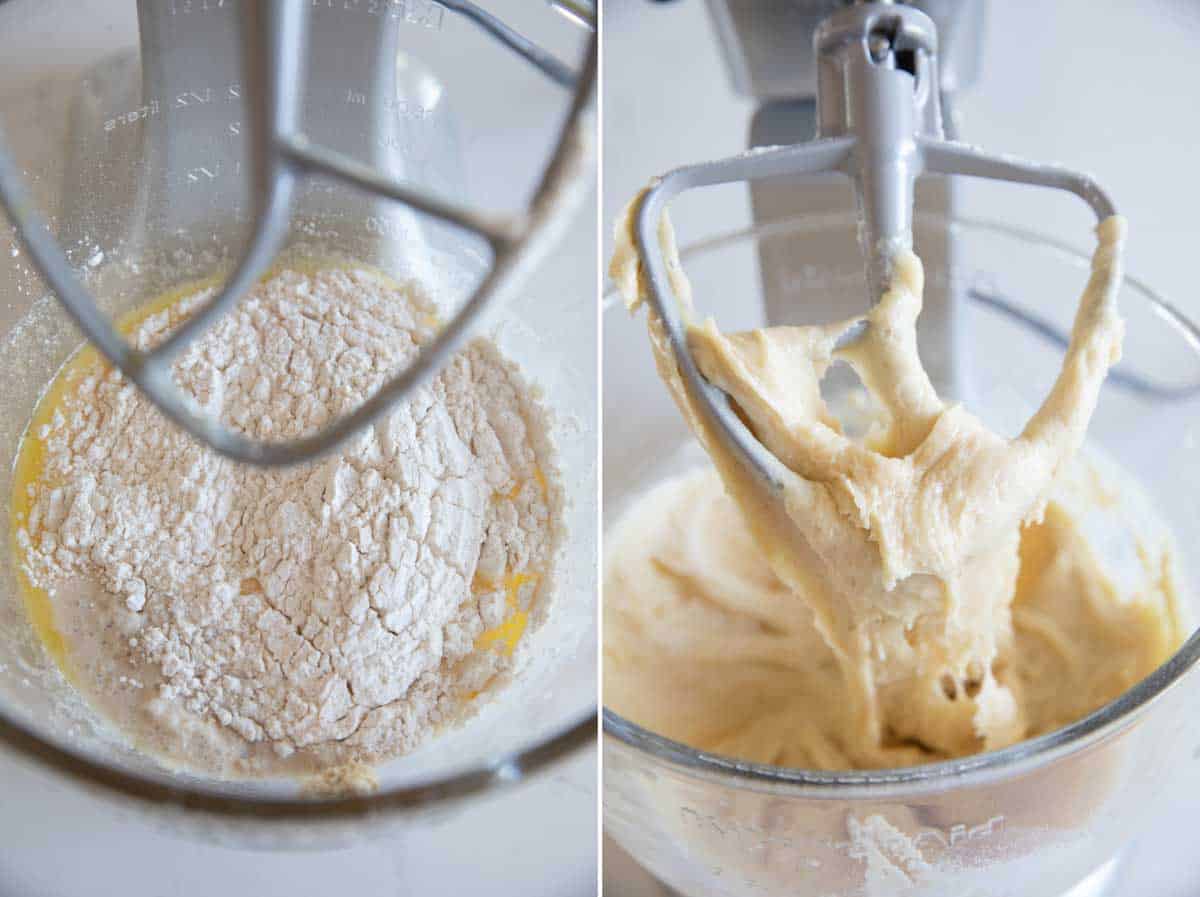
4 – Start adding in the flour, 1 cup at a time.
5 – Once you’ve added 3 cups fo the flour, you’ll want to switch to the dough hook. The dough will be very soft and sticky at this point.
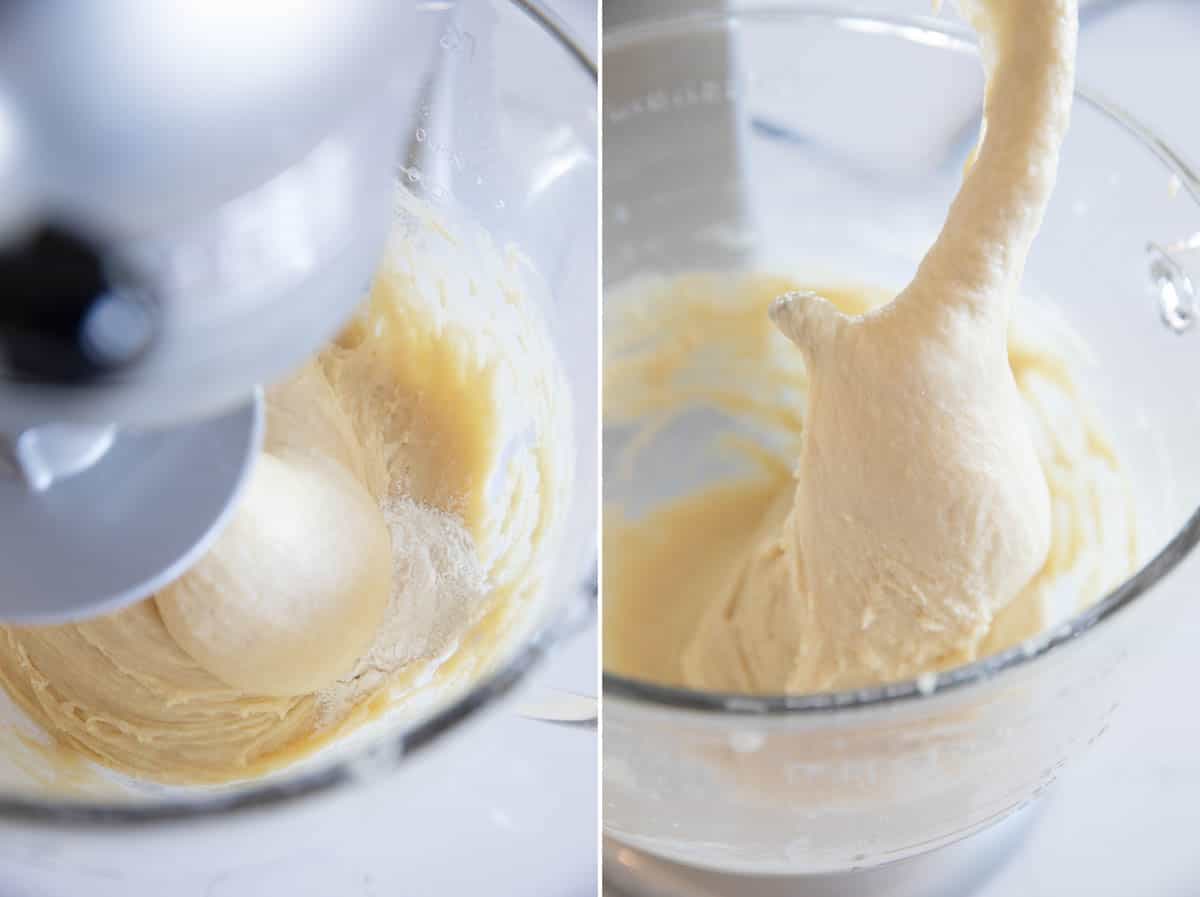
6 – Continue adding the flour until you’ve added 4 cups total.
7 – As the dough is kneaded, it will start to form a soft, silky dough that starts to pull away from the sides of the bowl. If you need to add additional flour, do so 1 tablespoon at a time, up to another half cup. Let the dough knead for 15-20 minutes. It seems like a long time, but you need to develop the gluten. You’ll know that it is done when it is smooth. It may still be a little bit sticky, and that’s ok!
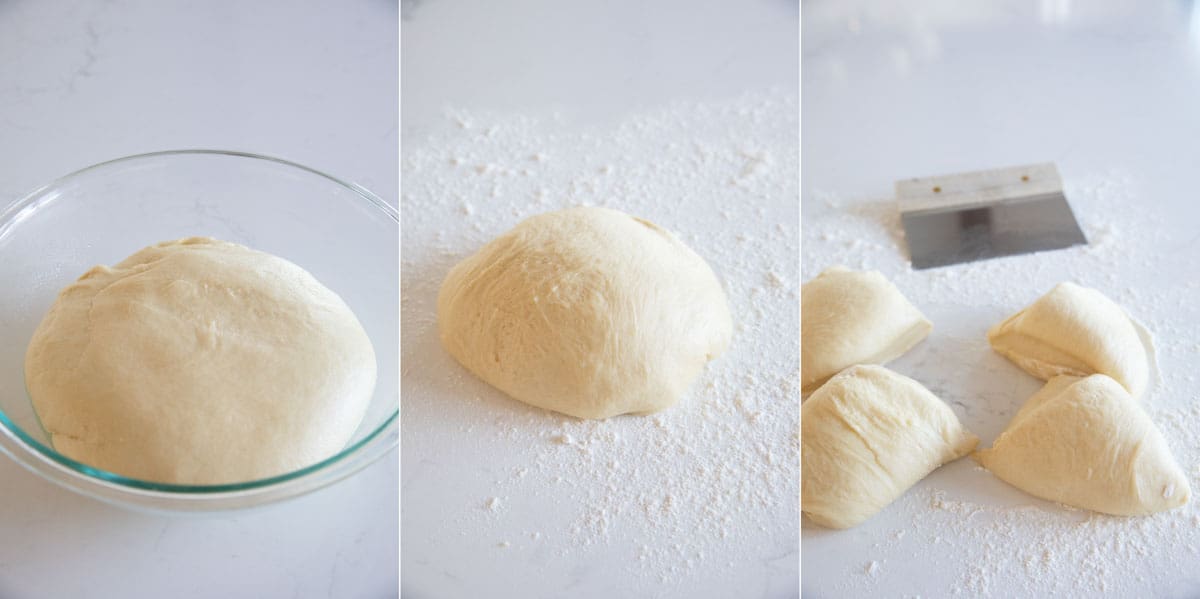
8 – Place the dough in a greased bowl and turn to coat it in the oil. Cover with plastic wrap and let it rise until doubled. This can take up to 2 hours.
9- Pour the dough out onto a counter that is lightly floured.
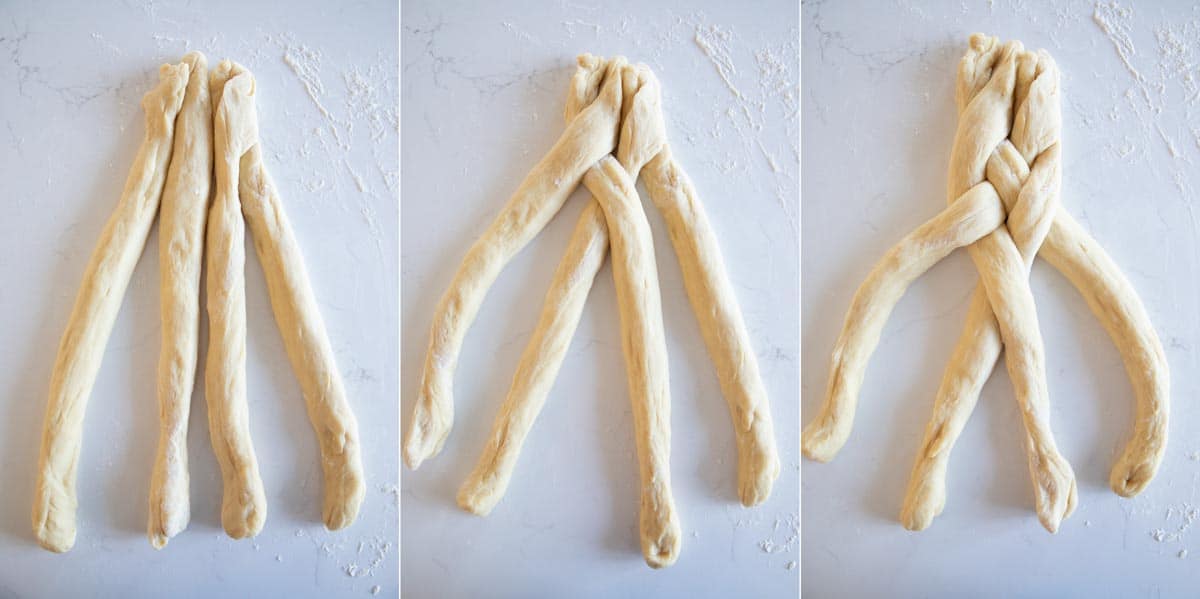
10 – At this point, you can shape it into a loaf and place it in a loaf pan, or you can braid it. I’ll walk through how to braid it below. You’ll want to start by cutting the dough into 4 equal pieces.
How to Braid Bread
Take each of the 4 pieces of dough and form them into ropes, about 12 inches long. Pinch the tops together. If they don’t totally stick, that’s ok – you’ll tuck them in once you are done braiding.
Start with the piece on the farthest right and drape it over the piece just to the left of it. Then take the piece on the furthest left. Take it under the piece next to it, then over the next piece.
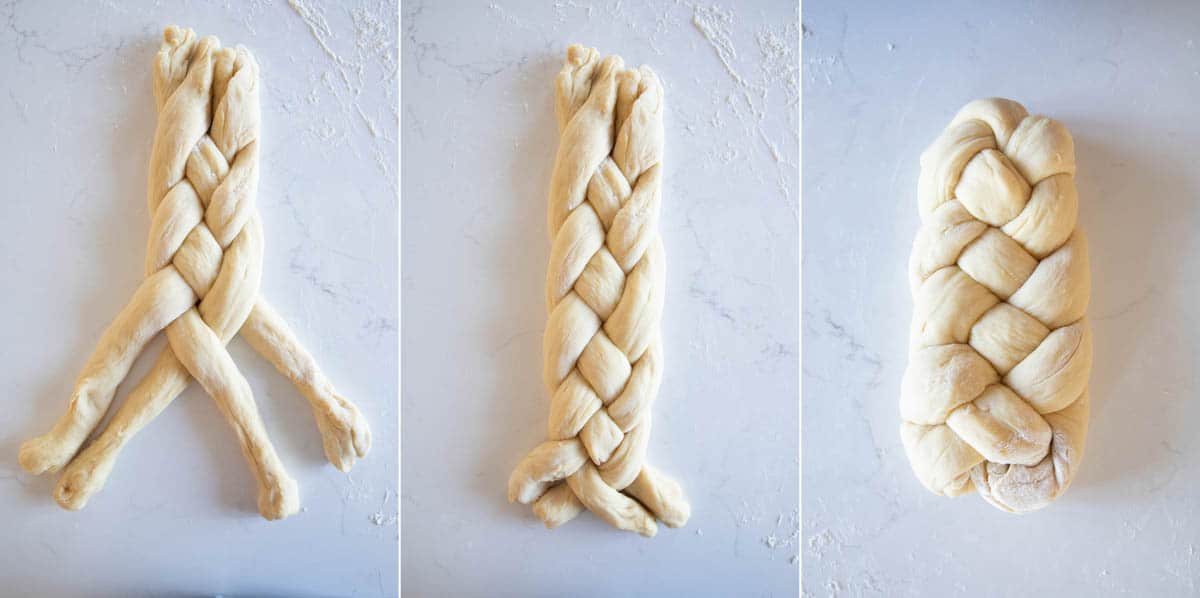
Keep repeating this pattern until you reach the end.
Tuck the top pieces under, and the bottom pieces under, forming your loaf.
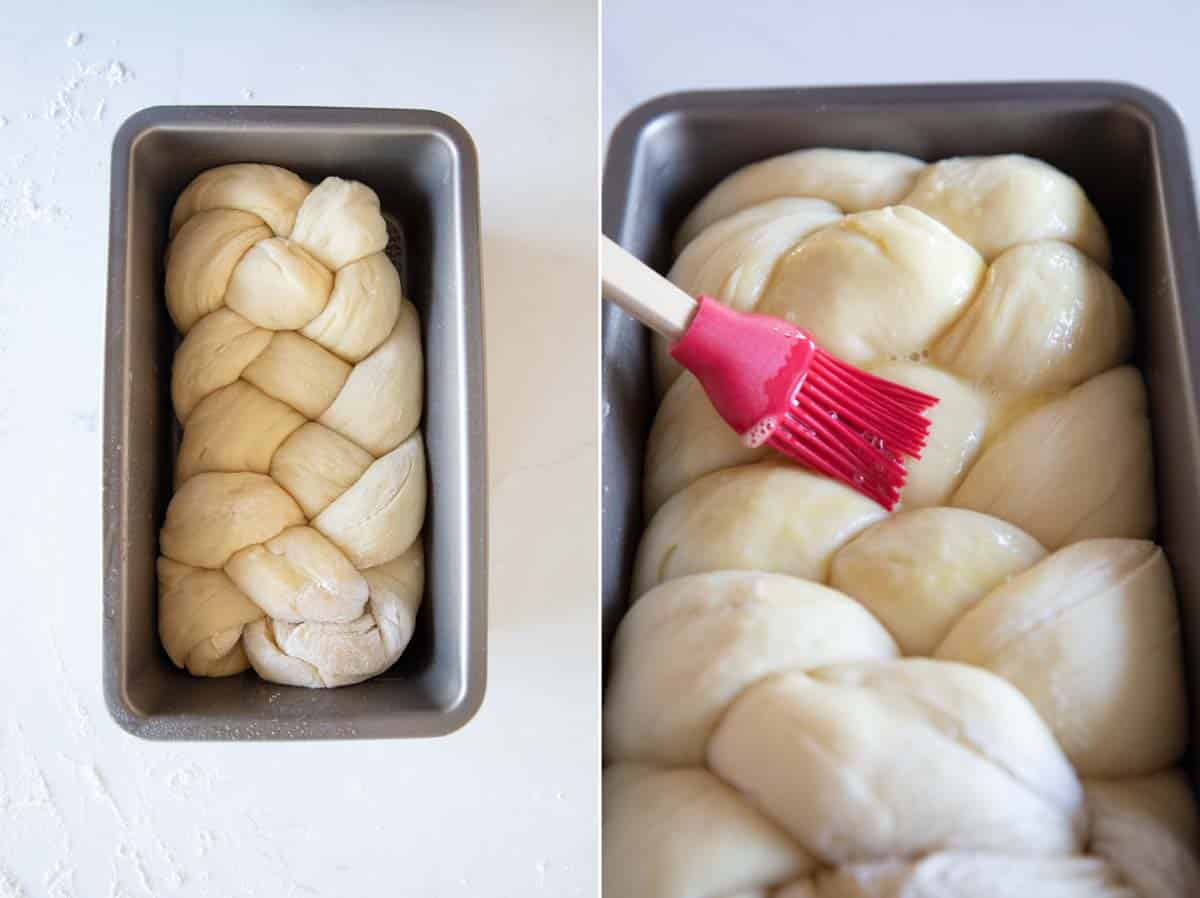
Place the loaf in a loaf pan. Cover it with plastic wrap and let it rise until it almost reaches the top of the pan.
When you are ready to bake the loaf, make the egg wash by lightly whisking your last egg with the teaspoon of water. Gently brush this over the top of the loaf. You won’t need it all – just use enough to coat the top evenly.
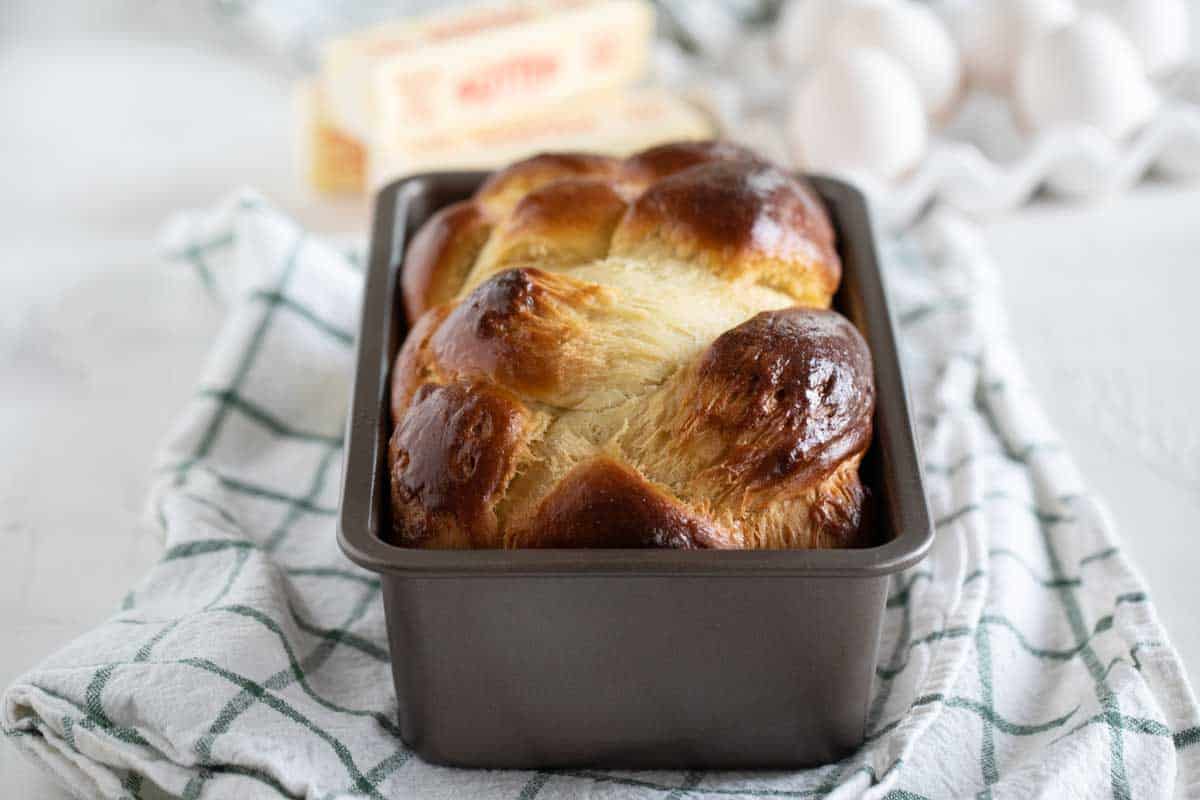
Bake the bread until it is golden brown and cooked all the way through. You’ll want to cover it loosely with foil halfway through the bake time to prevent over-browning.
Storage and Freezing
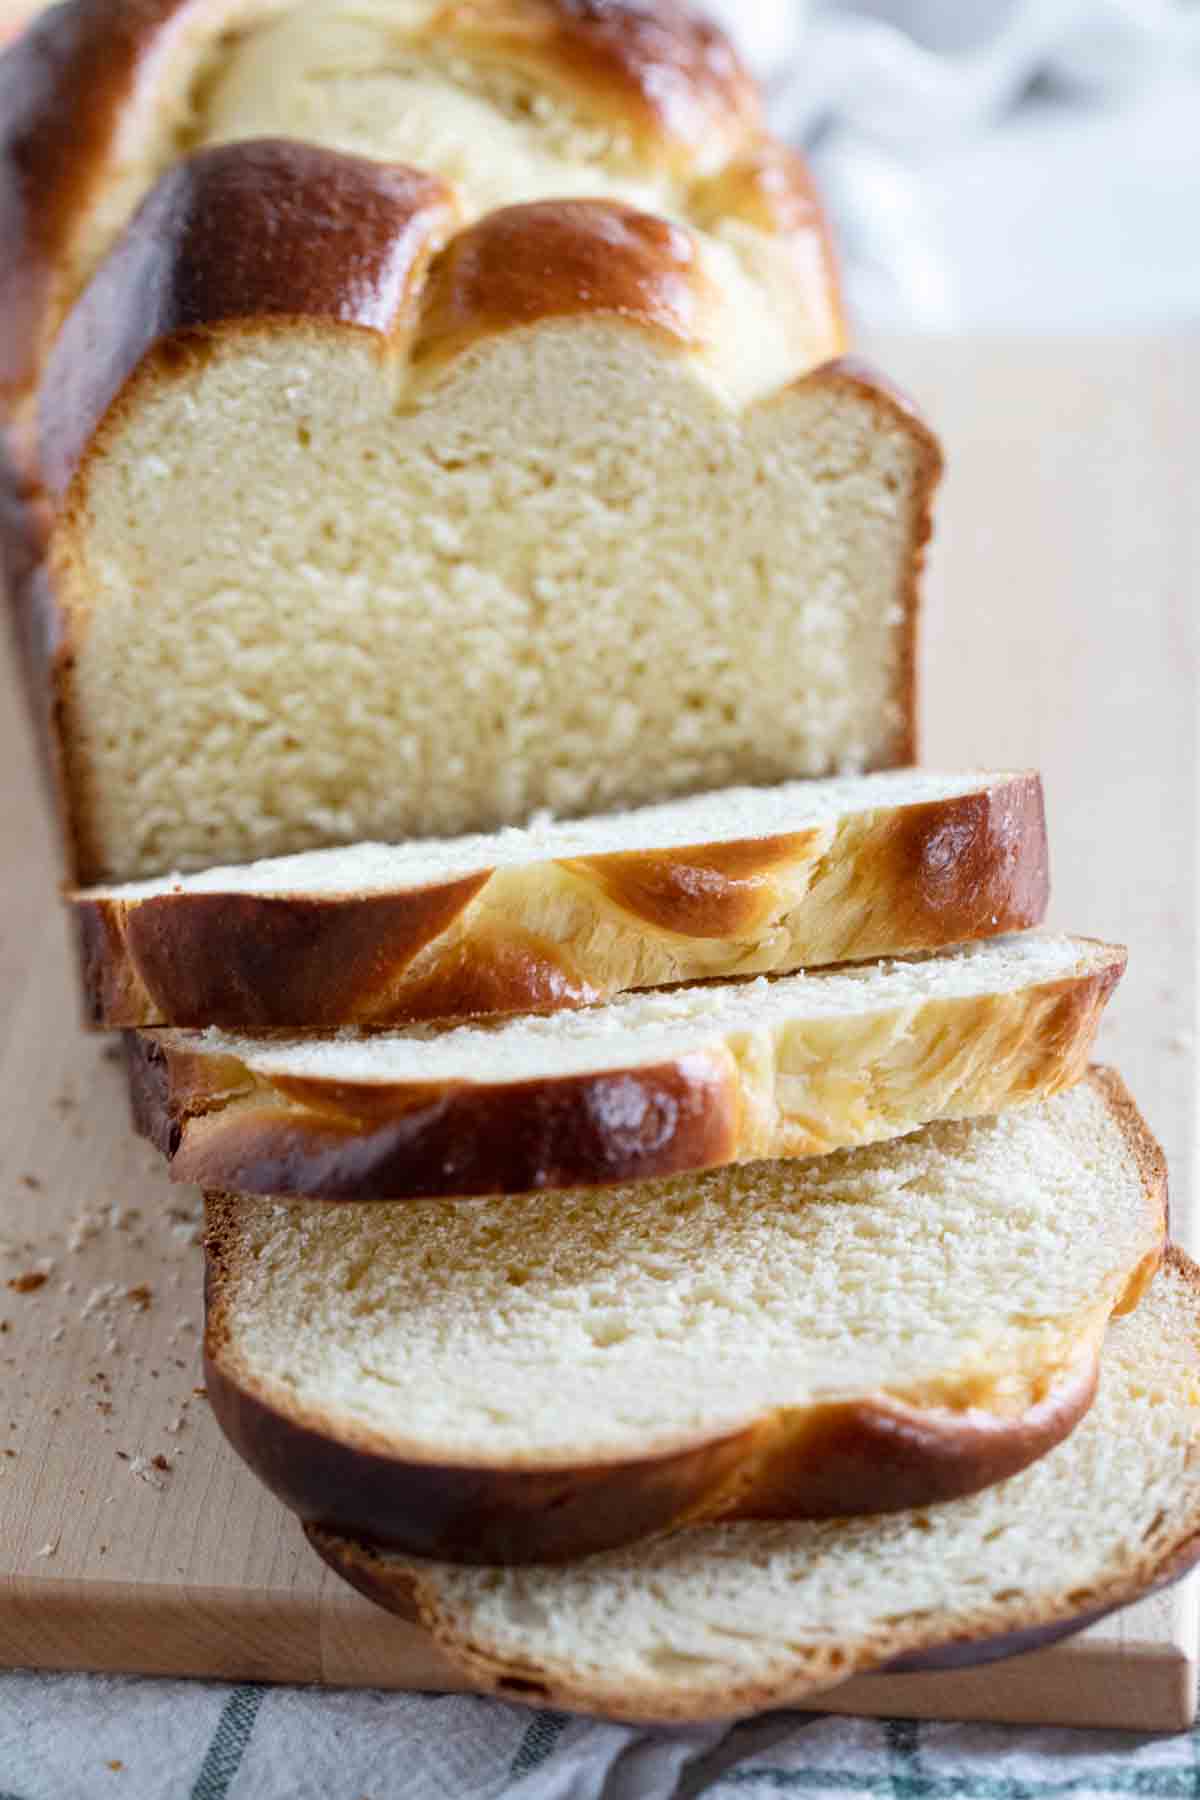
I like to store my bread in a plastic bread bag. Because it doesn’t have all the preservatives that store bought bread has, the shelf life is not as long. I usually like to eat it within 2 days.
You can also freeze the bread. Just wrap it tightly in foil and/or plastic wrap and freeze for up to 3 months. Thaw it at room temperature.
Don’t Have a Stand Mixer?
I’m not going to lie – this is probably a recipe that you’ll want a stand mixer for. Technically you can make it without a mixer, but it will take a long time to knead and it will probably be pretty messy. You want to develop the gluten without adding too much flour, and that will be tricky if you are doing it by hand.
So is it possible? Yes. Would I recommend it? No. 🙂
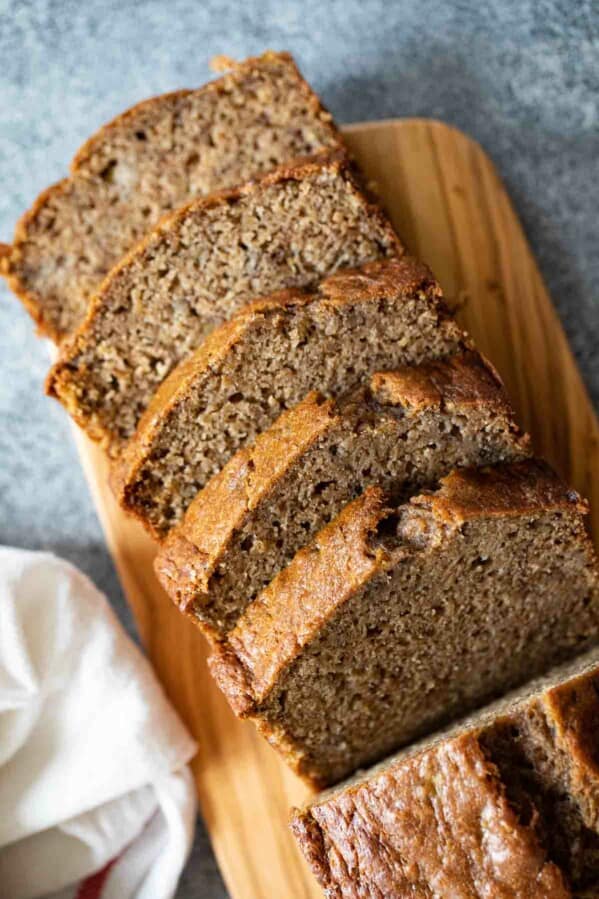
More Bread Recipes
LOOKING FOR MORE FREE RECIPES?
Subscribe to my free recipe newsletter to get new family friendly recipes in your inbox each week! Find me sharing more family-friendly inspiration on Pinterest, Facebook, and Instagram.
Brioche Recipe
Ingredients
- 3/4 cup milk
- 2 teaspoons active dry yeast
- 4 eggs room temperature, divided
- 1/2 cup sugar
- 7 tablespoons unsalted butter melted and slightly cooled
- 1 teaspoon salt
- 4 to 4 1/2 cups all-purpose flour
- 1 teaspoon water
Instructions
- Heat the milk to about 110ºF. Add the yeast and about 1 teaspoon of the sugar. Set aside until it starts to foam.
- In the bowl of a stand mixer fitted with the flat beater, combine 3 of the eggs, the remaining sugar, the butter and the salt. Mix to combine. Add the proofed yeast mixture.
- Start adding in the flour, 1 cup at a time. When you have added about 3 cups of the flour, switch to the dough hook.
- Continue to add the flour until you have added 4 cups. Continue to knead with the dough hook until the dough starts to come together. This will usually take 15-20 minutes. The dough will still appear a bit sticky, but should be starting to pull away from the sides of the bowl. If it’s not, continue to add flour by the tablespoon, up to 1/2 cup of flour more. (It’s ok if the dough is still a little sticky.)
- Once you are finished kneading the dough, turn it out into a bowl that has been sprayed with nonstick cooking spray or lightly oiled. Turn the dough over so that all sides are oiled. Cover the bowl with plastic wrap and allow the dough to rise until doubled, about 1 1/2 to 2 hours.
- Once the dough has risen, turn it out onto a countertop that is lightly dusted with flour.
- At this point, you can shape it into a basic loaf, or you can braid the bread. (Braiding instructions are included in the notes below.)
- Place the dough in a 9×5” loaf pan that has been sprayed with nonstick cooking spray. Cover and let the dough rise until it almost reaches the top of the pan, 30 minutes to an hour.
- Preheat the oven to 375ºF.
- When the loaf has risen, make the egg wash by lightly beating together the remaining egg and teaspoon of water. Gently brush this over the top of the loaf. (You won’t need to use it all.)
- Bake the loaf until it is browned and cooked through, about 28 minutes. I like to cover my loaf with foil about halfway through to prevent over-browning.
- Remove from the oven and let the bread sit for a few minutes then turn out onto a cooling rack to cool completely.
Recipe Notes:
- Take the dough and separate into 4 equal sized pieces.
- Roll each piece into a long rope, about 12 inches long.
- Take the tops of each and pinch together.
- Start with the farthest right hand side rope and take it over the rope just to the left. Now take the farthest left hand side rope and take it under the rope to its right and then over the next rope.
- Repeat with what is now the farthest right rope, taking it over the piece next to it. Then taking the farthest left rope under the rope next to it, then over the next rope.
- Continue until you reach the bottom.
- Tuck the top ends under the top of the loaf, and the bottom ends under the bottom of the loaf.


Francesca says
this brioche looks great GNAMM
kellypea says
You made this on the same day as the Bostini????? Jeez! I still haven’t gotten around to getting mine made. The whole rich, middle, and poor type of brioche is interesting. As is your ending up making the recipe that had all the butter. I can’t wait to try it, but am planning from the beginning on freezing it for French toast or some other desserts I’ve seen that use it. I think you’ve inspired me to get off my lazy butt and get some brioche made. Diet or not! But only the poor man’s version, sadly.
Kate says
I’ve still never made Brioche. Gosh there is soo many things i haven’t tried and then i see wonderful posts like yours that not only tell more how to make it but also describe it … really makes a diff as to what to expect while making them. They sound delicious Deborah.
Megan says
If you can make it on the same day as Bostini, then I stand a chance of baking brioche . Those slices looked wonderful. You are a daring baker=)
Susan says
This looks wonderful. The texture is terrific. I love your idea of a cookbook of the month and may have to steal it for myself sometime soon!
Emilie says
Fabulous! I am so making this, soon. I’ve made challah, and I’m sure the taste is almost the same. It looks very good. Too bad the mini tart pans didn’t work out.
Jenn says
I love reading about your baking adventures – you are so daring and seemed to have tried to make a little of everything! I definitely admire you for making brioche.
sher says
Nothing wrong with the middle class! 🙂 Boy, that looks fabulous. I’ve been wanting to make hamburger buns from brioche. You’re inspiring me!
Kevin says
Bookmarked! I have been meaning to try a brioche for a while now. And you made it on the same day as the bostini cream pie! That is a lot f baking for one day.
Claire says
I made brioche last Christmas and almost had a heart attack when, in the MIDDLE of making them, I realized how much butter it called for. OH MY! I seriously freaked out but my dad just said…go ahead and finish, you won’t do it any other time. He really liked it but I was underwhelmed though it did make GREAT cinnamon rolls.
Christina says
I try to read as many blogs as I can, but some pass me by. Thanks to the DBers, I’ve found yours. What a wonderful blog!
I’ve always wanted to make brioche but I don’t have a standing mixer. I do make the white bread recipe from Baking with Julia, which is brioche-like in the sense that the butter gets mixed in after the kneading. Probably, I’d have to start with the poor man’s version because it would be similar to the white bread, then work my way up.
glamah16 says
I so love brioche. I make a sweet one from Rose Levy Berambaums Cake Bible that’s filled with rum soaked raisins, nuts.Your inspiring me again.:-). Try to order on line. Thats where i get most of pans and they are way cheaper.
Abby says
OK. Your description of brioche made my mouth water. I think I’ll have to try it. With chocolate butter? Have you ever heard of/had that? I haven’t had it, but it sounds interesting….
You should have brioche french toast over the holidays. Divine!
And I think you have a knack for bread-baking. That’s wonderful!