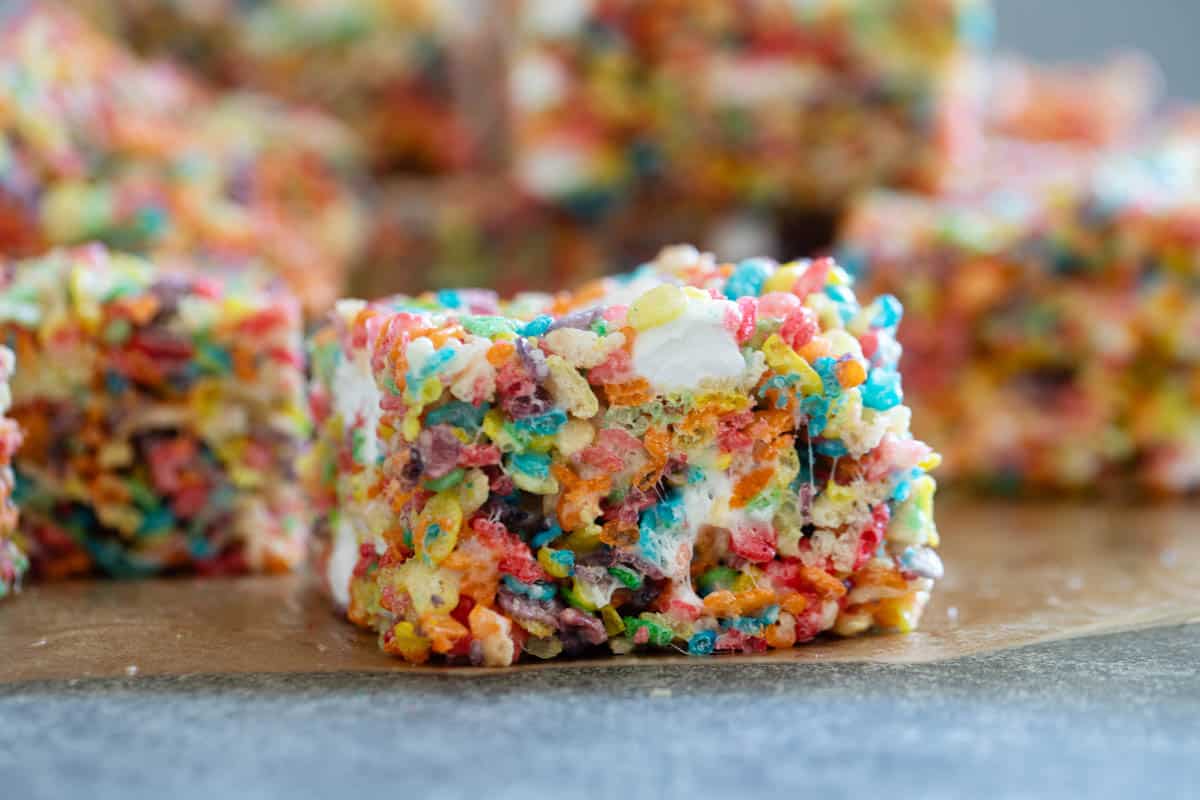
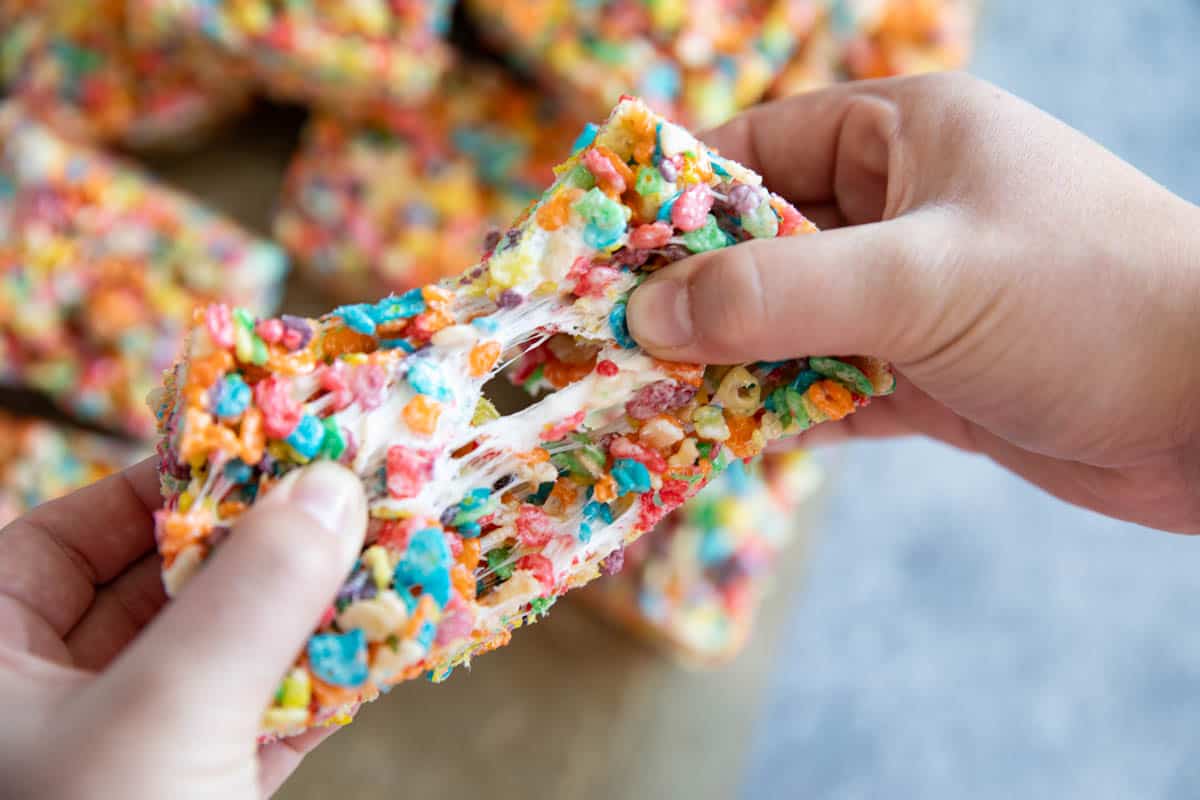
Ooey, gooey, and fruity, these Fruity Pebble Rice Crispy Treats are the perfect treat! These family favorite cereal treats are a hit for every age.
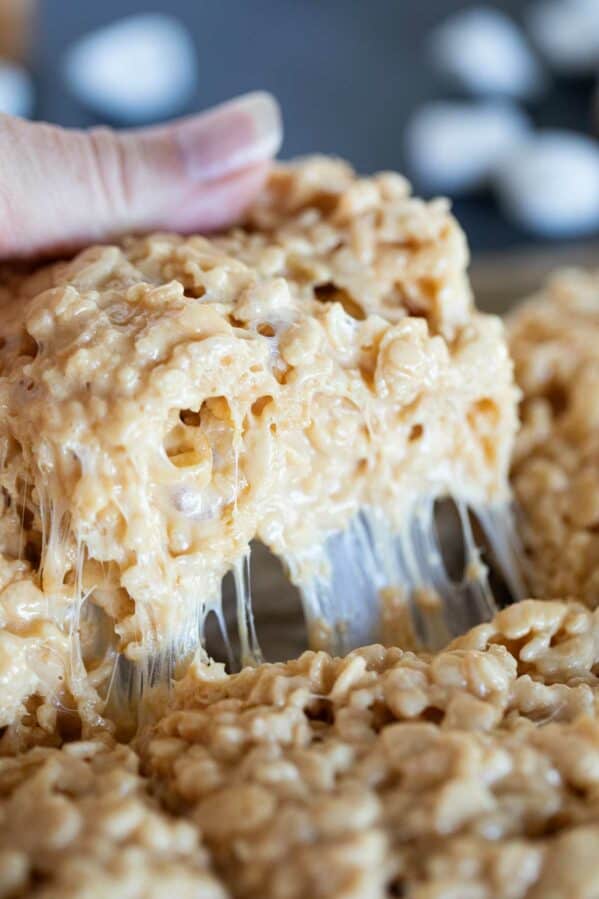
Love the gooey treats? Try these Indoor S’mores and these Caramel Rice Krispie Treats.
I love to cook. I love to bake.
But sometimes, we all just need something easy. And quick. And perfect to curb that sweet craving.
Enter these Fruity Pebble Rice Crispy Treats. I’ll never turn down a regular Rice Krispie treat, but sometimes you need something a little bit more.
These gooey treats are not only super colorful, but they are fruity and sweet and absolutely perfect!
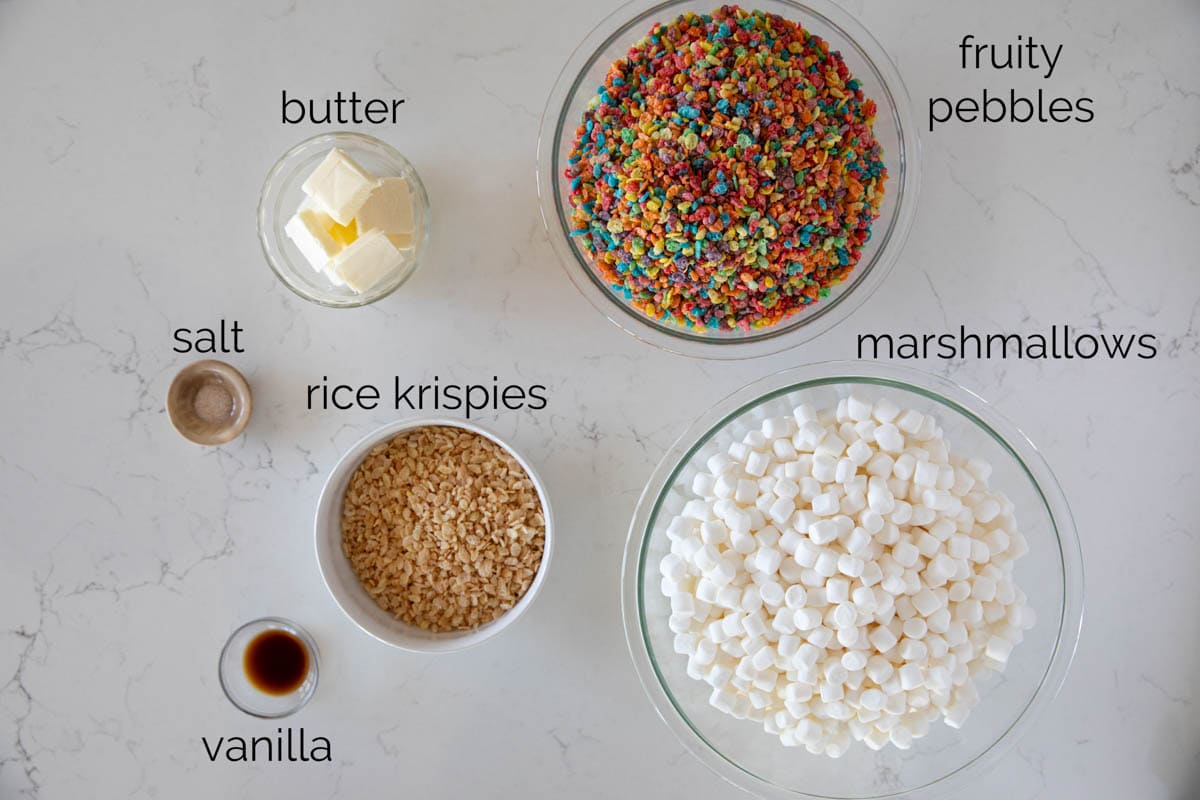
Ingredients
- Cereal: Instead of using all Fruity Pebbles, I like to do a mixture of Fruity Pebbles and plain Rice Krispies. Otherwise, they are just way too sweet.
- Marshmallows: The majority of the marshmallows will be melted, but I take out 2 cups and save those to be stirred into the mixture so you have nice pockets of marshmallows.
- Butter: I like to use unsalted butter, then add in a pinch of salt. You can use salted butter, but if you do, skip the pinch of salt.
- Vanilla: The vanilla just adds a bit of extra flavor.
- Salt: I prefer sea salt here over table salt.
How to Make Fruity Pebble Rice Crispy Treats
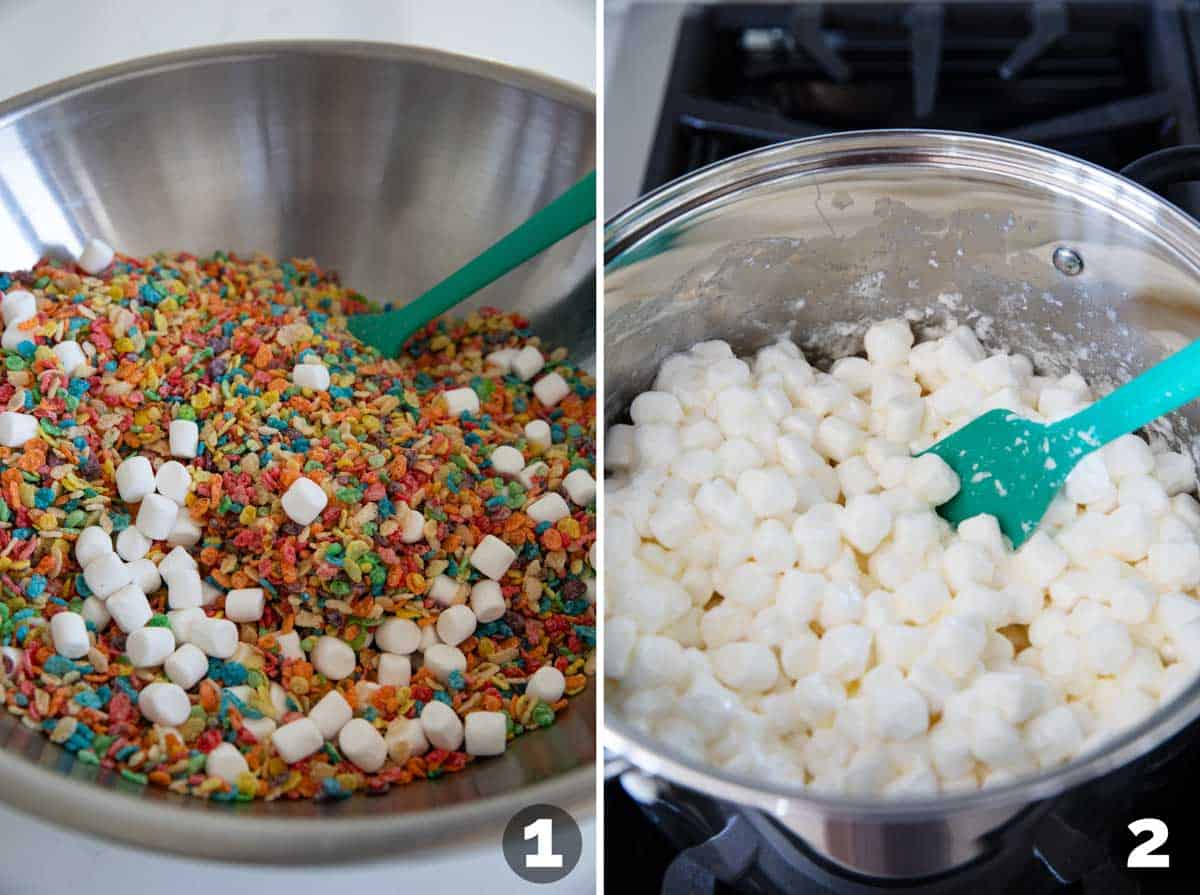
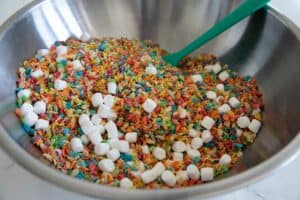
STEP 1: In a big bowl, combine both of the cereals as well as 2 cups of the marshmallows. Mix this all together. I have a really large stainless steel bowl that I love for recipes like this one.
STEP 2: In another pot, melt the butter. Then add in the rest of the marshmallows.
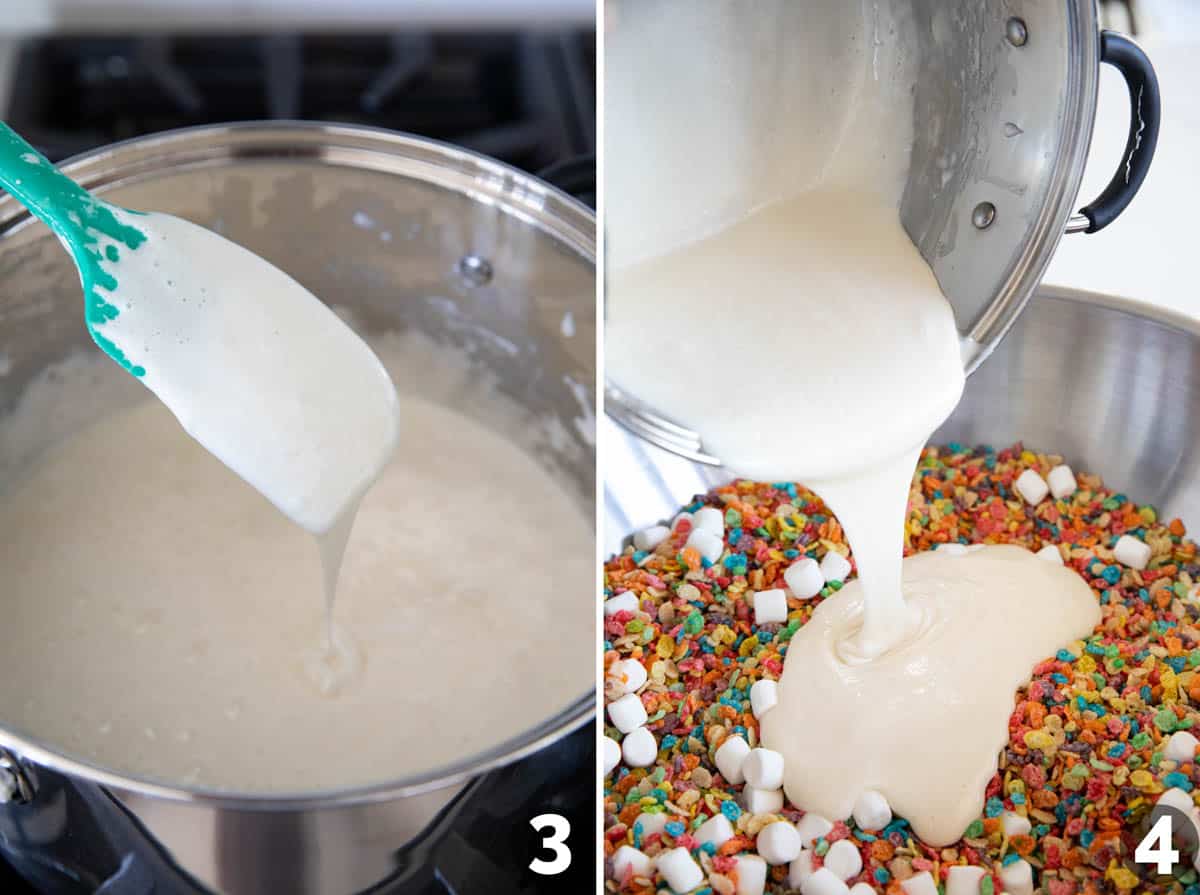
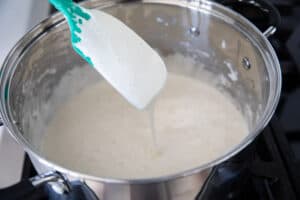
STEP 3: Cook this mixture, stirring as the marshmallows melt. Once it is all melted together, turn off the heat and add in the vanilla and the salt.
STEP 4: Pour the melted marshmallow mixture over your cereal.
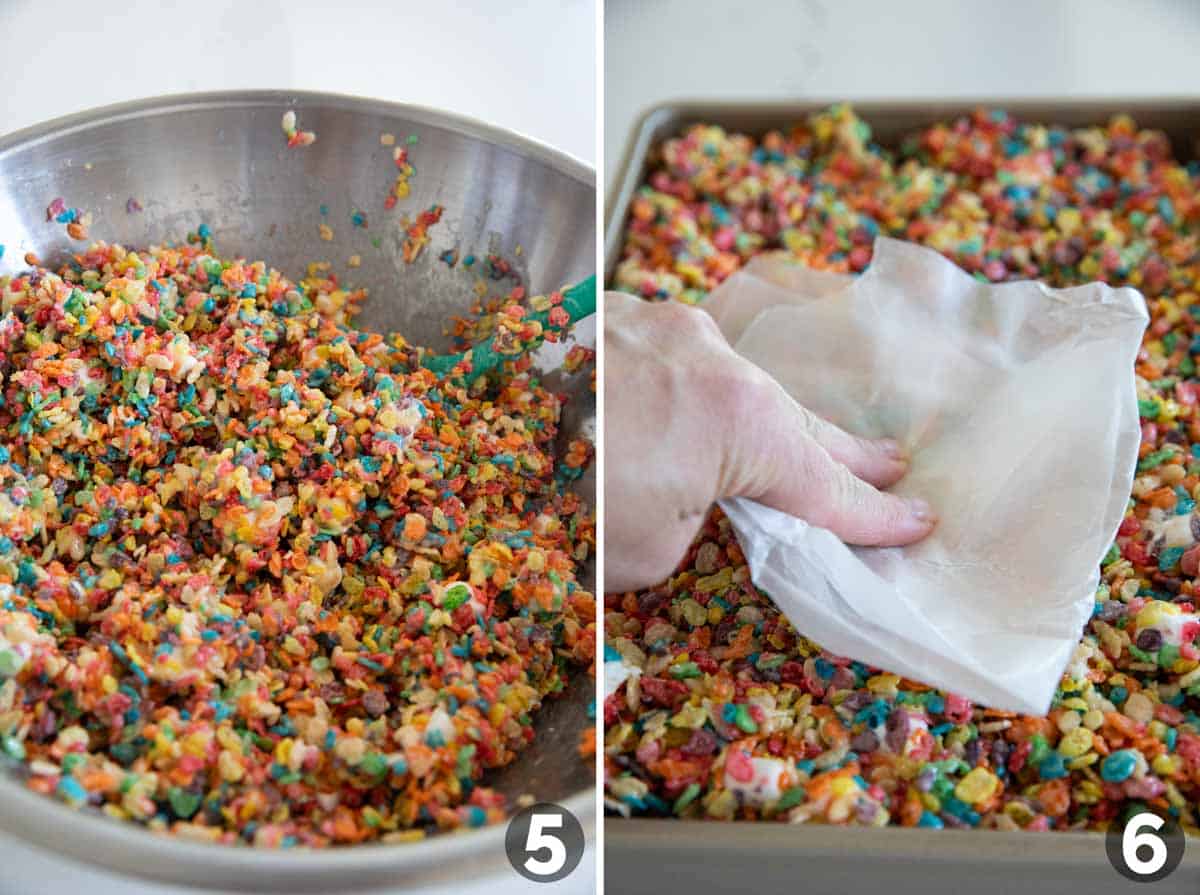
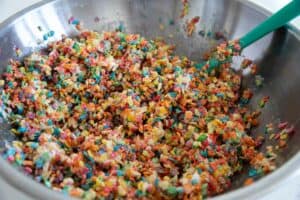
STEP 5: Stir this all together until it is fully coated with the melted marshmallows. You want to work fairly quickly, before the marshmallow cools, making it hard to stir.
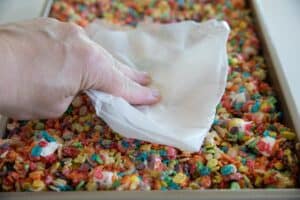
STEP 6: Transfer the mixture to a 9×13 inch baking dish that has been sprayed with nonstick cooking spray or lined with parchment paper. Gently press the mixture into an even layer. I like to use a piece of wax paper, but you can also use greased fingers.
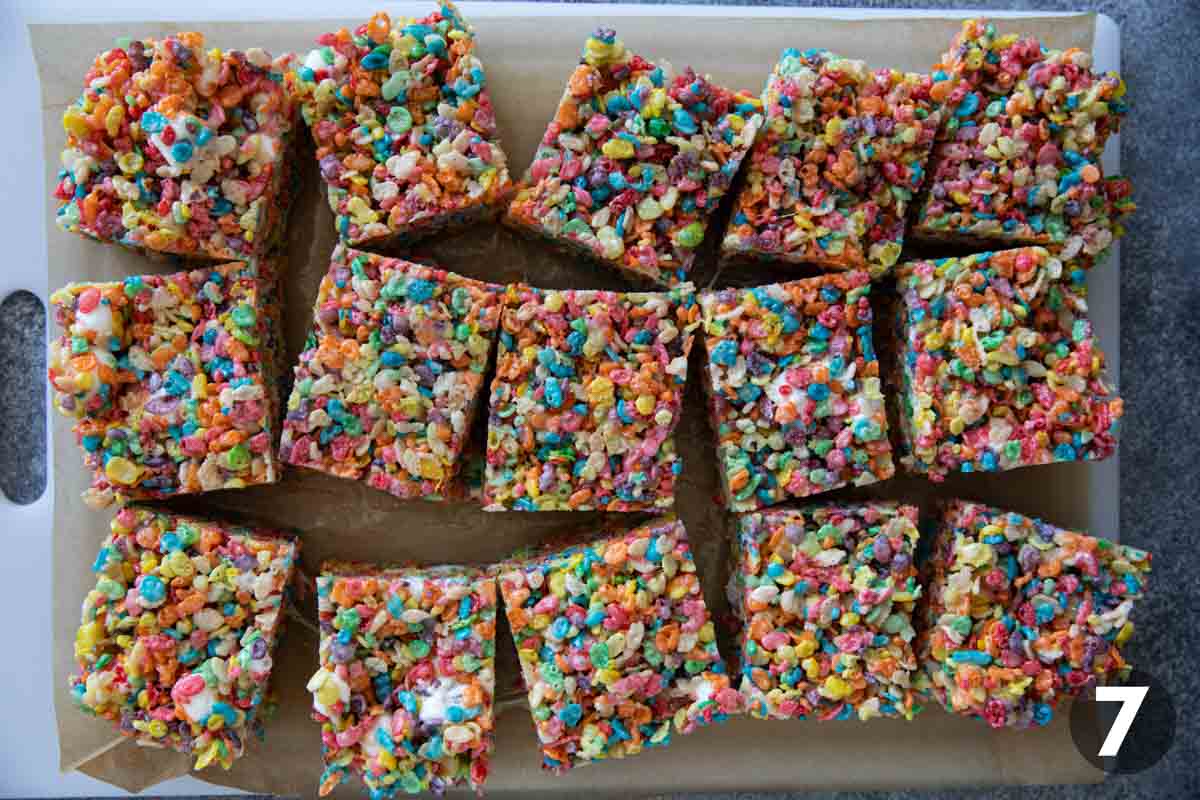
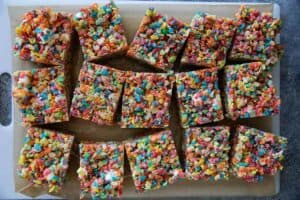
STEP 7: Let the bars cool, then cut them into squares for serving!
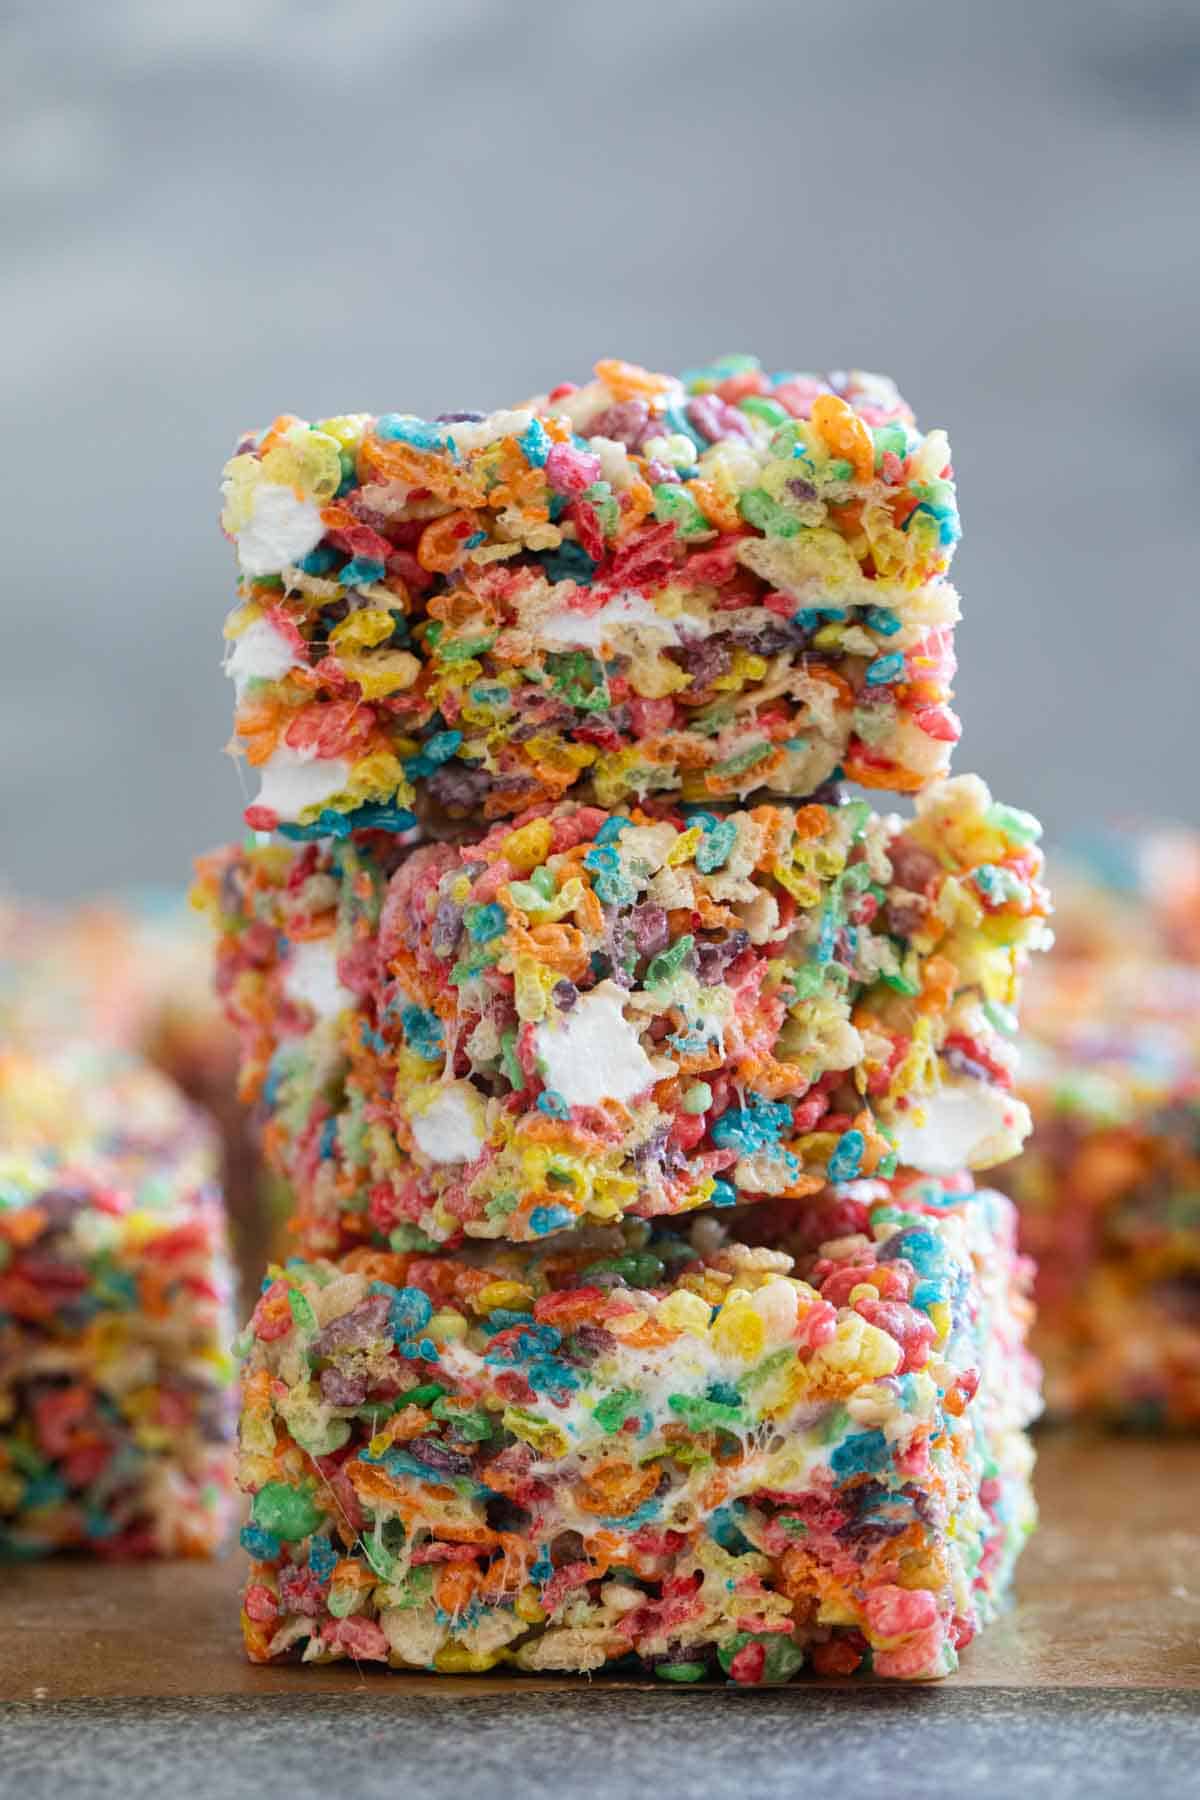
Tips and Tricks
- You want to make sure you are using fresh marshmallows. If you use older marshmallows, they never turn out as soft.
- When transferring to the baking dish, do not press them firmly into the dish. You only want to press enough to keep them together and in an even layer.
- Make sure your baking dish has taller sides – at least 2 inches tall. These Krispie treats are thick, and a shorter pan won’t give them enough room. I use this cake pan and it works perfectly.
- Don’t want as many? This recipe is easy to cut in half. Just use a 9×9-inch baking pan instead, and halve all of the ingredients.
More Easy Homemade Treats
4 Ingredient Coconut Bars
Skor Squares
No Bake Cookies
Oatmeal Fudge Bars
Cake Batter Blondies
LOOKING FOR MORE FREE RECIPES?
Subscribe to my free recipe newsletter to get new family friendly recipes in your inbox each week! Find me sharing more family-friendly inspiration on Pinterest, Facebook, and Instagram.
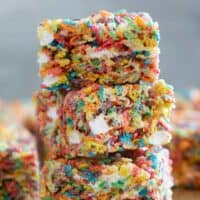
Fruity Pebble Rice Crispy Treats
Ingredients
- 10 cups fruity pebbles
- 2 cups rice Krispies
- 19 oz mini marshmallows divided
- 10 tablespoons butter
- 1 teaspoon vanilla
- Pinch of salt
Instructions
- Spray a 9×13-inch baking dish* with nonstick cooking spray.
- In a large bowl, combine the fruity pebbles, rice krispies, and 2 cups of the marshmallows. Mix.
- In a large saucepan, melt the butter. Add the remaining marshmallows and cook, stirring, until the butter is melted. Turn off the heat and stir in the vanilla and the salt.
- Pour the melted marshmallow mix over the cereal and stir until fully combined.
- Pour the mixture into the prepared baking dish. Lightly press the cereal into the dish.** You don’t want to compact the cereal down, just press down enough to make an even layer.
- Let the bars cool to room temperature, then cut into bars to serve



Aubrey J says
My kids saw these and wanted them, and we finally whipped up a batch. Perfect!
Deborah says
Such a fun recipe to make with the kids – I’m so glad they were a hit!