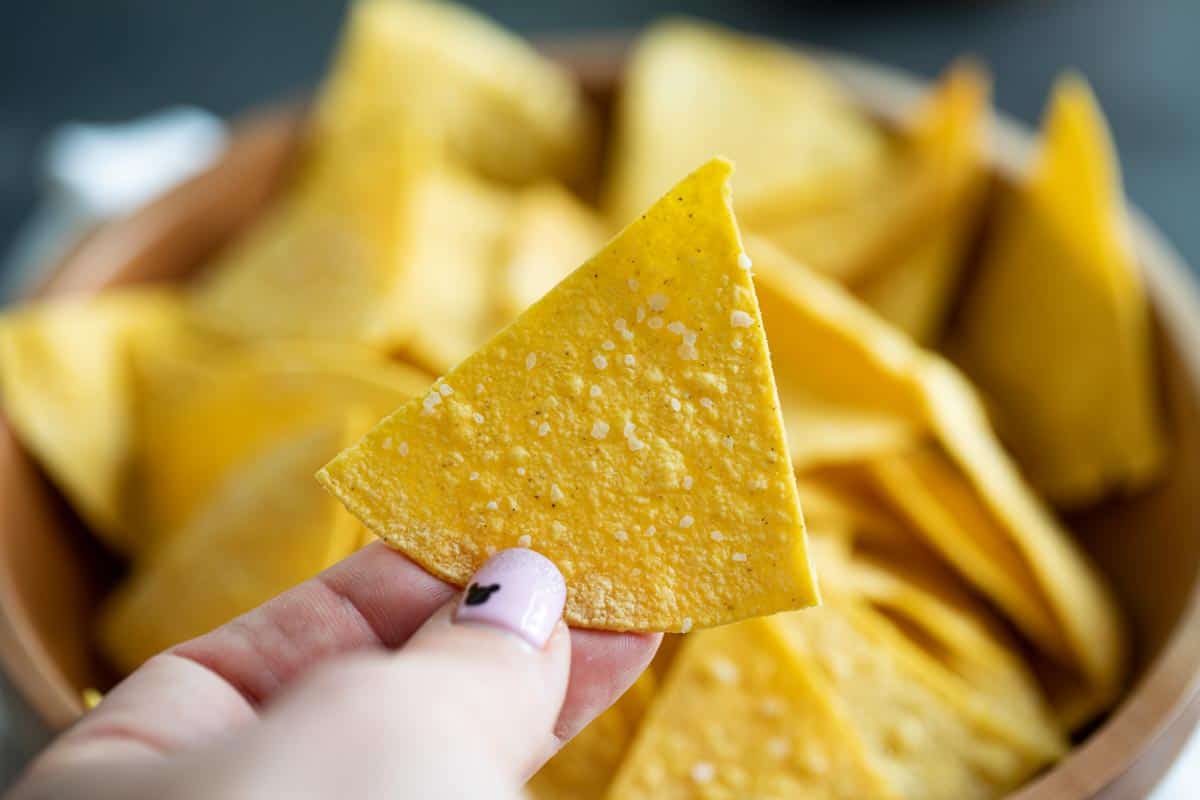
Crispy and salty, these Homemade Tortilla Chips are so easy to make and so much better for you than store bought. They are the perfect afternoon snack.
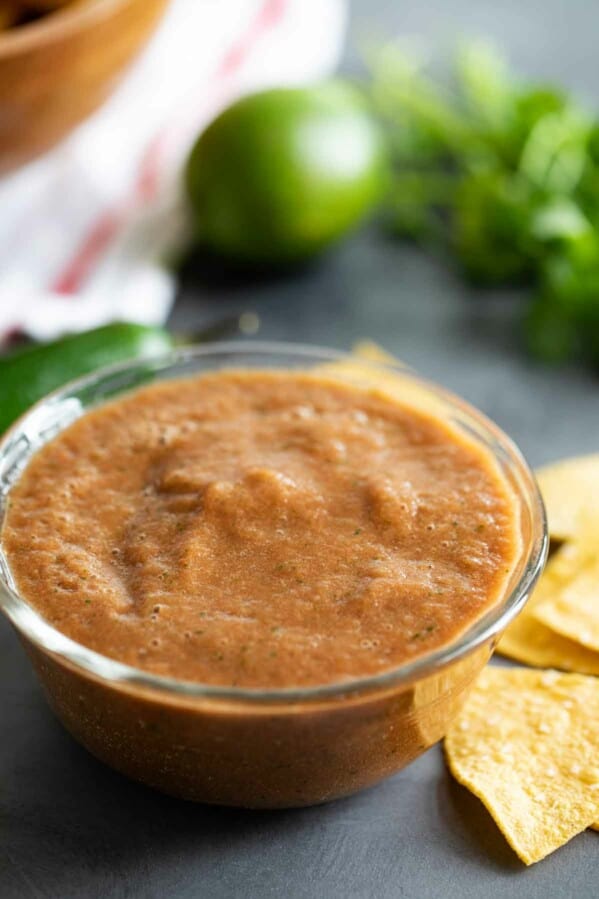
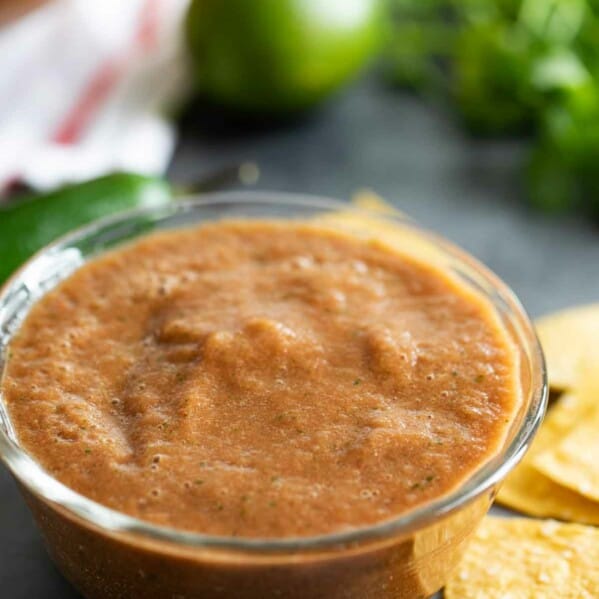
Homemade tortilla chips are best with homemade salsa! Try my Tomatillo Salsa Recipe or my Homemade Salsa Recipe.
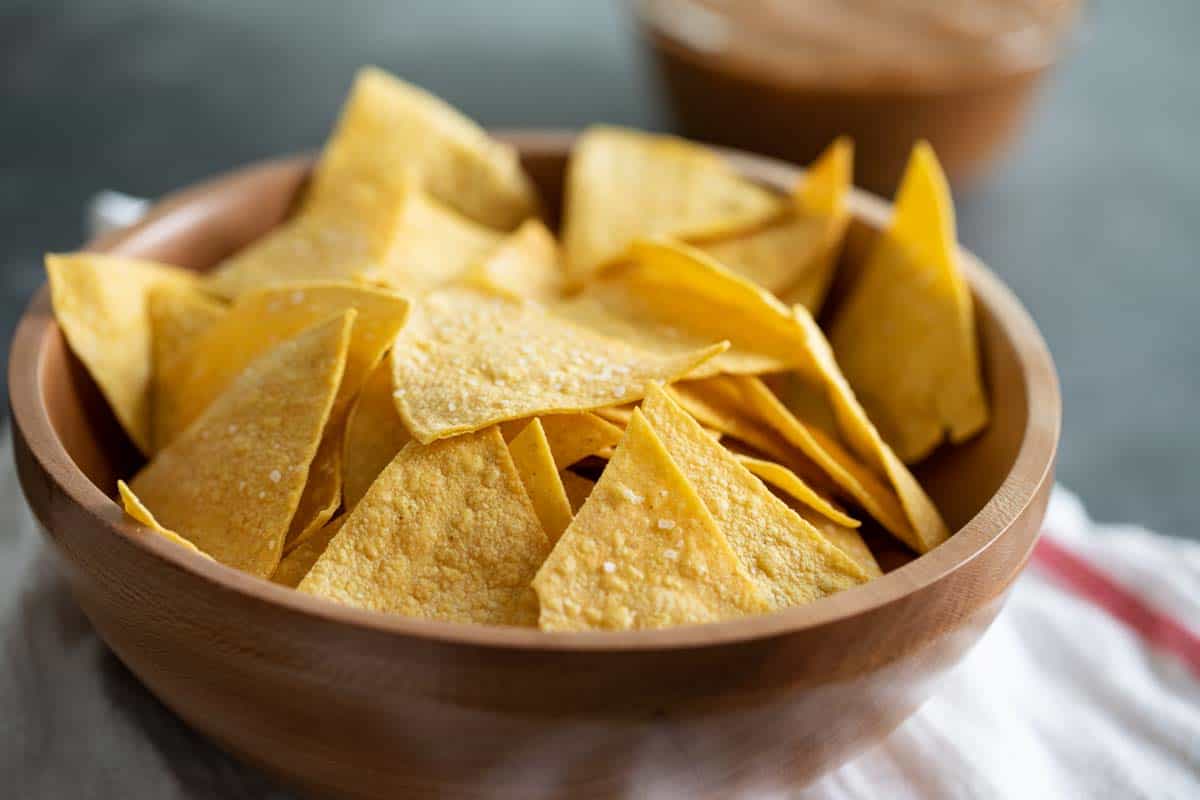
Sometimes, I forget how easy it is to make things at home. How you can take a couple simple ingredients and turn them into something delicious.
Like these homemade tortilla chips.
My kids get home from school at 1:15. And since the day is so short, lunch is really early. Which means when they get home, it’s all about the snacking. Instead of them going for the junk food, I’ve been trying to give them some healthier options. Since they are as addicted to chips and salsa as I am, these homemade tortilla chips make it so that I know they are getting a healthier version instead of reaching for a bag of fried chips.
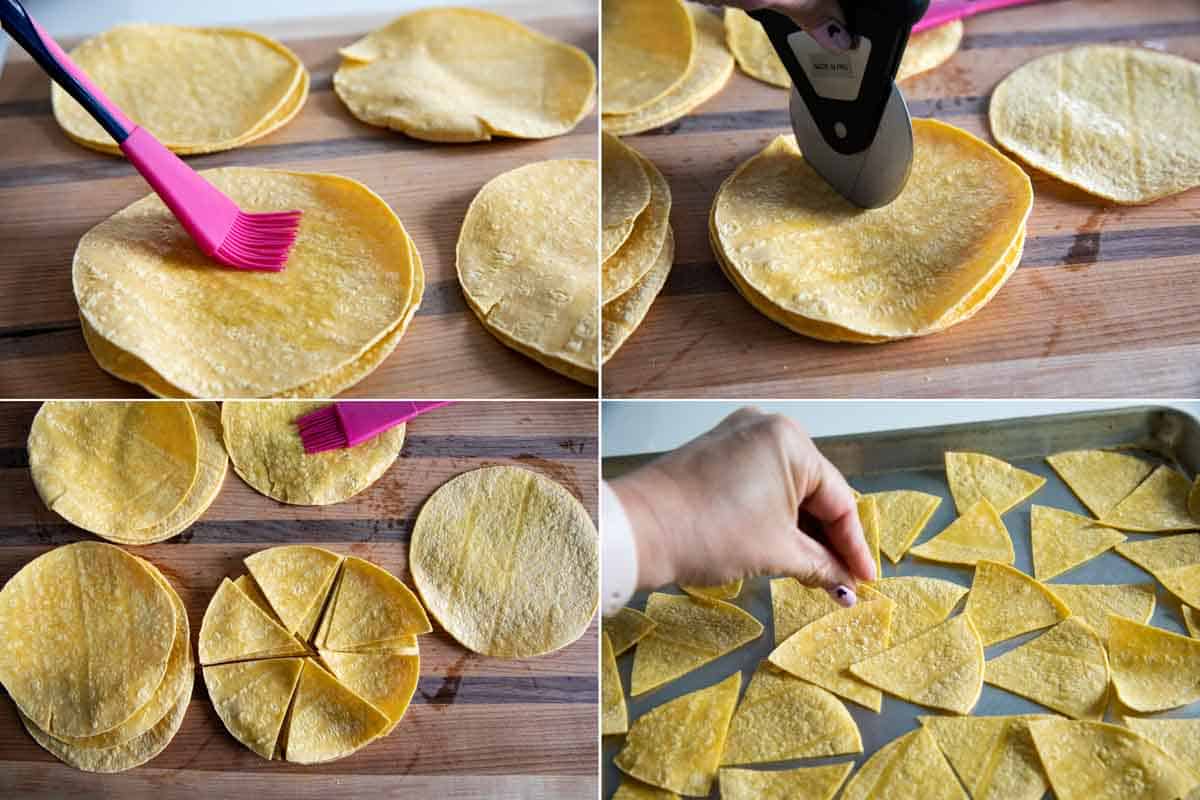
How to Make Homemade Tortilla Chips
- PREP: Brush the tortillas with some olive oil. It really doesn’t take much, just a very thin layer. You should only need about 1 tablespoon to do both sides of 12 tortillas.
- CUT: Cut the tortillas into wedges. I like to use a pizza cutter, but a sharp knife will work as well. I do 6 wedges per tortilla. You can make them bigger or smaller – just keep in mind that smaller chips will bake faster.
- SALT: Place the wedges on 2 baking sheets in as much of a single layer as possible. Sprinkle with salt. I like a lot of salt, but you can use as much as you like.
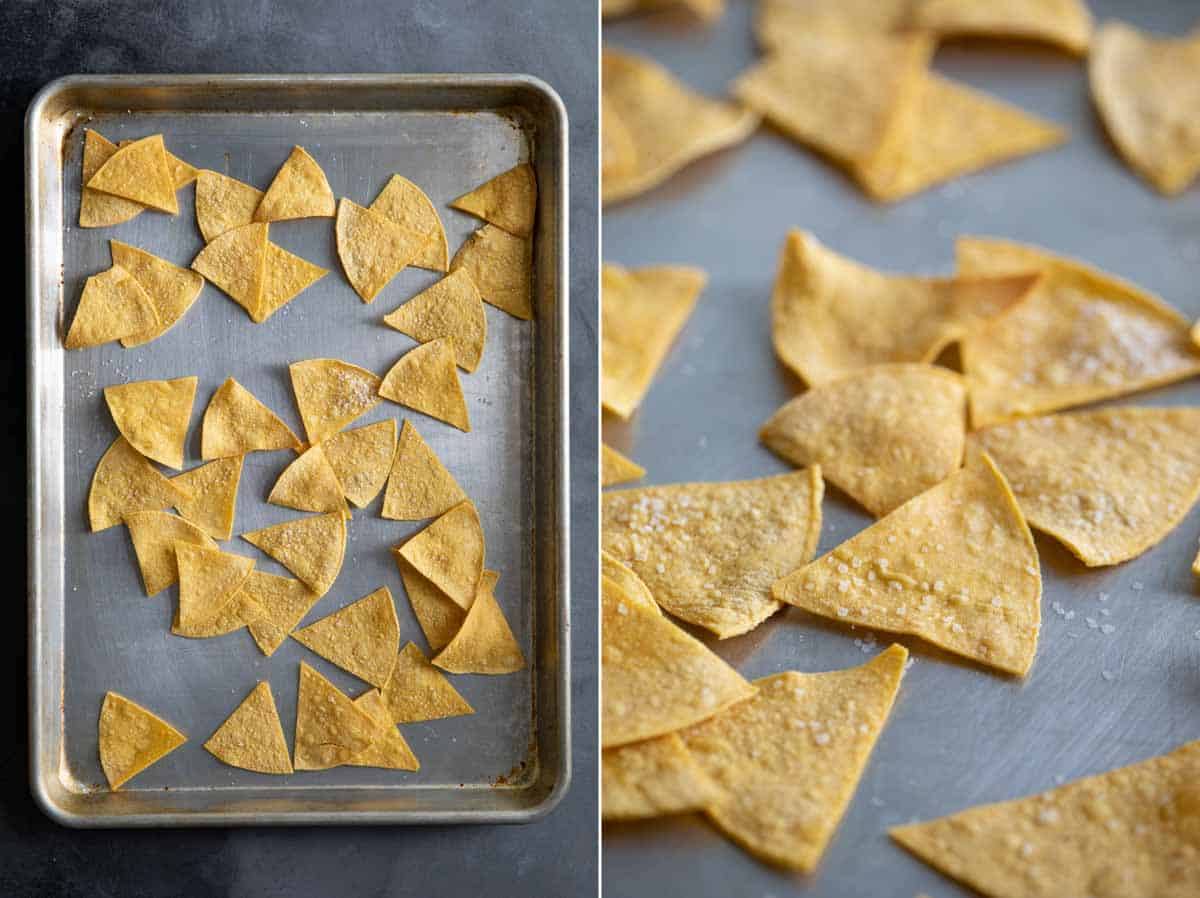
- BAKE: Bake the chips, rotating the baking sheets halfway through.
How to Fry Them
I like that this is a healthier alternative, but if you want more of an authentic chip, you can fry these as well. Heat a large pot with oil to 350ºF. Cut the tortillas into wedges (you don’t need to brush them with oil if you are frying them.) Working in batches, fry the chips just until they are crispy. Remove them with a slotted spoon to a paper towel lined plate. Immediately sprinkle with salt.
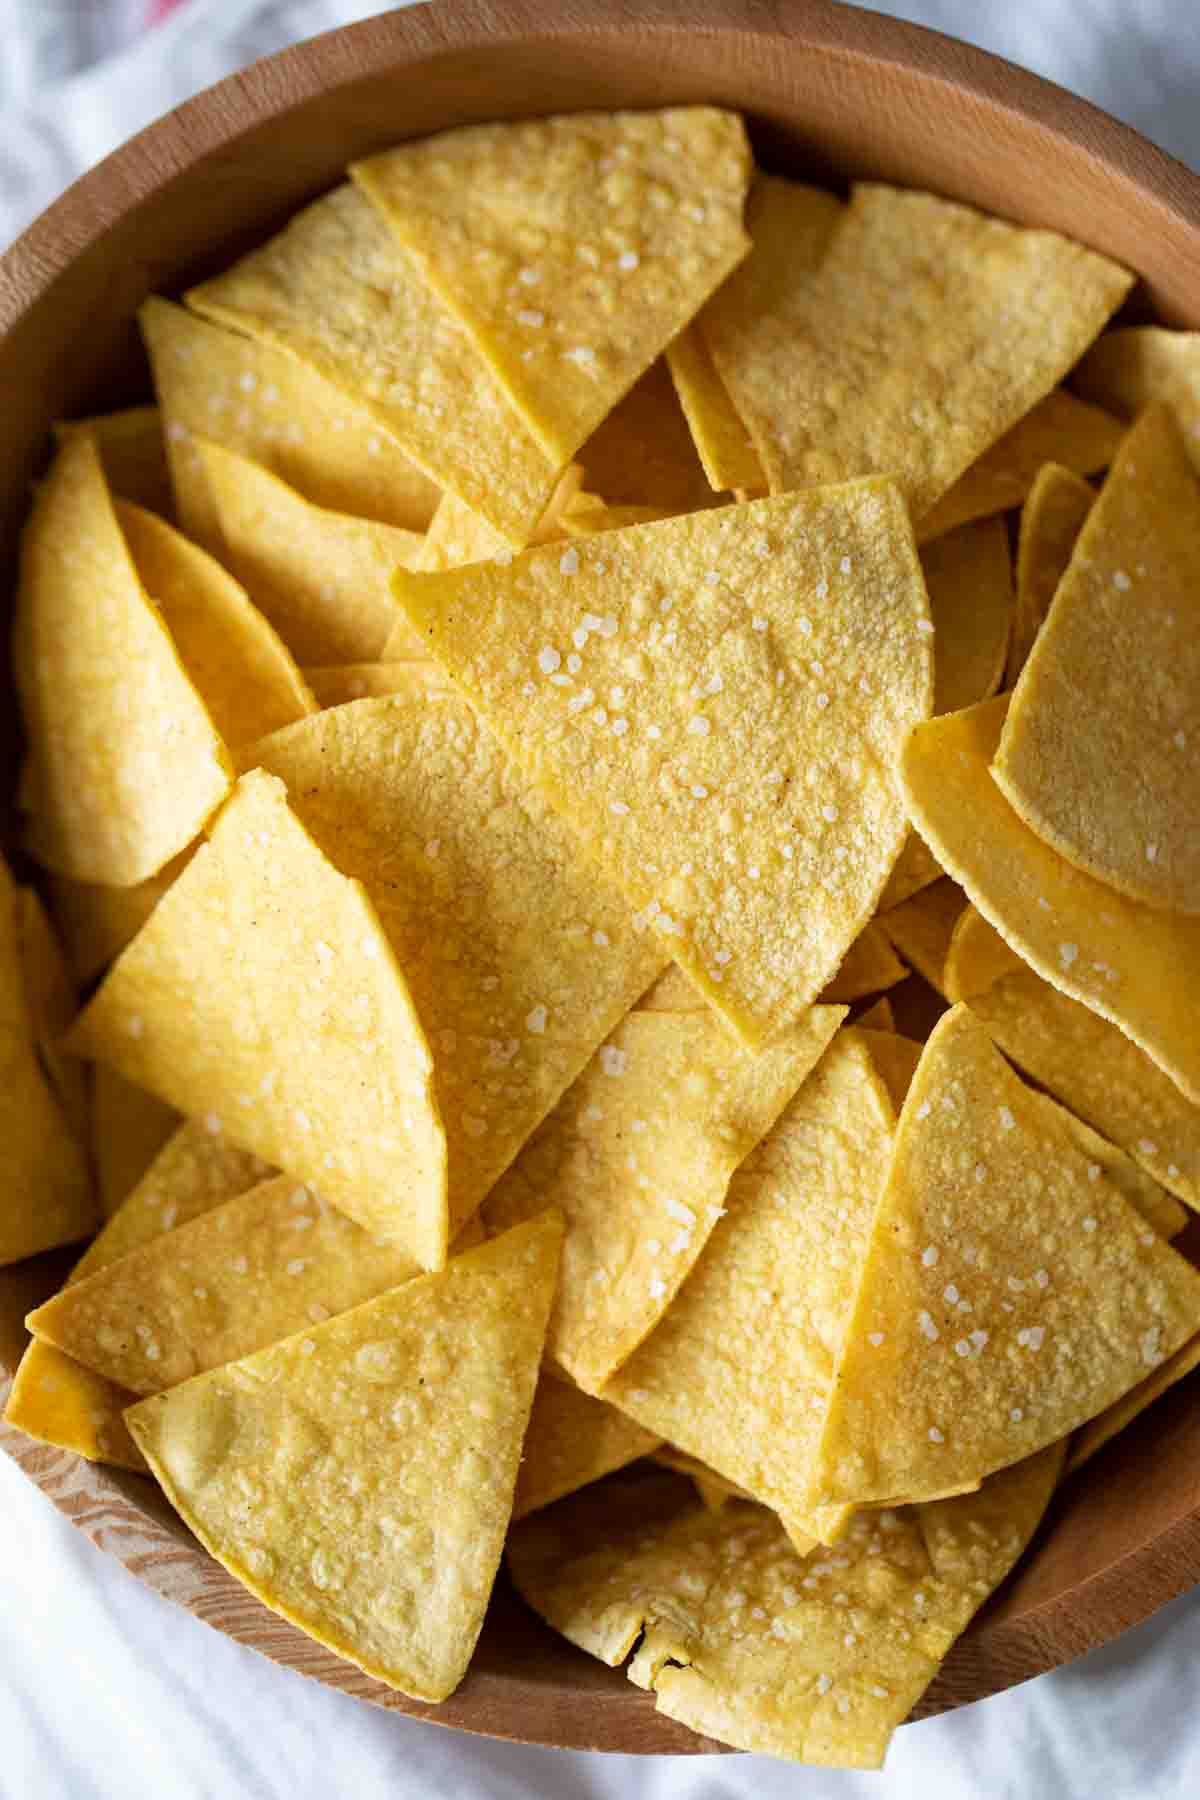
Tips and Tricks
- Watch the chips while they are baking – they can go from pale to dark in no time at all. It should take about 12-14 minutes, but can take more or less, depending on your oven.
- Spice them up by sprinkling them with chili powder or taco seasoning or garlic salt. Get creative! You could even make them sweet and sprinkle them with cinnamon and sugar.
- You can also make these with flour tortillas, but they won’t get as crisp.
- Try the extra-thin tortillas for a crispier chip. You may need to bake them for less time, though.
- Store any leftovers in an airtight container. I try to use them within 3-4 days, as I think they get stale faster than store bought tortilla chips.
What to Serve These Homemade Tortilla Chips With
Salsa Verde Chicken – I love that this recipe only takes 30 minutes. The perfect weeknight dish!
White Chicken Enchiladas – This is a reader favorite here, and one of my favorite enchilada recipes, as well!
Taco Casserole – this one is a little unconventional, but a favorite Mexican-inspired dinner!
Queso Blanco Recipe – Homemade tortilla chips are beg for a dip, and this queso blanco is perfect!
Chicken Chilaquiles – the base of this recipe is tortilla chips – use these baked tortilla chips to make it a bit healthier!
LOOKING FOR MORE FREE RECIPES?
Subscribe to my free recipe newsletter to get new family friendly recipes in your inbox each week! Find me sharing more family-friendly inspiration on Pinterest, Facebook, and Instagram.
Homemade Tortilla Chips
Ingredients
- 12 corn tortillas
- 1 tablespoon olive oil
- Salt
Instructions
- Arrange the oven racks in the top third and bottom third of the oven. Preheat the oven to 350ºF.
- Lay the tortillas on a work surface and brush both sides lightly with the oil.12 corn tortillas, 1 tablespoon olive oil
- Stack the tortillas and cut into wedges. (I like to do 6 wedges per tortilla.)
- Arrange the wedges on 2 baking sheets in a single layer. Sprinkle with salt.Salt
- Place the chips in the oven and bake for 6-7 minutes, then rotate the trays and bake an additional 6-7 minutes, just until they are starting to darken
- Remove from the oven and allow to cool before serving.



Leave a Comment...