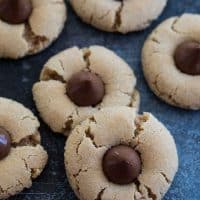
A classic cookie – these Peanut Butter Blossoms are easy to make and perfect for you holiday cookie plate or cookie exchange. They make a great Christmas cookie, but they are also great all year round!
As much as I love a traditional Peanut Butter Cookie, these Peanut Butter Blossoms have my heart! If you love peanut butter, also check out these Chocolate Peanut Butter Cookies,these Peanut Butter and Jelly Thumbprint Cookies or this Buckeye Recipe.
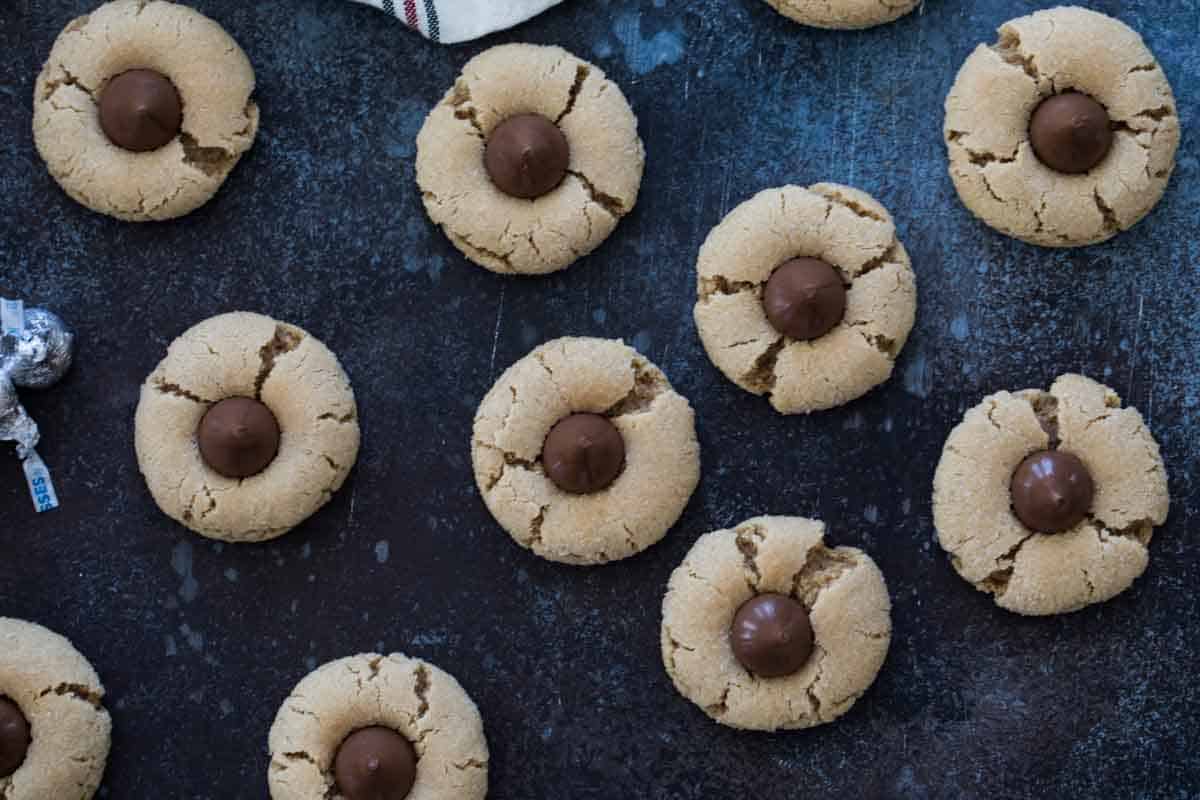
I am in full cooking-baking mode right now. And I’m 100% ready to be there. I have to admit that I’m usually drawn to the traditional holiday treats. I love trying new recipes and doing things that are creative. But for my own personal consumption, the classics are almost always the winner. So in the spirit of simplicity and the basics, today we are making classic Peanut Butter Blossoms.
When it comes to Christmas cookies, I’m usually drawn to the really Christmas-y flavors. Cranberry, eggnog, peppermint. But you really just can’t have Christmas without peanut butter blossoms. These peanut butter kiss cookies are soft and perfect.
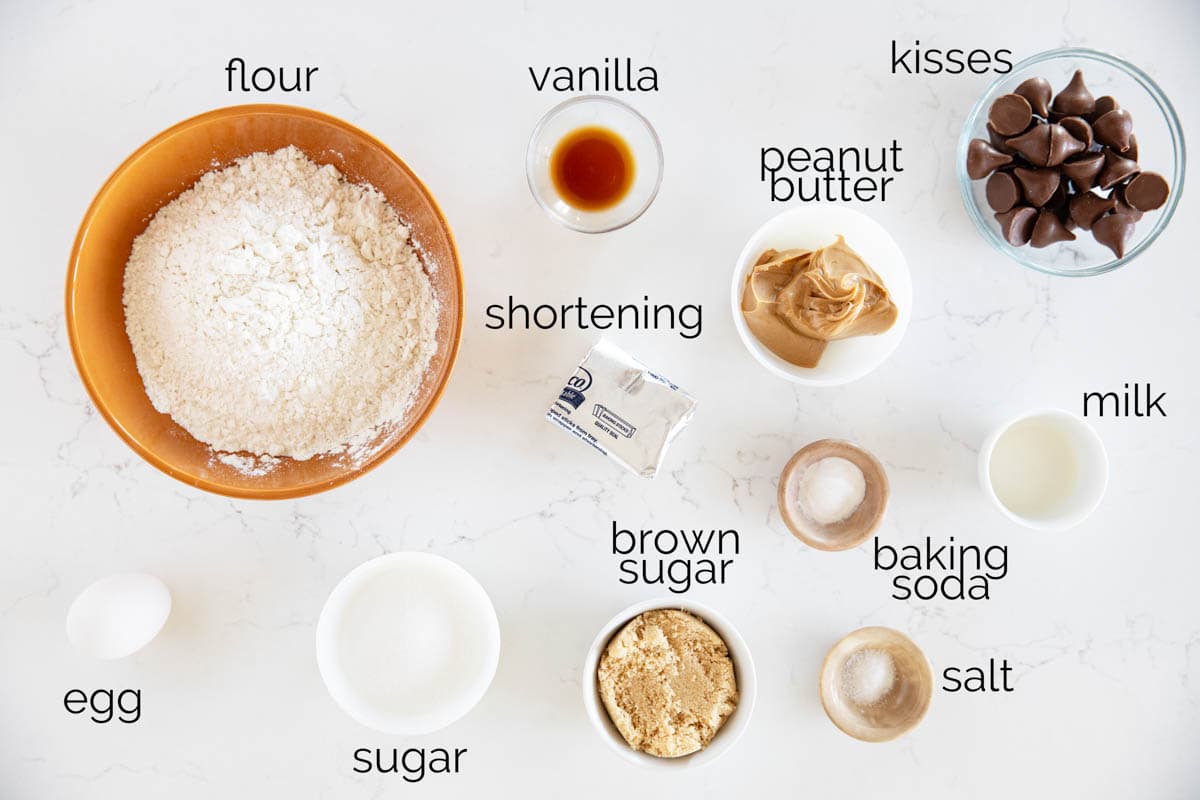
Ingredients
- Flour: I use regular, all-purpose flour.
- White & Brown Sugar: The mix of sugars is important in this recipe. Aside from sweetening the cookies, the mixture of sugars will help with the texture and moisture of the cookies. And did you know that brown sugar is acidic (from the molasses) so it helps to activate the baking soda?
- Baking Soda: You’ll need the baking soda for the cookies to puff up and rise.
- Salt: Salt helps to balance the flavors.
- Vegetable Shortening: I normally use butter in cookies, but for this recipe, I like to use shortening. If you use butter, you’ll need to refrigerate the dough for at least 30 minutes so that it doesn’t spread out. While I normally like the taste of butter in cookies, I really do prefer these with shortening, not only for texture, but the peanut butter flavor really shines in these cookies.
- Peanut Butter: For baking, I always suggest steering clear of all natural peanut butter. I like to use Jif or Skippy – using a natural peanut butter will give you a drier, more crumbly cookie.
- Milk: You only need a small amount of milk, so whatever you have on hand should work.
- Vanilla: I always say to use pure extract. The flavor will shine through!
- Egg: You only need one egg for this whole batch. It will add some richness, and help with the texture and rise of the cookies.
- Chocolate Kisses: The fun chocolate center! I always just use basic, chocolate kisses. You can sub in any flavored kisses that you’d like, but just make sure it’s a flavor that goes well with peanut butter.
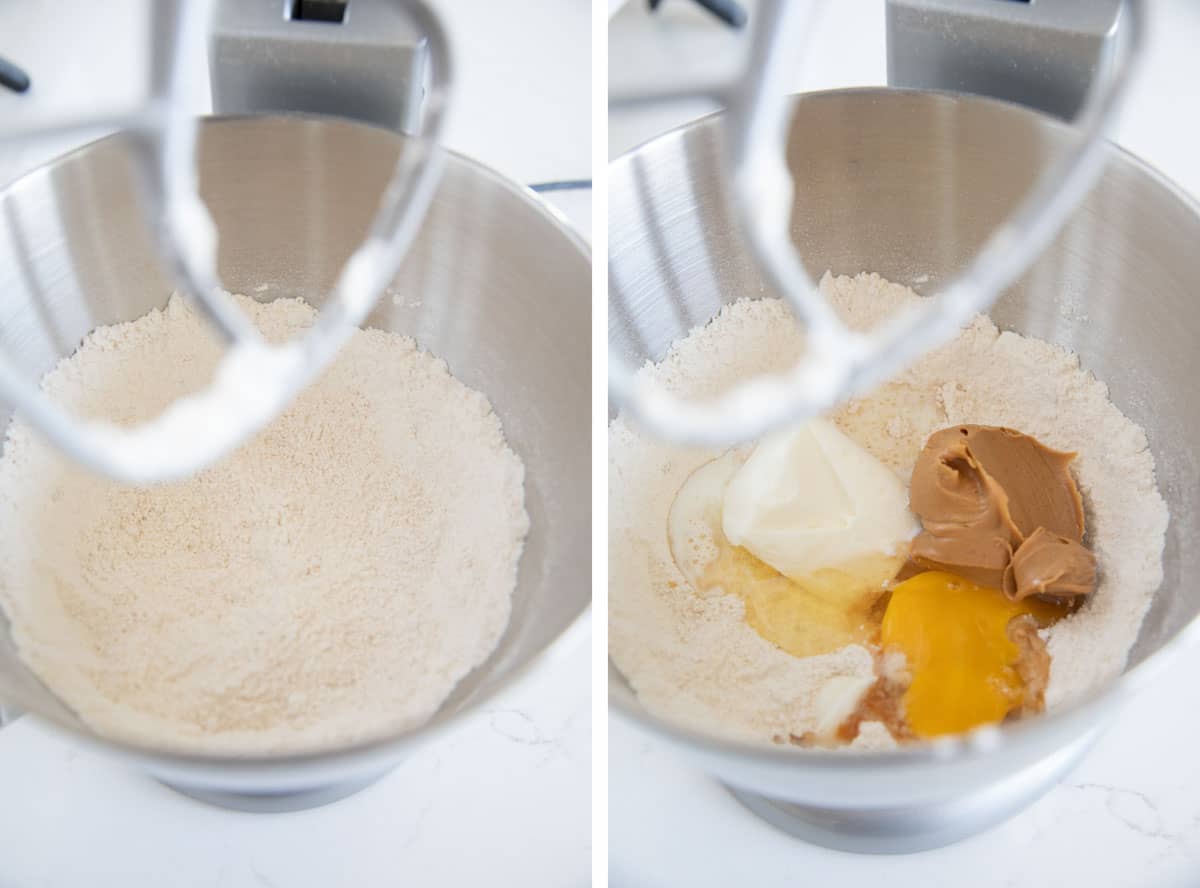
How to Make Peanut Butter Blossoms
Mix the dry ingredients together. Then add in the shortening, peanut butter, milk, vanilla, and egg.
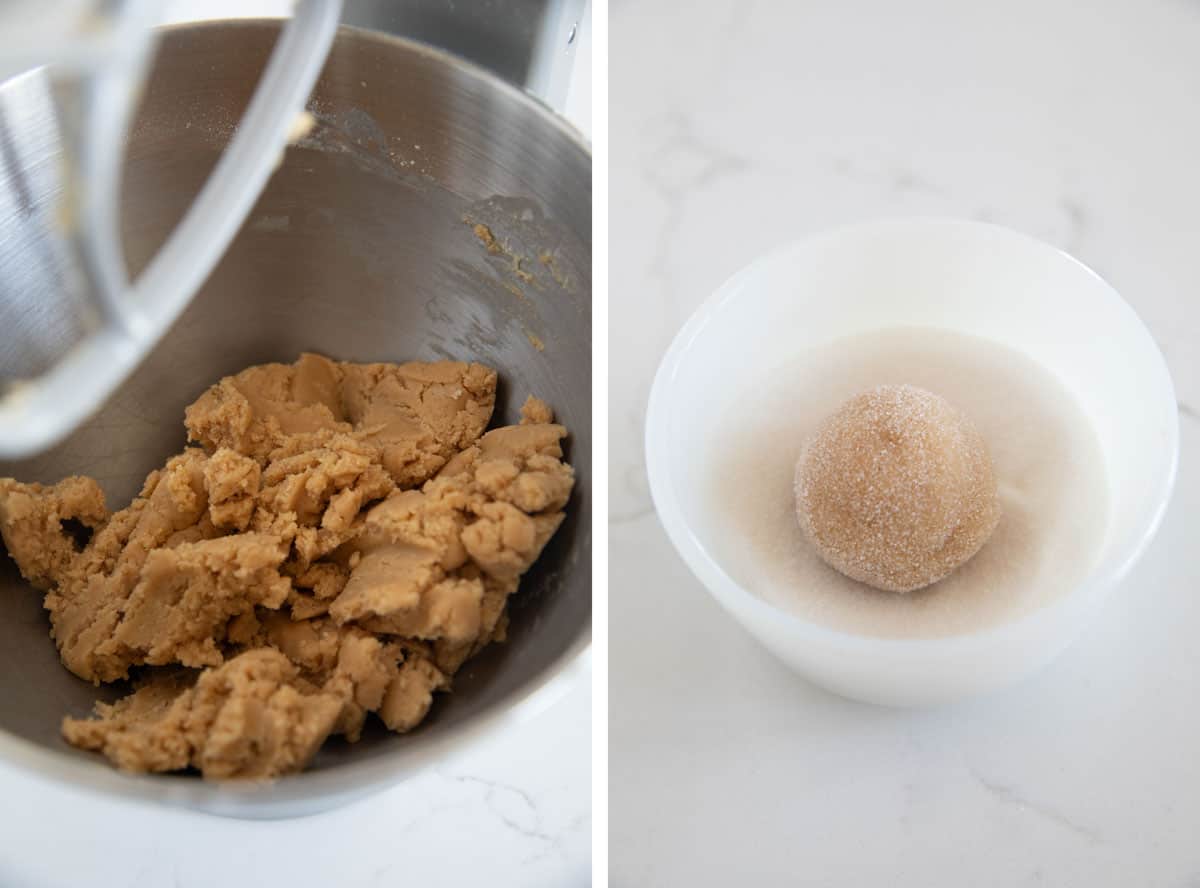
Mix the dough until it all comes together. It may seem a little dry, but it will stick together if you press it together.
Roll into balls. I like to use a cookie scoop to keep them all the same size. Roll the balls in sugar.
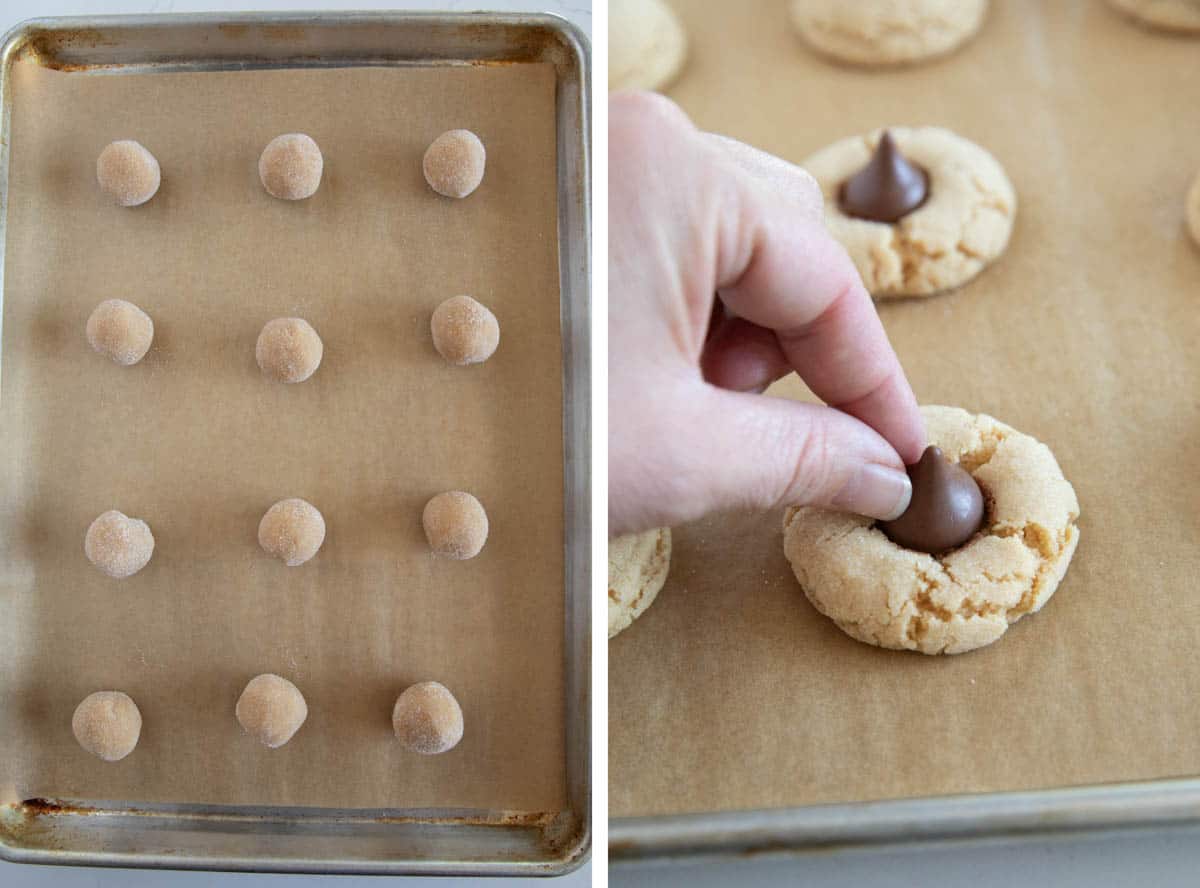
Place the balls on a baking sheet lined with a silpat liner or parchment paper.
Bake the cookies until they are just golden brown. Do not overbake!
Immediately after you remove the cookies from the oven, push a kiss into the center of each cookie. It will melt a bit on the hot cookie, which will help it to stick. Make sure to do this immediately after taking the cookies from the oven!
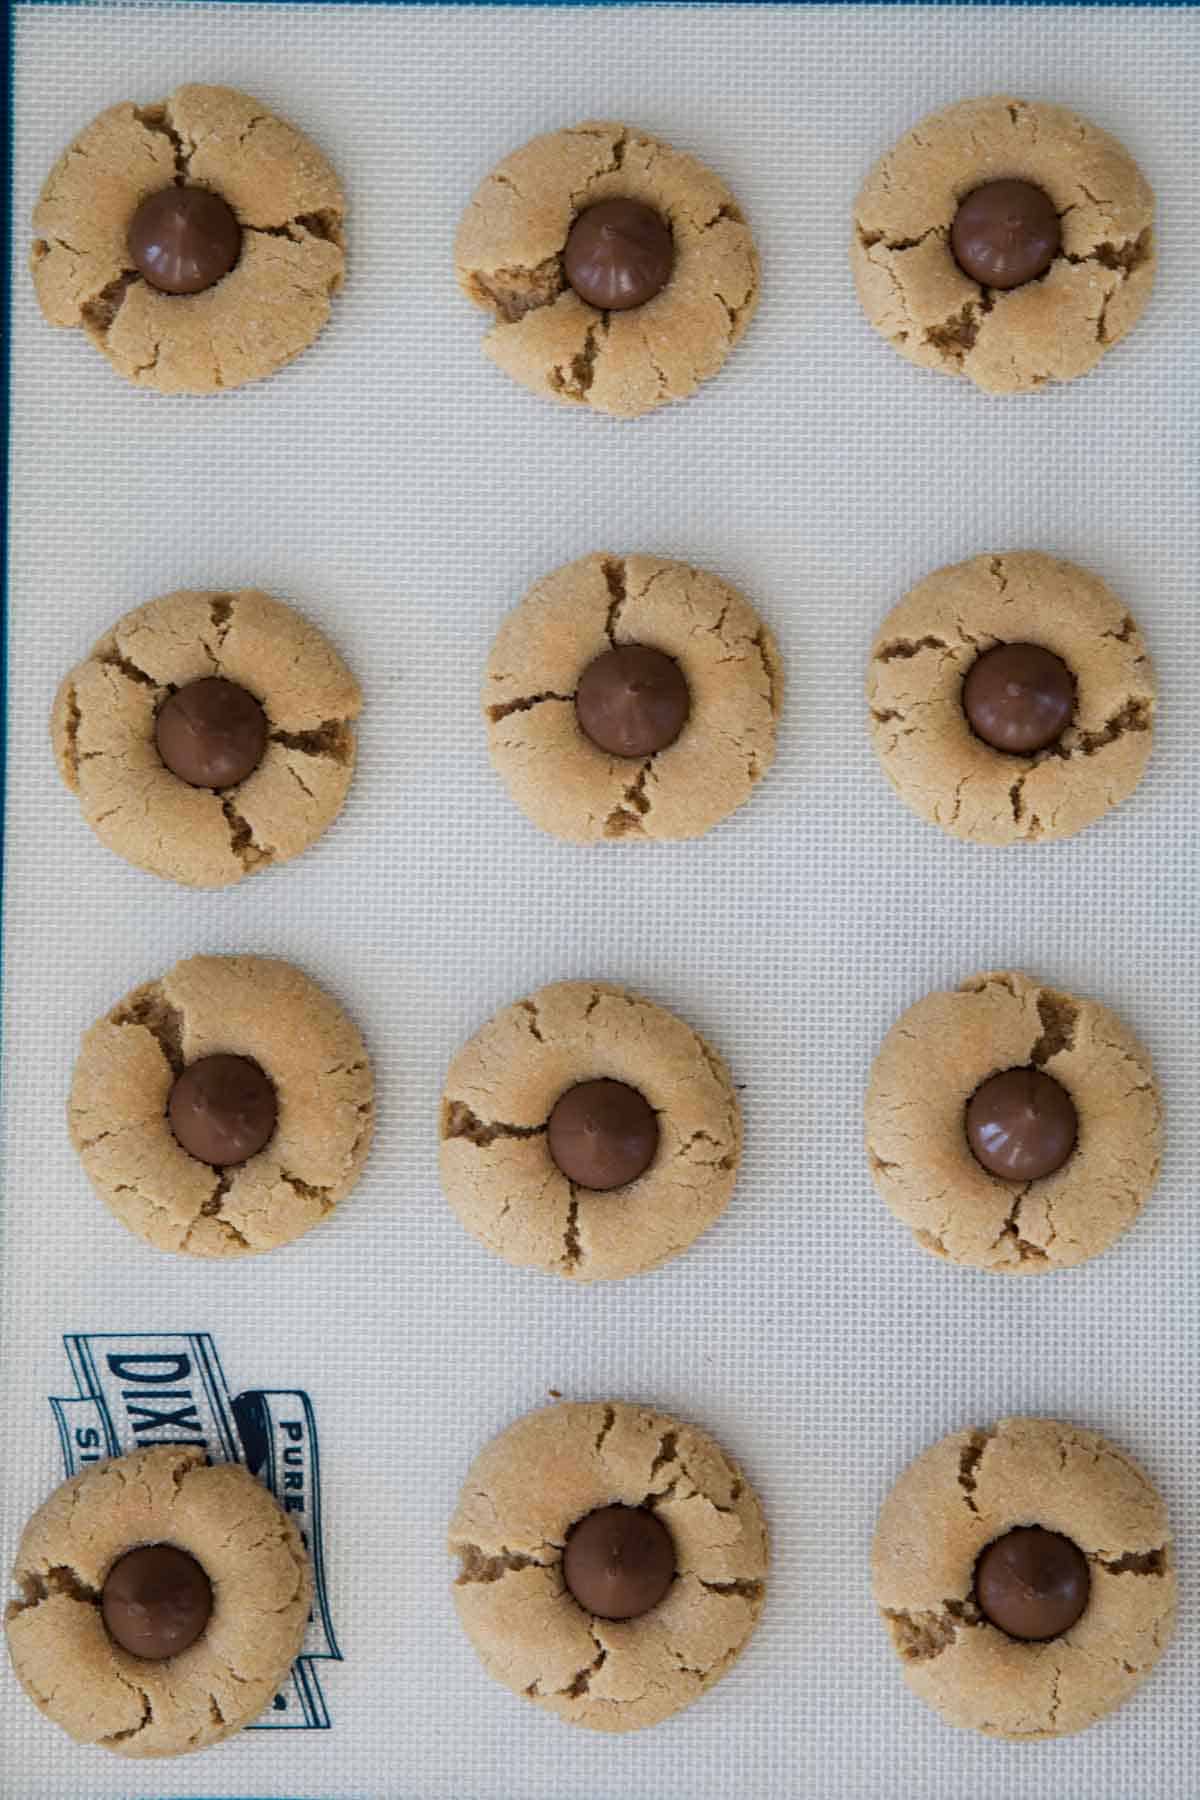
Let the cookies cool on the baking sheet. The Hershey’s kiss will start to melt because of the heat of the cookies, so if you try to take them off too early, the chocolate will just make a mess and no longer look like a kiss.
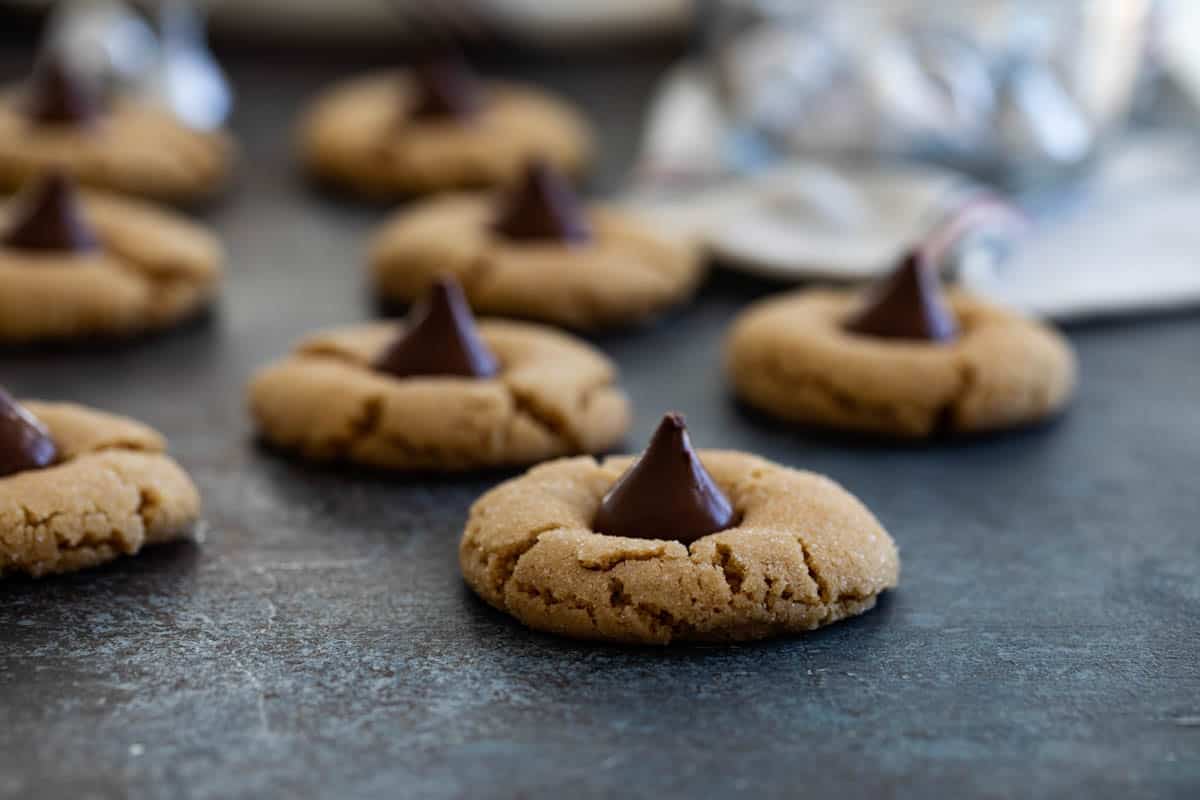
Storage and Freezing
Storing:
These peanut butter cookies need to be stored in an airtight container. If I’m just keeping them at home for my family, I’ll put them in a ziplock bag. They can be stored for about a week.
Freezing:
Peanut Butter Blossoms freeze very well, so they are a great cookie to make ahead of time. There are 2 ways you can freeze them.
- 1 – Freeze the unbaked dough. Prepare the dough according to the recipe. Roll into balls, and then roll in the sugar. Place the cookie dough balls in a ziplock bag and freeze. When ready to bake, you can either thaw the dough for an hour or two, or bake from frozen and add a minute or two of baking time. Once the cookies come out of the oven, press a Hershey’s kiss into the cookie.
- 2 – Freeze the baked cookies. Follow the directions to bake the cookies. Once they are baked and cooled completely, place them in a freezer safe airtight container in a single layer. (If you are wanting to stack the cookies, place a piece of parchment paper in between the layers. Freeze until ready to eat. Let the cookies thaw for a couple hours before eating.
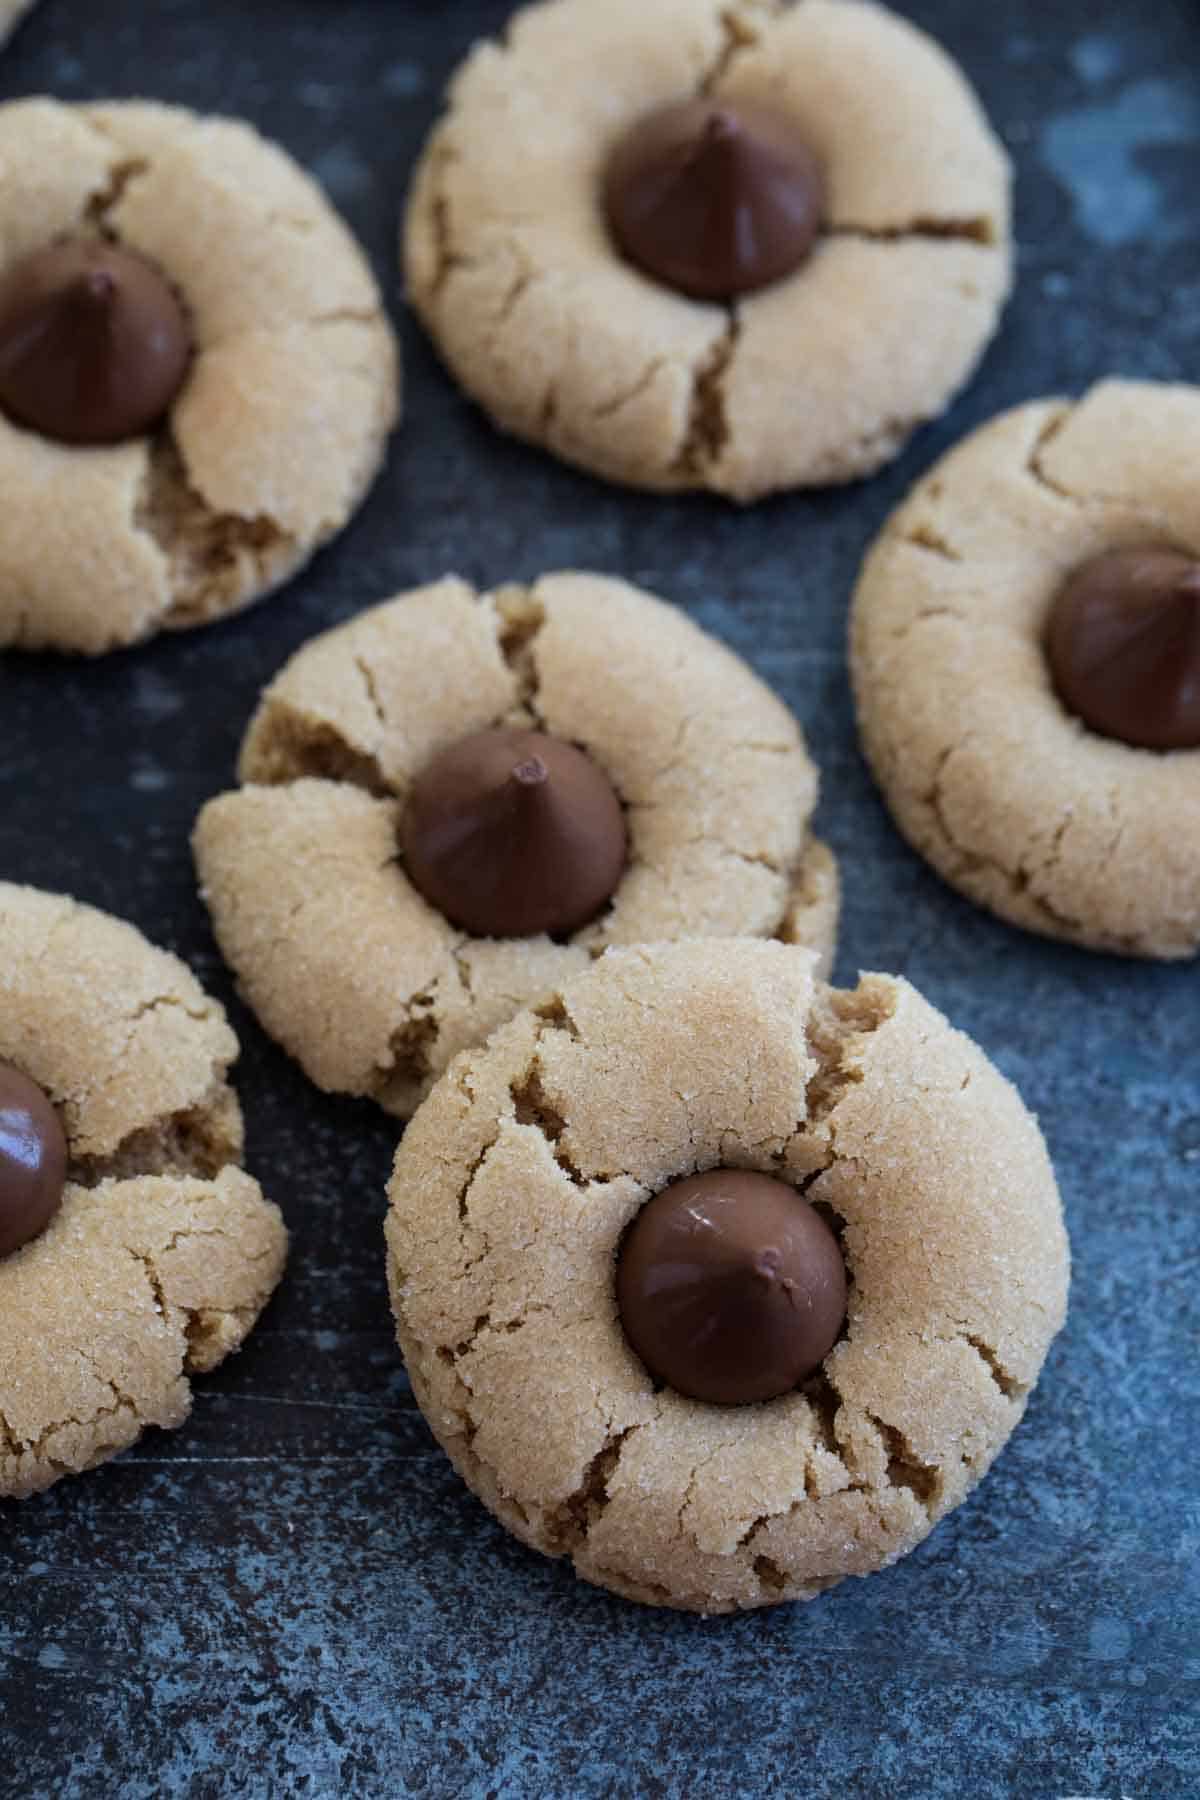
More Christmas Cookie Recipes
Hot Cocoa Cookies
Chocolate Crinkle Cookies
Peppermint Kiss Cookies
Chocolate Mint Cookies
Cranberry Orange Cookies
Meringue Cookies
LOOKING FOR MORE FREE RECIPES?
Subscribe to my free recipe newsletter to get new family friendly recipes in your inbox each week! Find me sharing more family-friendly inspiration on Pinterest, Facebook, and Instagram.
Peanut Butter Blossoms
Ingredients
- 1 3/4 cups all-purpose flour
- 1/2 cup sugar
- 1/2 cup light brown sugar
- 1 teaspoon baking soda
- 1/2 teaspoon salt
- 1/2 cup vegetable shortening
- 1/2 cup creamy peanut butter
- 2 tablespoons milk
- 1 teaspoon vanilla
- 1 egg
- 1/4 cup sugar
- 30 chocolate kisses unwrapped
Instructions
- Preheat the oven to 375ºF. Line a baking sheet with parchment paper or a silpat liner.
- In a large bowl or the bowl of a stand mixer, combine the flour, 1/2 cup sugar, brown sugar, baking soda, and salt. Stir to combine. Add in the shortening, peanut butter, milk, vanilla and egg. Beat on low speed until the mixture forms a stiff dough.
- Place the 1/4 cup of sugar in a small bowl. Roll the dough into 1-inch balls (I think this is easiest using a scoop) and then roll in the sugar. Place 2 inches apart on the baking sheet. (I always suggest baking only one baking sheet at a time. If you do want to bake 2 sheets at the same time, I would rotate them halfway through the baking time.)
- Bake in the preheated oven for about 8 minutes, or until light golden brown. Remove from the oven and immediately top with one of the chocolate kisses. Let the cookies cool for a few minutes before removing from the baking sheet to a cooling rack to cool completely.
- Store the cookies in an airtight container for up to 1 week (if they last that long!)


Leave a Comment...