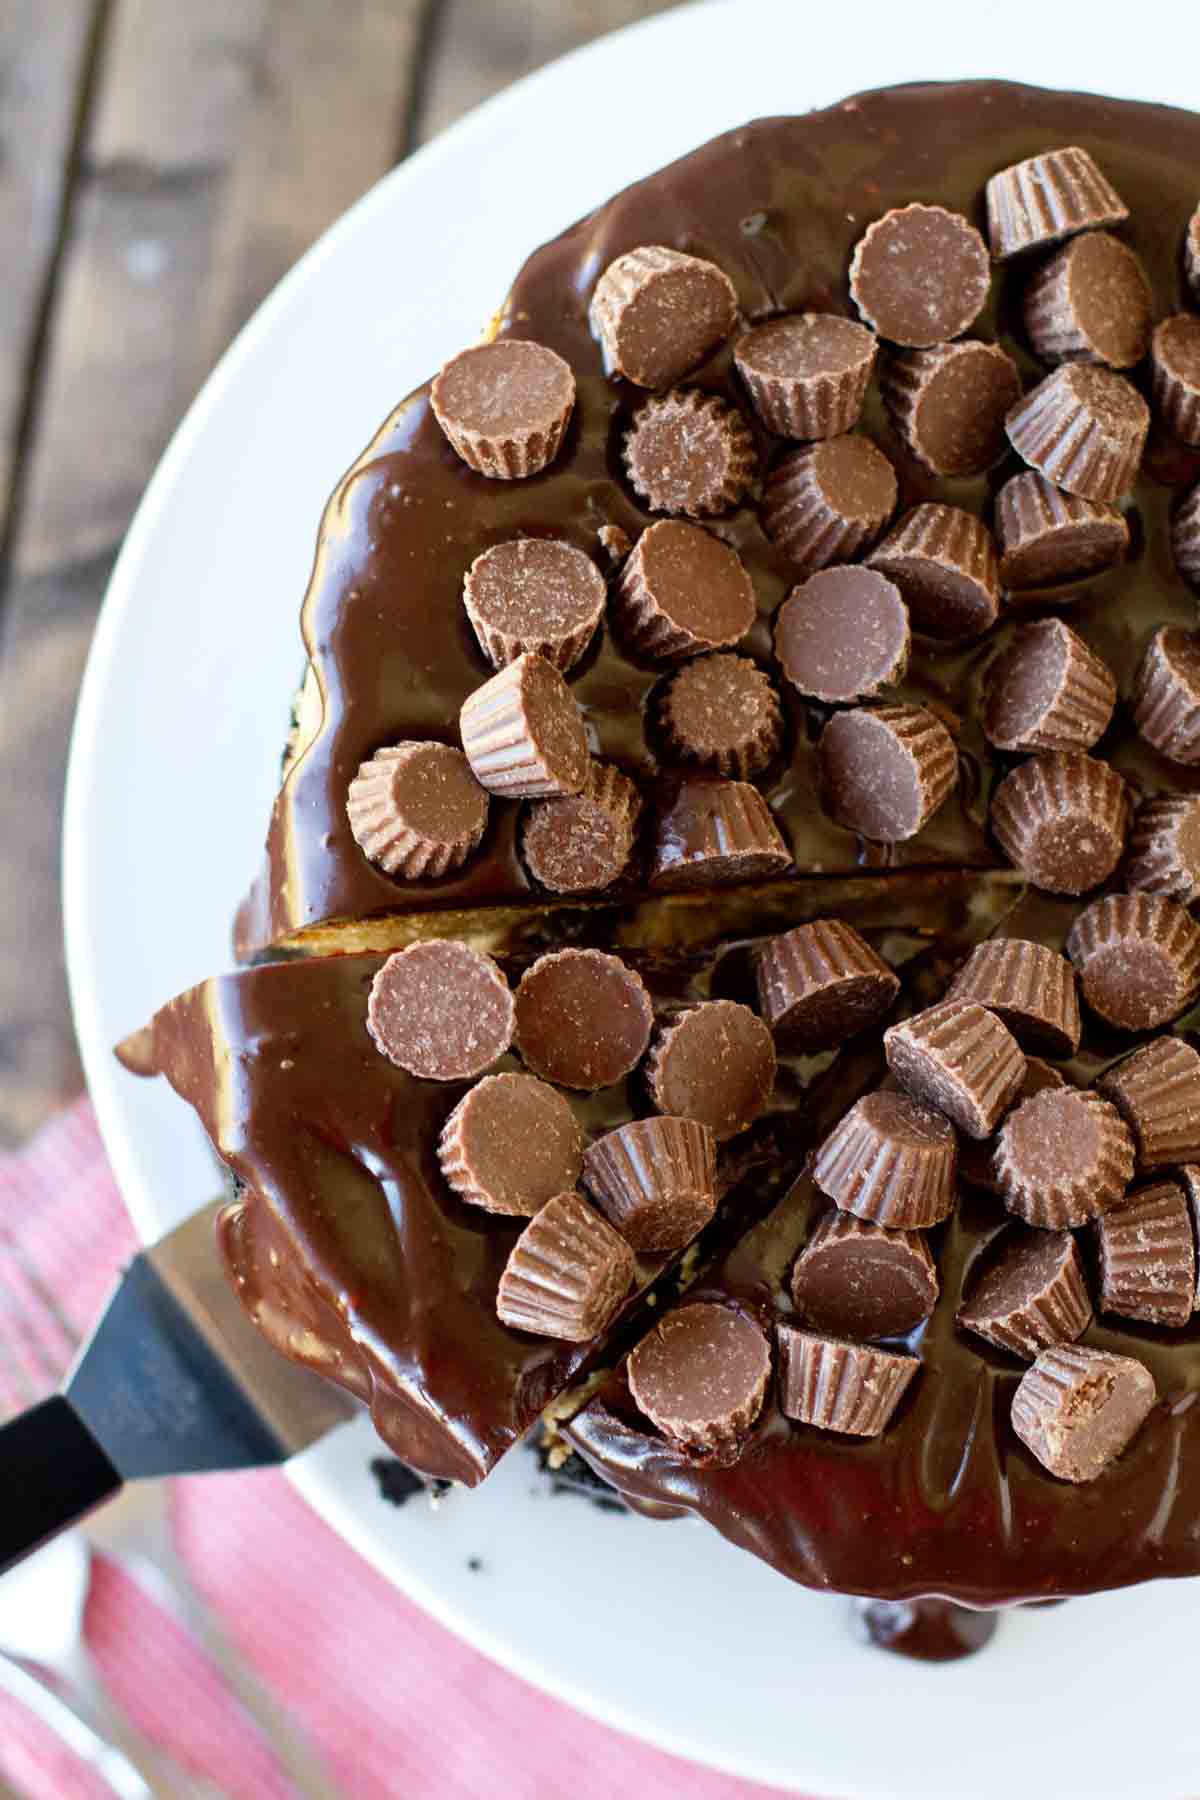
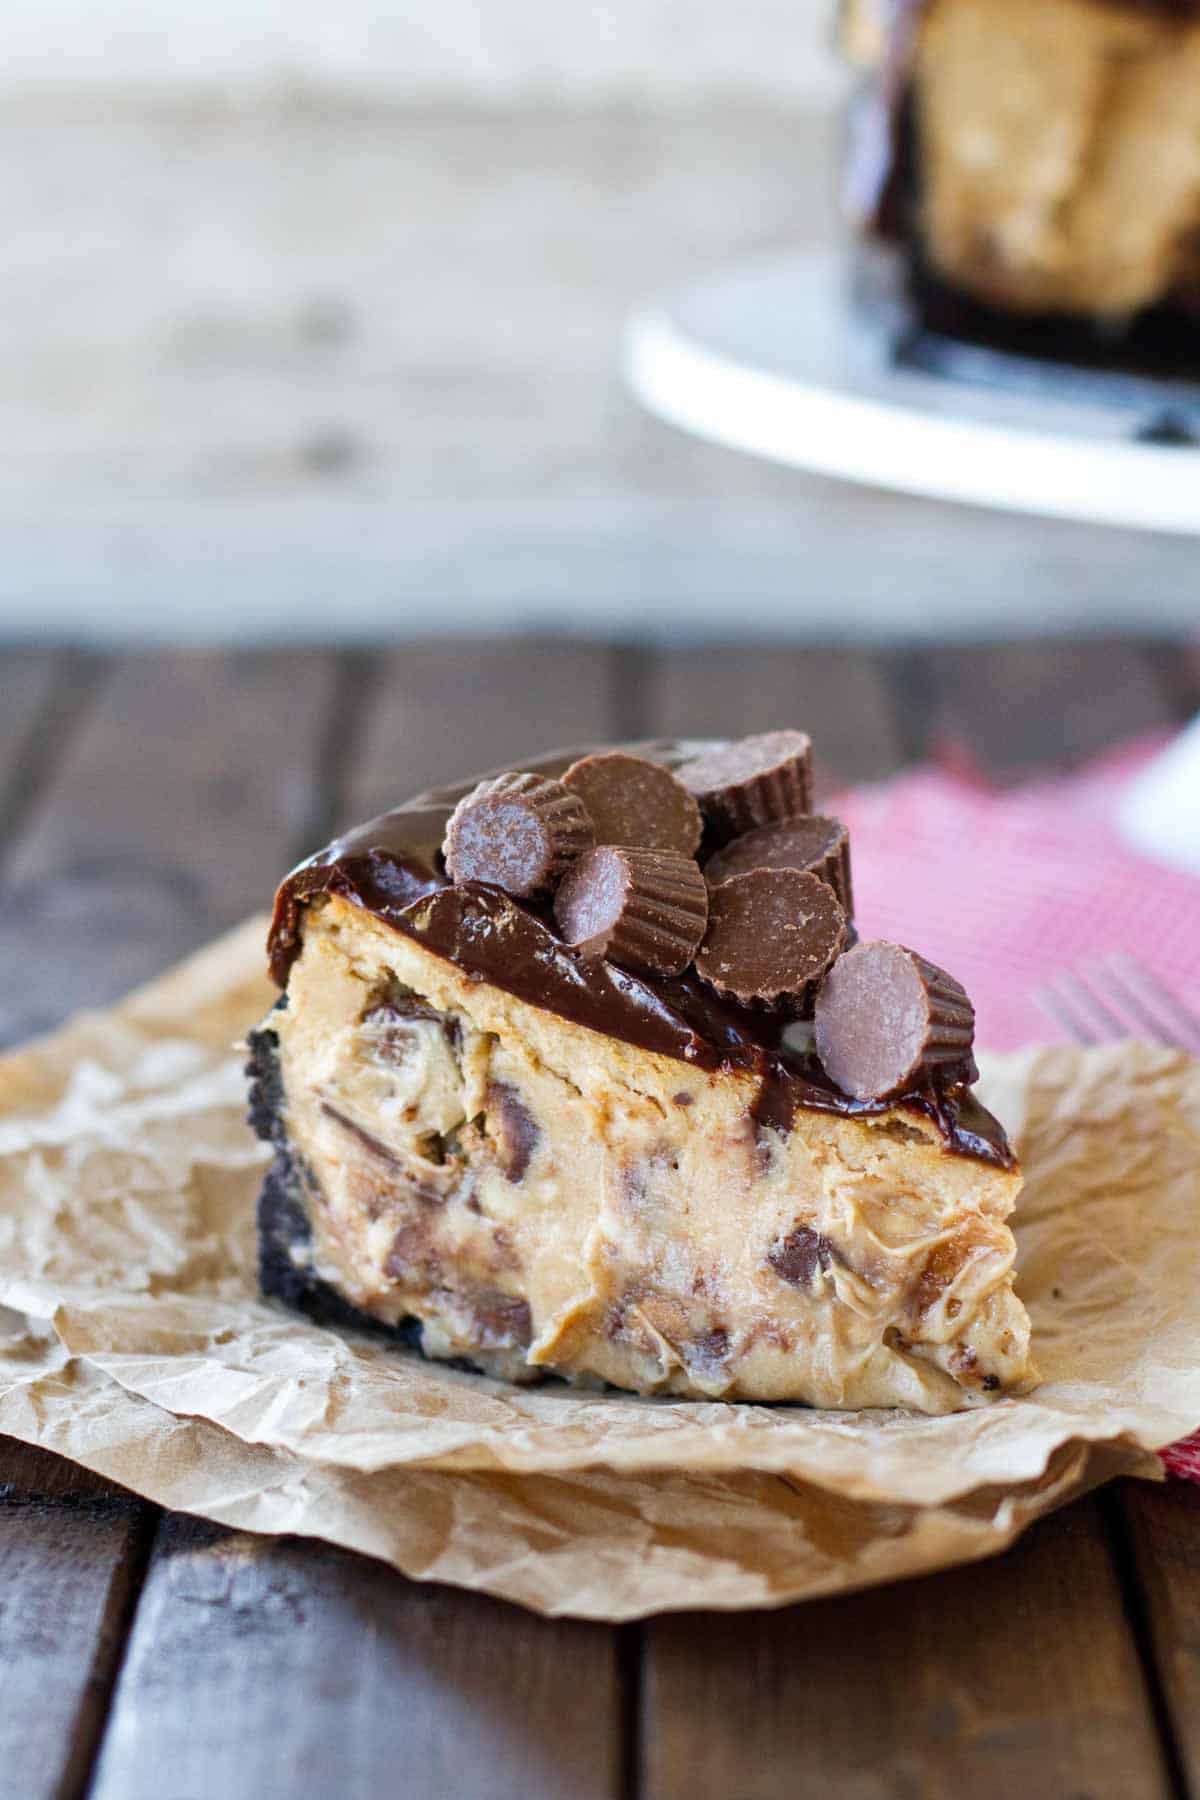
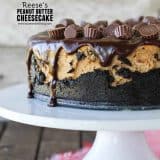
Rich and decadent, this Reese’s Peanut Butter Cheesecake Recipe starts with a cookie crust, is filled with Reese’s Peanut Butter Cups, then topped with a chocolate ganache and even more peanut butter cups.
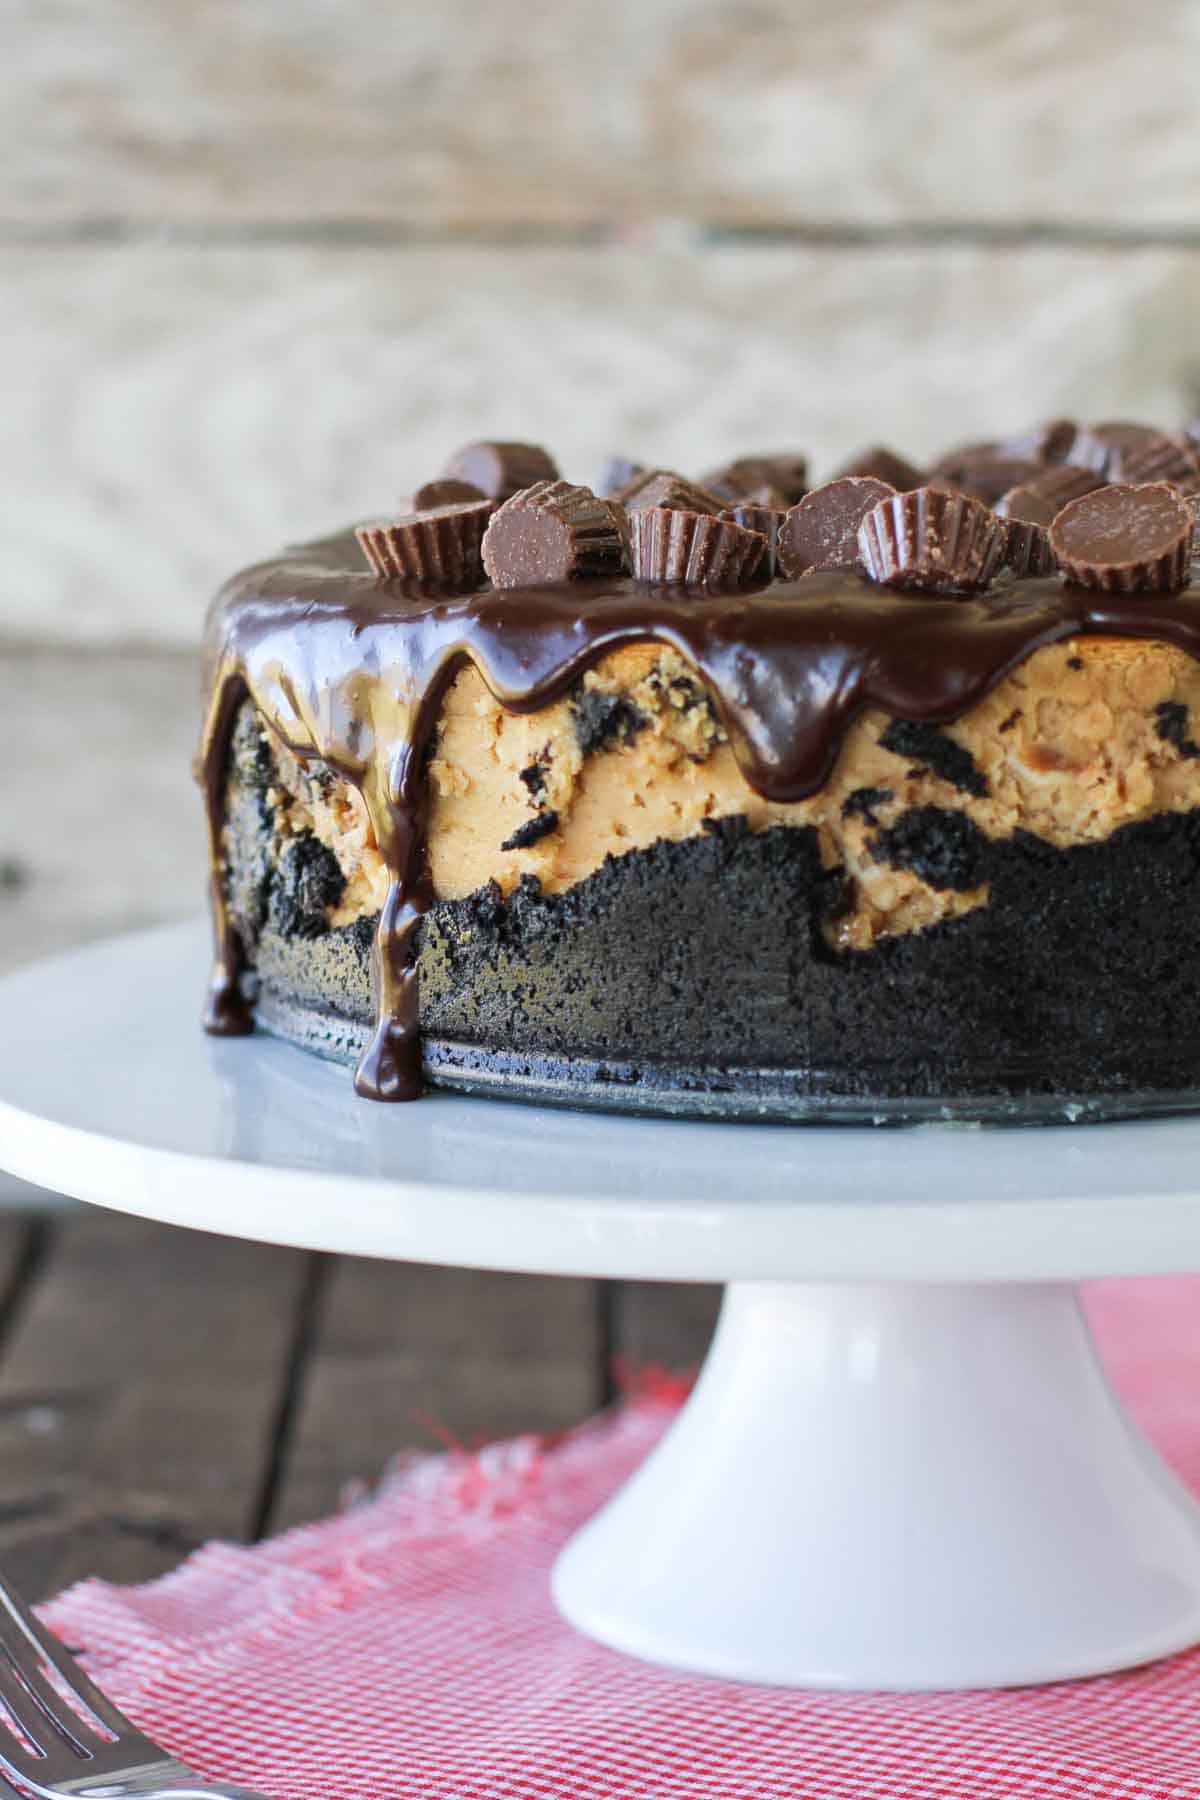
Sometimes, I just can’t get cheesecake off the brain. I adore cheesecake, but I don’t often have an excuse to make a whole cheesecake. But sometimes you just have to make an excuse, right?? Well, when I decided to make a peanut butter cheesecake, I knew I wanted to go all out. I didn’t want a 1-inch cheesecake. I wanted this baby tall and rich and creamy and packed with so much peanut butter and chocolate that it would cure any peanut butter craving. And that is exactly what I ended up with! This peanut butter cheesecake is rich and decadent and totally celebration worthy. It really might be my favorite cheesecake!
A few hints – make sure you wrap the springform pan tightly with foil so that the water doesn’t leak in. (More on this below!) I used to never have problems with water leaking, but I’ve ruined a couple cheesecakes lately because of leaks. And believe me – this is one cheesecake you don’t want to ruin!!
Leaving the cheesecake in the oven to gradually cool it down helps to reduce the risk of the cheesecake cracking. But since this cheesecake is covered with a ganache, if your cheesecake does crack, it’s no big deal. You’ll be the only one that will know!!
And because this is such a tall cheesecake, it does take some time to bake through. I always worry about overbaking, but could have left mine in a few minutes longer. But I do love how creamy it turned out!!
This will be the perfect dessert to take to your next holiday get together!!
Tips for making this Reese’s Peanut Butter Cheesecake Recipe
Here are a few tips to ensure that your cheesecake comes out perfectly:
- Make sure all of your ingredients are room temperature – not just the cream cheese. Set them all out about 30 minutes before you are going to start the recipe.
- Don’t overmix. Overmixing will add too much air to the batter, which means your cheesecake will fall and you’ll be left with a big crack in the top of your cheesecake.
- A water bath makes a big difference! Read more about this below.
- Make sure to chill the cheesecake thoroughly.
How to Bake a Cheesecake in a Water Bath
A water bath can be a little controversial. Many cheesecakes have been ruined by leaking pans. So here are a few tips to make sure that pan is wrapped well so that you won’t end up with leaks.
- Wrap the pan in a double layer of aluminum foil. Make sure to go high up enough on the sides so that the water can’t sneak in through the top.
- Make sure the foil is wrapped tightly to the pan on the bottom.
- I like to place the filled springform pan into the larger pan, and then place those in the oven before adding the hot water. That way water won’t splash up while you are transferring the pan to the oven.
- If water leaking into your pan is a common occurrence, it may be your springform pan. Make sure it is tight fitting, and if all else fails, buy a new pan.
- I have heard of many people having luck skipping the water bath and just adding a pan of water to the rack in the oven below the cheesecake. I have tried this, and while it does help some, I don’t think it has quite the same effect that the actual water bath does. Besides preventing cracks, the water bath also helps the cheesecake to cook more even, and I think that the pan below doesn’t really help with this. But if not worrying about the water leaking is your biggest concern, this is definitely an option!
More Cheesecake Recipes
Lemon Cheesecake
Mini Cheesecakes
Dulce de Leche cheesecake
Sour Cream Cheesecake
No-Bake Nutella Cheesecake
Snickers Cheesecake
LOOKING FOR MORE FREE RECIPES?
Subscribe to my free recipe newsletter to get new family friendly recipes in your inbox each week! Find me sharing more family-friendly inspiration on Pinterest, Facebook, and Instagram.
Reese’s Peanut Butter Cheesecake
Ingredients
Crust:
- 30 chocolate sandwich cookies
- 6 tablespoons butter melted
- Dash of salt
Cheesecake:
- 32 oz cream cheese softened
- 5 eggs
- 1 1/2 cups brown sugar
- 1 cup smooth peanut butter
- 1/2 cup heavy whipping cream
- 1 teaspoon vanilla
- 12 oz Reese’s Peanut Butter miniature cups unwrapped and roughly chopped
Topping:
- 1/2 cup heavy whipping cream
- 1 cup semi-sweet chocolate chips
- 1 8 oz package Reese’s Minis
Instructions
- Preheat oven to 325°F.
- Put the chocolate sandwich cookies in a food processor and process until they form fine crumbs. Add in the butter and salt and process to combine. Press the mixture into the bottom and halfway up the sides of a 9-inch springform pan. Bake for 10-12 minutes, then set aside to cool. Wrap aluminum foil around the sides and the bottom of the springform pan.
- Beat the cream cheese until smooth. Add in the eggs, one at a time, scraping down the sides of the bowl in between each addition. Add in the brown sugar, peanut butter, cream and vanilla; beat until combined. Gently fold in the chopped up Reese’s Miniatures. Pour the mixture into the cooled crust.
- Place the pan inside a larger pan and carefully add about 1 inch of hot water in the larger pan. Bake the cheesecake until it is just set, about 1 hour 15 minutes. Turn off the oven and allow the temperature to come down gently for about an hour. Remove from the oven, cool completely, then refrigerate until completely cool.
- To make the chocolate topping, heat the cream until simmering, just before boiling. Remove from the heat and add the chocolate chips. Allow the mixture to sit for a couple minutes, then stir until smooth. Pour over the top of the cheesecake, allowing it to drip down the sides. Sprinkle the Reese’s minis over the top of the cheesecake.


donna says
my mum just seen this and now ive got to make her one lol hope it turns out a yummy as this one looks …happy datz x
Aimen says
Hi, I’m trying to make a smaller version of this chessecake by halving al the ingredients so should I use 3 eggs instead of 5 or 2? Also, can you advise me on what size springform pan to use?
Thanks,
Aimen
Deborah says
I haven’t tried halving the recipe, so I’m not sure what would work. I know time and ingredient measurements would change with a smaller pan, and since I haven’t tried, I would have a hard time giving a good guess.
Judy says
Hi Deborah.
I know this is a little late but maybe will be helpful in the future for you or one of your fans. I recently used a recipe for a 9-inch cheesecake, split the batter in half and baked two 6-inch cheesecakes. I cooked them in a water bath, as you do, and reduced the bake time by about 8 minutes. They came out perfectly and were a total hit. I think you could get the same result by halving the recipe and making a single six-inch cheesecake.
Deborah says
Thank you so much – that is definitely good to know!
Alyssa says
Do you refrigerate the cheesecake after putting in the chocolate ganache?
Deborah says
Yep – I would keep it refrigerated until you are going to serve it.
Alice @ Hip Foodie Mom says
oh my gawd. . this cheesecake!!!! LOVE and pinned! going to try this one!
Andrea says
I also just made this for my husband’s birthday and it came out PERFECTLY! This was also the first cheesecake I’ve ever made–so I was nervous the entire time! I ended up baking it an extra 15 minutes as a couple comments suggested, then left it in the oven 2 hours to cool, and then let it cool to room temp the rest of the night before putting it in the fridge first thing in the morning. I was sure that water had creeped into the cheesecake because when I unwrapped the tin foil there was water in every layer, as well as a ton of butter in the layer the closest to the springform pan–but it seems like only butter got out and water didn’t get in because the crust was perfect as well!
My husband LOVES cheesecake, and when we served it to his friends at his birthday party, he commented that he’s had a lot of cheesecakes in his life, but this one was one of, if not the best cheesecake he’s ever eaten. He also commented that, this being my first cheesecake, it’s like someone who’s never played piano sitting down and playing Mozart. LOL 🙂 His reaction when I first cut into the cake and realized it was a cheesecake was also PRICELESS–he had been thinking it was a brownie.
So anyway–THANK YOU FOR THE AWESOME RECIPE! I’ve gotten many requests to share it on Facebook as well after posting the pictures. 🙂
Deborah says
Your comment seriously made my whole day!! Thank you so much for letting me know it was a hit, and happy belated birthday to your husband!
Andrea says
Ha! Well it’s only fair that I make your day after how happy your cheesecake recipe has been making my husband and I for the last couple days with a few more to come! 🙂
Rachael says
I whipped this up last night for my husband’s birthday today. I’m sure it is just as good as your photos look! He’s really excited 🙂
Deborah says
Happy birthday to your husband – I hope he loved it!!
Isaac says
So I gave it a try, I ended up buying a 9″ springform pan. But I thought 4 packages of cream cheese was too much for such a pan, I don’t know how do you fit all those amounts in a 9″ pan.
I cut the ingredients in half, used 3 eggs.
Cooked for 1 hour in the water bath and it had fluffed beautifully, turned off the oven and when I came back 4 hours later it had sank to the same height it started with. Tasted good, but it was too strong, maybe less peanut butter and half the sugar make it white sugar. Also some water had leaked in between the pan and the aluminum foil, but I think none got into the pan itself.
Please give me some advice here, it was my first time.
1- can I mix the whole batter with a whisk to not over mix it and avoid too much air bubbles?
2- Should I use the full amount of the ingredients? (My springform pan is 2.7″ in height) or is it ok using half?
Deborah says
Hi Issac – I use my stand mixer to make it. I think it might be hard to get the mixture smooth if you do it by hand. Just make sure not to go too crazy. And you have the standard size of springform pan, so it will all fit in there. It is a tall cheesecake, but it will fit! 🙂 And it’s a very rich cheesecake, so a small piece goes a long way.
Isaac says
Hi, what kind of cream do you use?
Could I use another pan instead of a springform one, or will it be too hard to unmount it later?
Deborah says
I used heavy whipping cream. I think it may be hard to get out of a different pan, but it’s worth a try!
tawnya says
Hey guys, I’ve been noticing many people asking about using the tin foil to prevent water from seeping into the cheesecake. Just wanted to pass along a tip I’ve learned from working in the industry as a pastry cook for the last 14+ years: you can fill a sheet pan or another cake pan with water and place it on the rack below your cheesecake. You don’t have to put the spring form pan in the water. This method still allows steam to be produced, which helps with slow even baking. Also, someone asked about their cheesecake puffing up- that could have happened because it was baked too long. Cheesecakes are like custards, they contain eggs and can curdle and/or soufflé. Good luck everyone and happy baking! ☺
shanate says
I’m making one this weekend! It looks sooooo good!
kathryn says
Hi!
Do you pour the chocolate topping on the cheesecake after it is cooled? Or before putting in the refrigerator?
Deborah says
You will cool the cheesecake then refrigerate it before you add the topping.
Christen says
I would really like to try this recipe in a batch of mini cupcakes. I am wondering if you have any recommendations on baking time if the recipe is divided into mini cupcakes instead of one large (tall) cheesecake?
I have found that treats seem to disappear much more easily and quickly if they are “bite” size. 🙂
Deborah says
I’m not sure on the baking time if you made minis, but I’m guessing that if you did them cupcake sized, I’d start checking them around the 15-20 minute mark. And I agree – the smaller desserts usually do go first! 🙂
Christen says
UPDATE: I took your recipe and altered it slightly to make mini cheesecake cupcakes. Basically, I did not bake the crust. I added Reese’s peanut butter chips to the batter (yes, with the peanut butter cups too). And for the crumbly stuff on top, I did not use the Reese’s minis. I used a Reese’s sprinkle topping that I found in the baking aisle. I baked 96 mini cupcakes. Each pan was in the oven for about 20 mins.
Needless to say, they turned out amazing! I am NOT a Betty Crocker, and I see that some people (who are far better bakers than I am, I’m sure) have had a hard time with this recipe. I will say, these cupcake minis were so easy. And I had no issues with water and foil and sinking.
I wish I knew how to post a picture of them on my comment to show you. And miraculously, only one accidentally fell into my mouth. lol! 😀
Deborah says
I’m so glad they worked out so well as mini cheesecakes!! And I’m impressed that you only ate one! 😉
Georgia says
Featured your recipe with pictures of the successful cake on my blog. I just wanted to let you know and thank you for such an awesome recipe, plus all of your tips in the comments! Great job!
Deborah says
I’m so glad that you loved it!! Thank you!
cassie says
Highly annoyed right now, I was so excited to try this for my father in laws birthday tmw & i just realized the entire thing is trash because the water seeped in through the foil wrap! So I guess that’s a good 15$+ down the drain & no birthday cake for tmw. This recipe really needs to be revised to include a warning about this problem to save people money & a bad mood in the future.
Deborah says
Hi Cassie – I’m so sorry the water leaked through. The purpose of the foil is to keep the water out so you’ll want to make sure the foil is very tight on the pan. I have updated the recipe to make it more clear why you’ll want to make sure the foil is on the pan tight.
Charlotte says
Instead of a water bath, in order to prevent leakage, you can wrap dishtowels saturated with water around the outside of the pan
Tracey says
Hey so I just baked this cheesecake, it’s my first time doing a baked one so I am a little paranoid.
I took it out of the oven 15mins early because it was starting to brown on the top, it was still super runny….
I’ve just checked it after it’s been in the fridge over night and now pushing on the top it’s is rock solid…..
Have I done something wrong here perhaps over cooked it?
And if it is overcooked what can I do with it now will it still be okay to serve or will it taste yuck…
Tracey
Deborah says
Hi Tracey,
Did you try testing it with a knife to see if it’s still raw in the middle? I’m guessing that if it firmed up after being refrigerated it was probably cooked long enough but I’m not sure. If it wasn’t done yet, you can always put a piece of foil over the top to protect it from getting too brown while the cheesecake cooks through. It will jiggle just a little on the top when it is done, and firm up in the refrigerator, but it shouldn’t still look like it’s super runny.
Tracey says
So tested it the middle is still nice and soft like it should be it’s just the top that’s hard would you recommend trimming that off and then putting the Chocolate on or just leaving it…