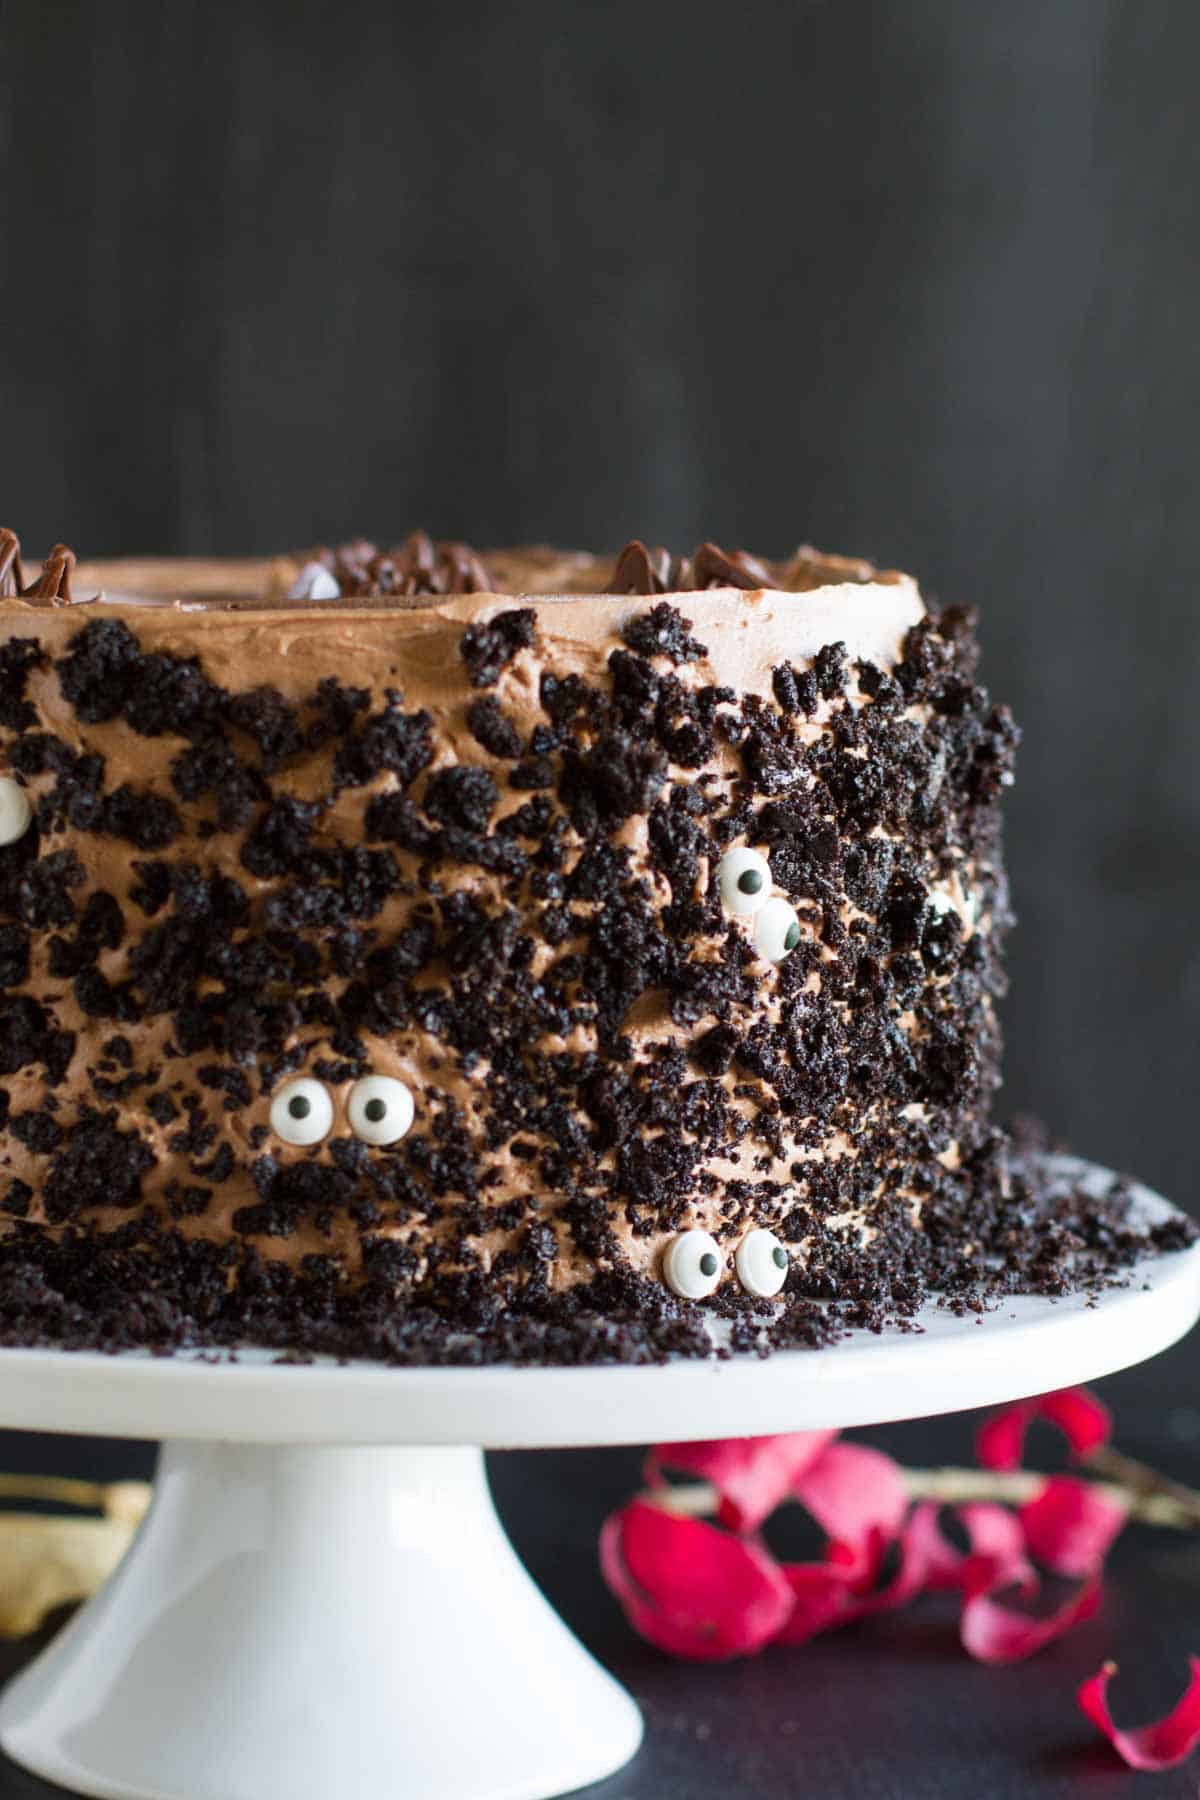
Dark and rich, this Dark Chocolate Cake with Nutella Buttercream is the perfect centerpiece for your Halloween party. Chocolate lovers will instantly fall in love with this dark chocolate cake!
There is just something about a layered cake that always impresses! Looking for more? Check out this Pistachio Pudding Cake or this perfect Carrot Cake.
I’m not very good at the whole holiday thing.
I think I didn’t realize my shortcomings until Pinterest came around. Don’t get me wrong. I love Pinterest. I think it has definitely helped me in many ways, and I’m constantly inspired when I spend time browsing everyone’s pins. But it also makes me realize just how bad I am at holidays.
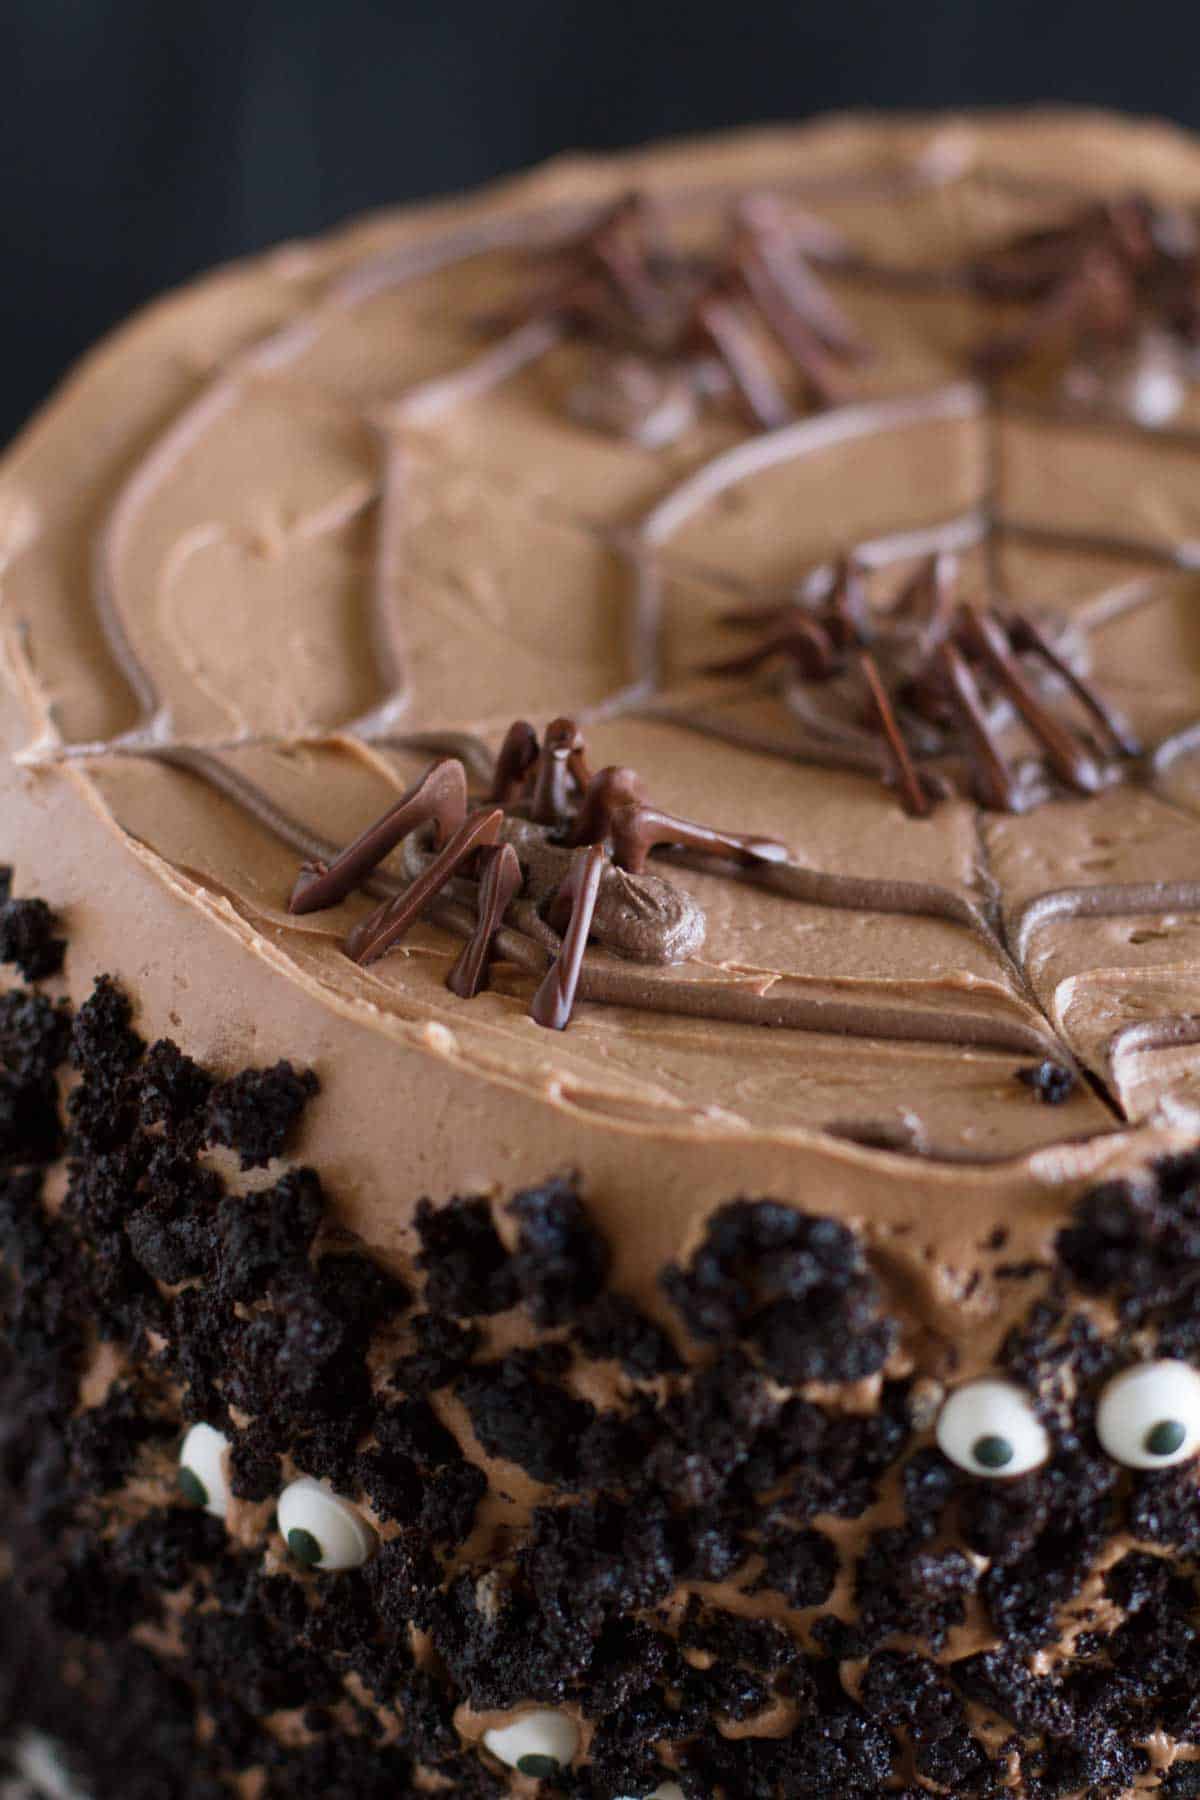
I’ve tried before. Spiders and ghosts and monster brains – oh, my! But it’s just not my strong point. While others have been brainstorming and posting cute Halloween ideas for parties and gifts for the past month, I’ve been stuck on comfort foods and soups.
At the beginning of October, I decided that I was ok with it. I didn’t need any recipes specifically made for Halloween. I’d let the creative people take care of that.
But then I decided I was up for the challenge.
Dark Chocolate Cake with Nutella Buttercream
As I was trying to decide what to make, I came across a container of dark cocoa powder in my cupboard, and I instantly knew what I wanted to make. The ultimate chocolate cake. Deep and dark and perfect for Halloween.
The beauty of this cake, though, is that it doesn’t have to be just for Halloween. The cake is a very rich, dark chocolate cake that will leave chocoholics with a smile on their face. I didn’t want to do a straight up chocolate frosting, and I decided that a Nutella buttercream would be perfect with the dark chocolate.
The Best Chocolate Cake Recipe
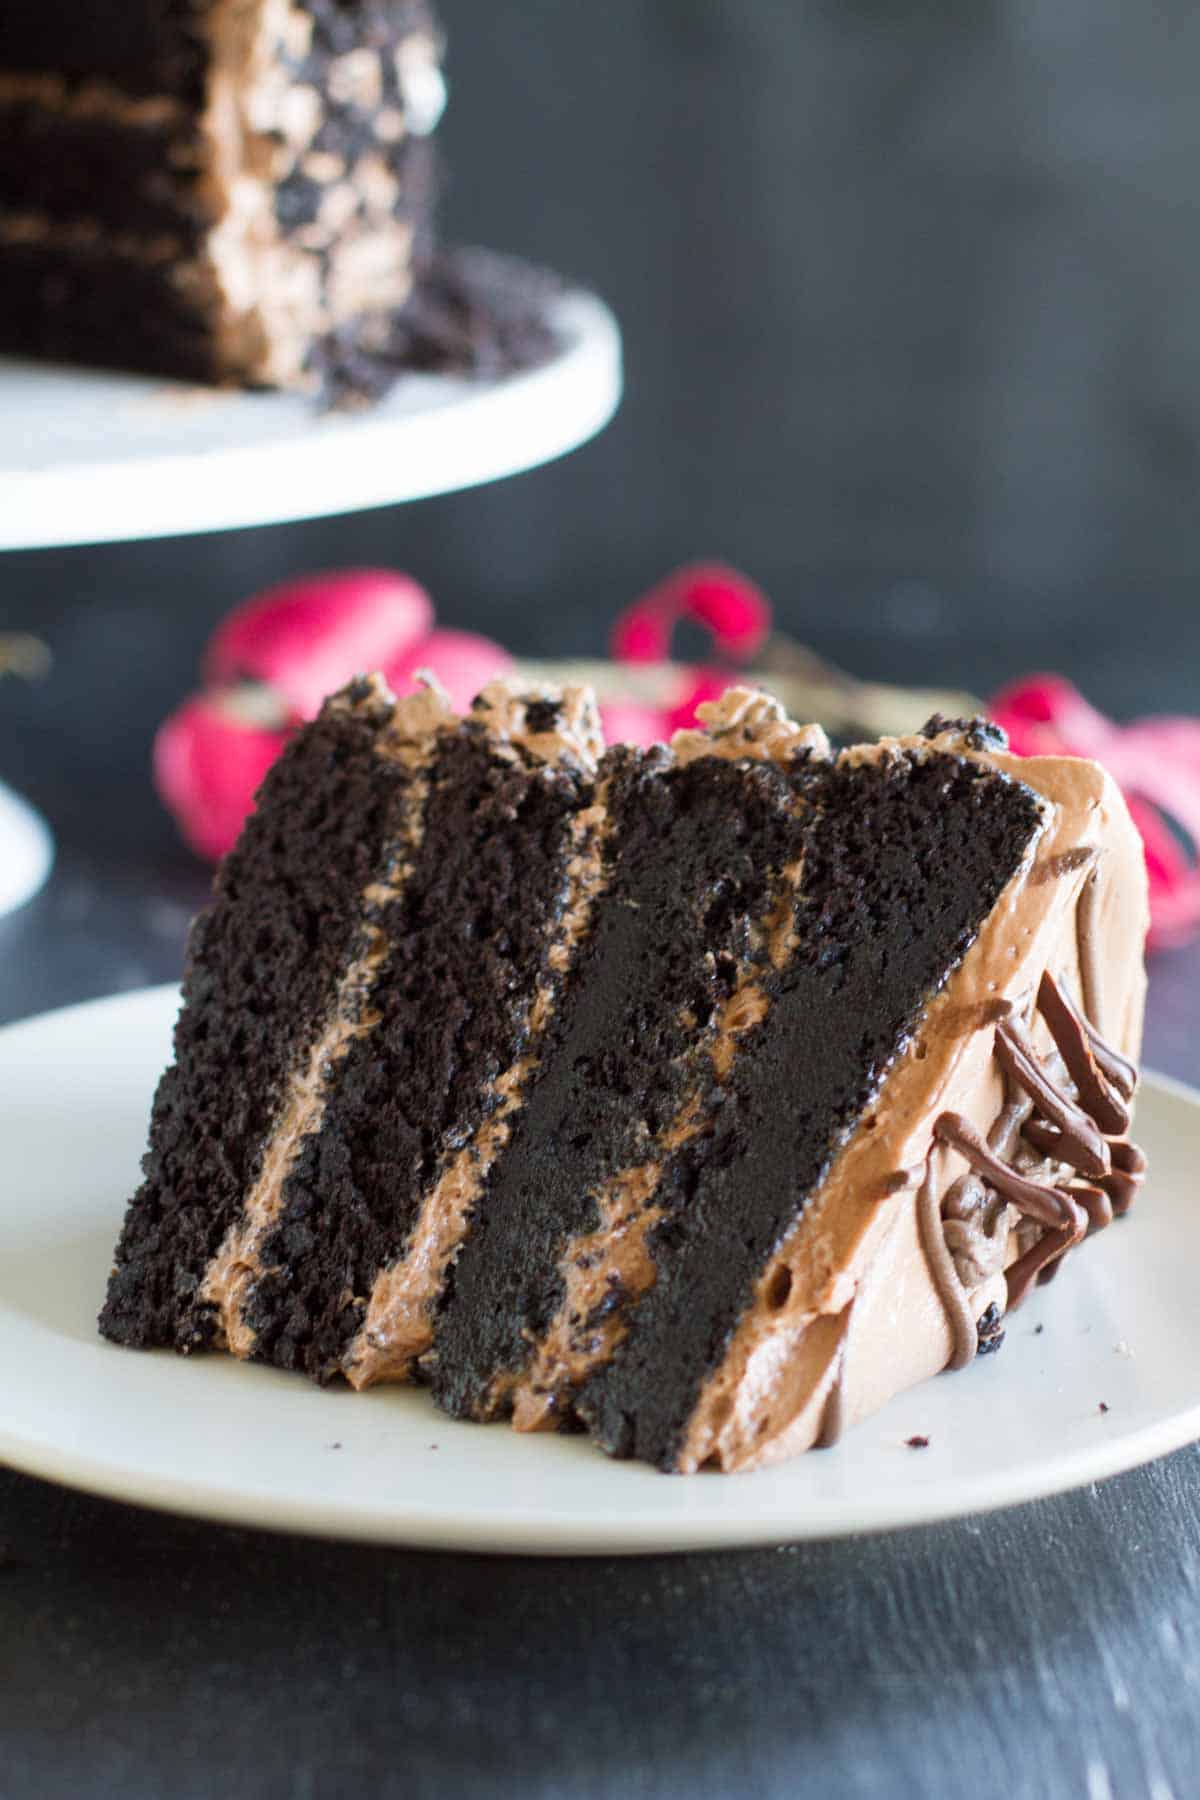
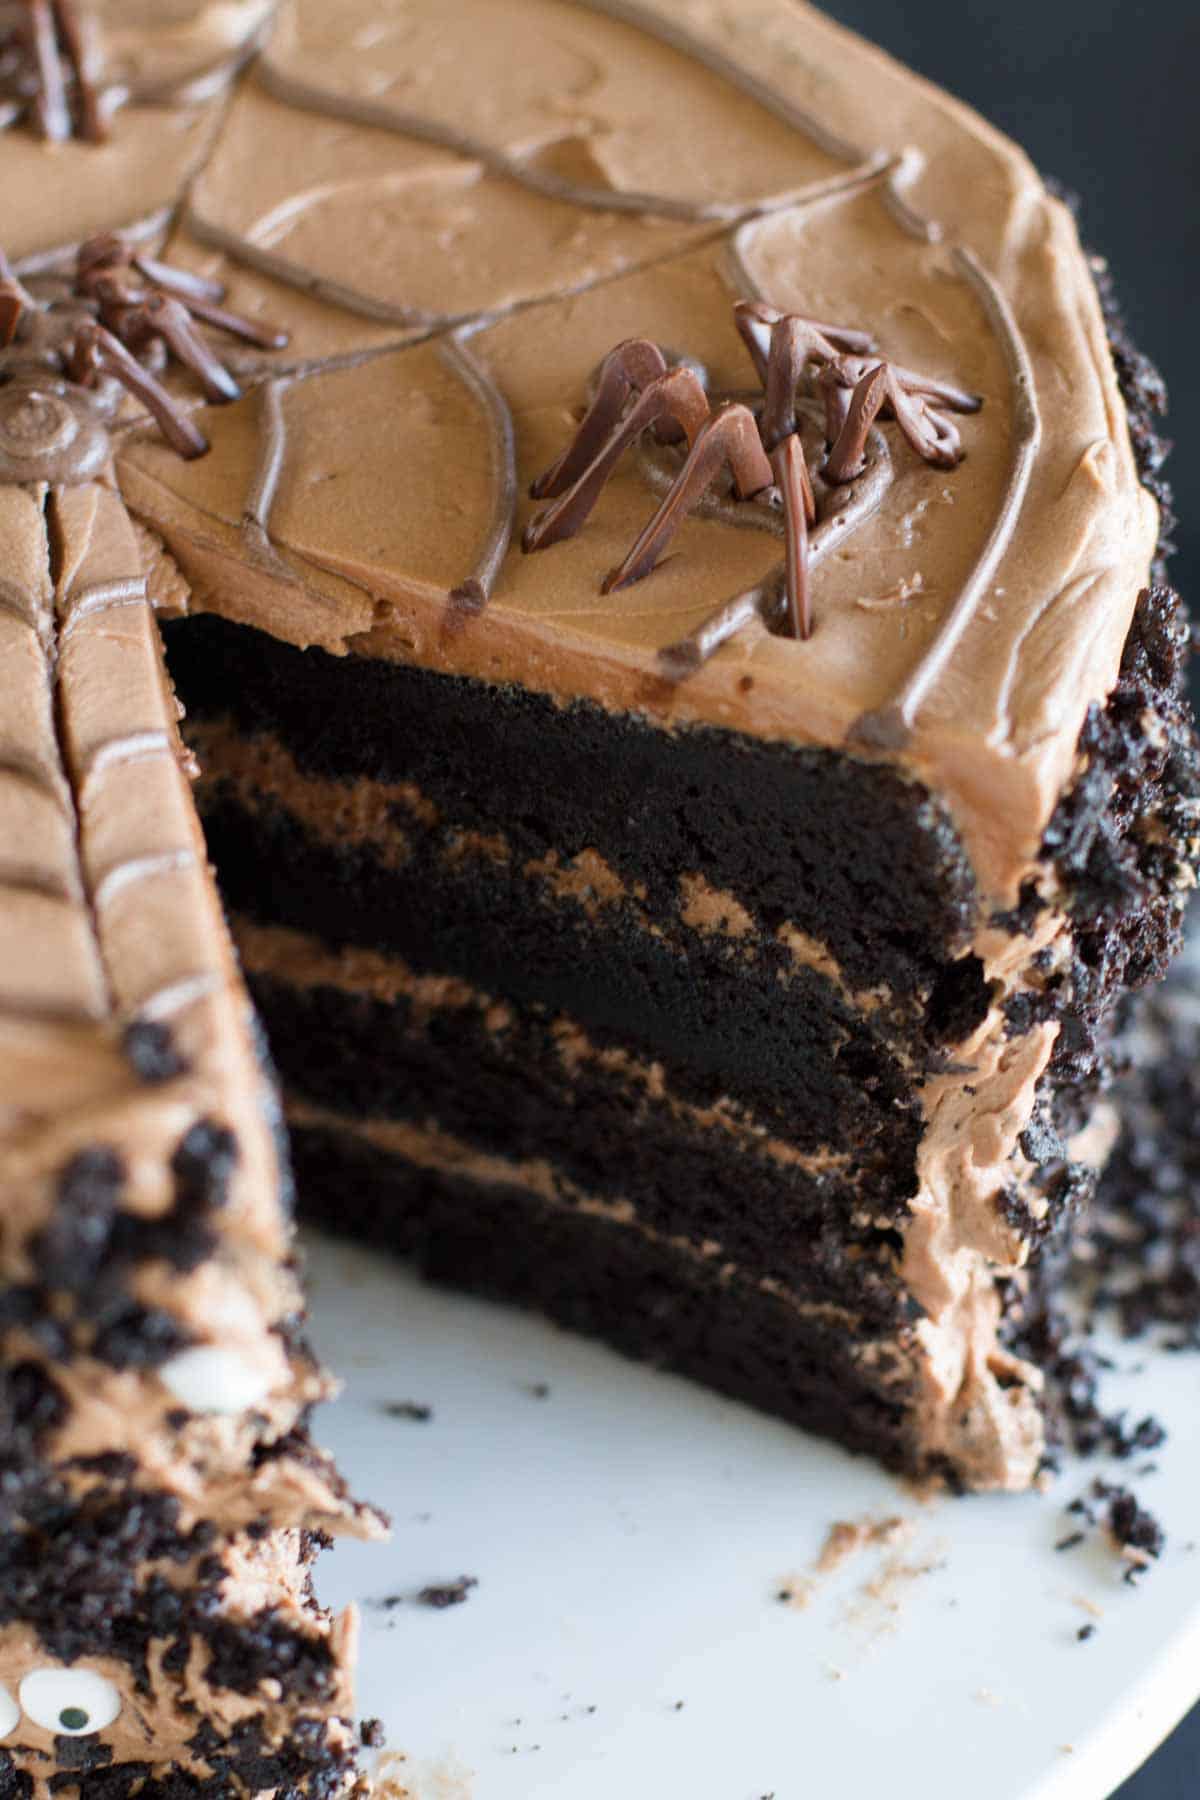
Now, this isn’t your typical chocolate layer cake. This cake is the most moist chocolate cake you will ever have. Not even kidding. I originally was going to just make a 2 layer cake, but for some reason, it just didn’t feel right. This cake was screaming to be made into a full 4 layer cake. It’s totally over the top and rich and decadent, and a little slice goes a long way, but it’s all totally worth it. And totally holiday worthy.
Because of the nature of this cake recipe, don’t be alarmed if the cakes fall a little bit in the middle, because they probably will. This isn’t a light and fluffy cake, but an extremely moist cake. But don’t fret – you’ll level off the cakes and you can use the scraps to decorate the outside of the cake. Since I’m such a horrible cake decorator, I love having tricks like this up my sleeve because then no one can tell that you didn’t frost the cake perfectly!
Perfect Halloween Cakes
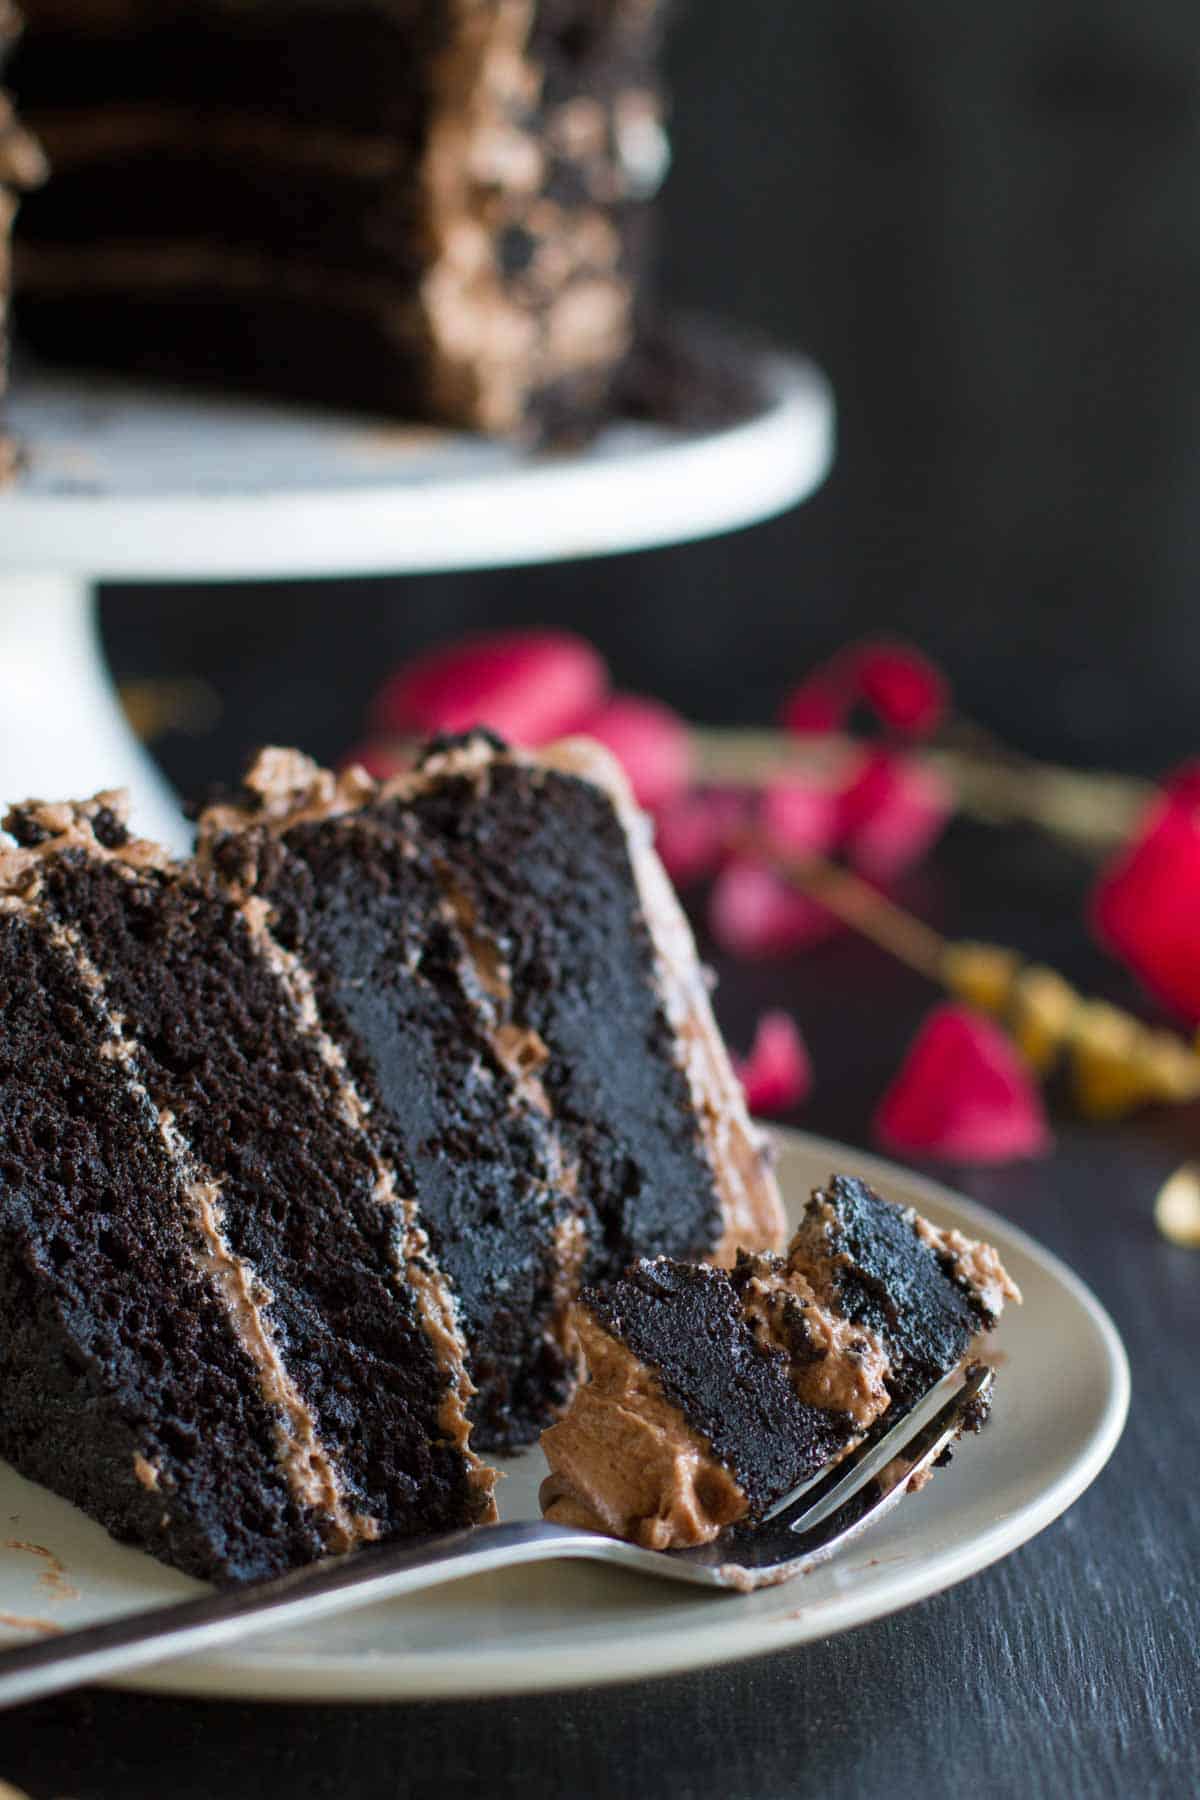
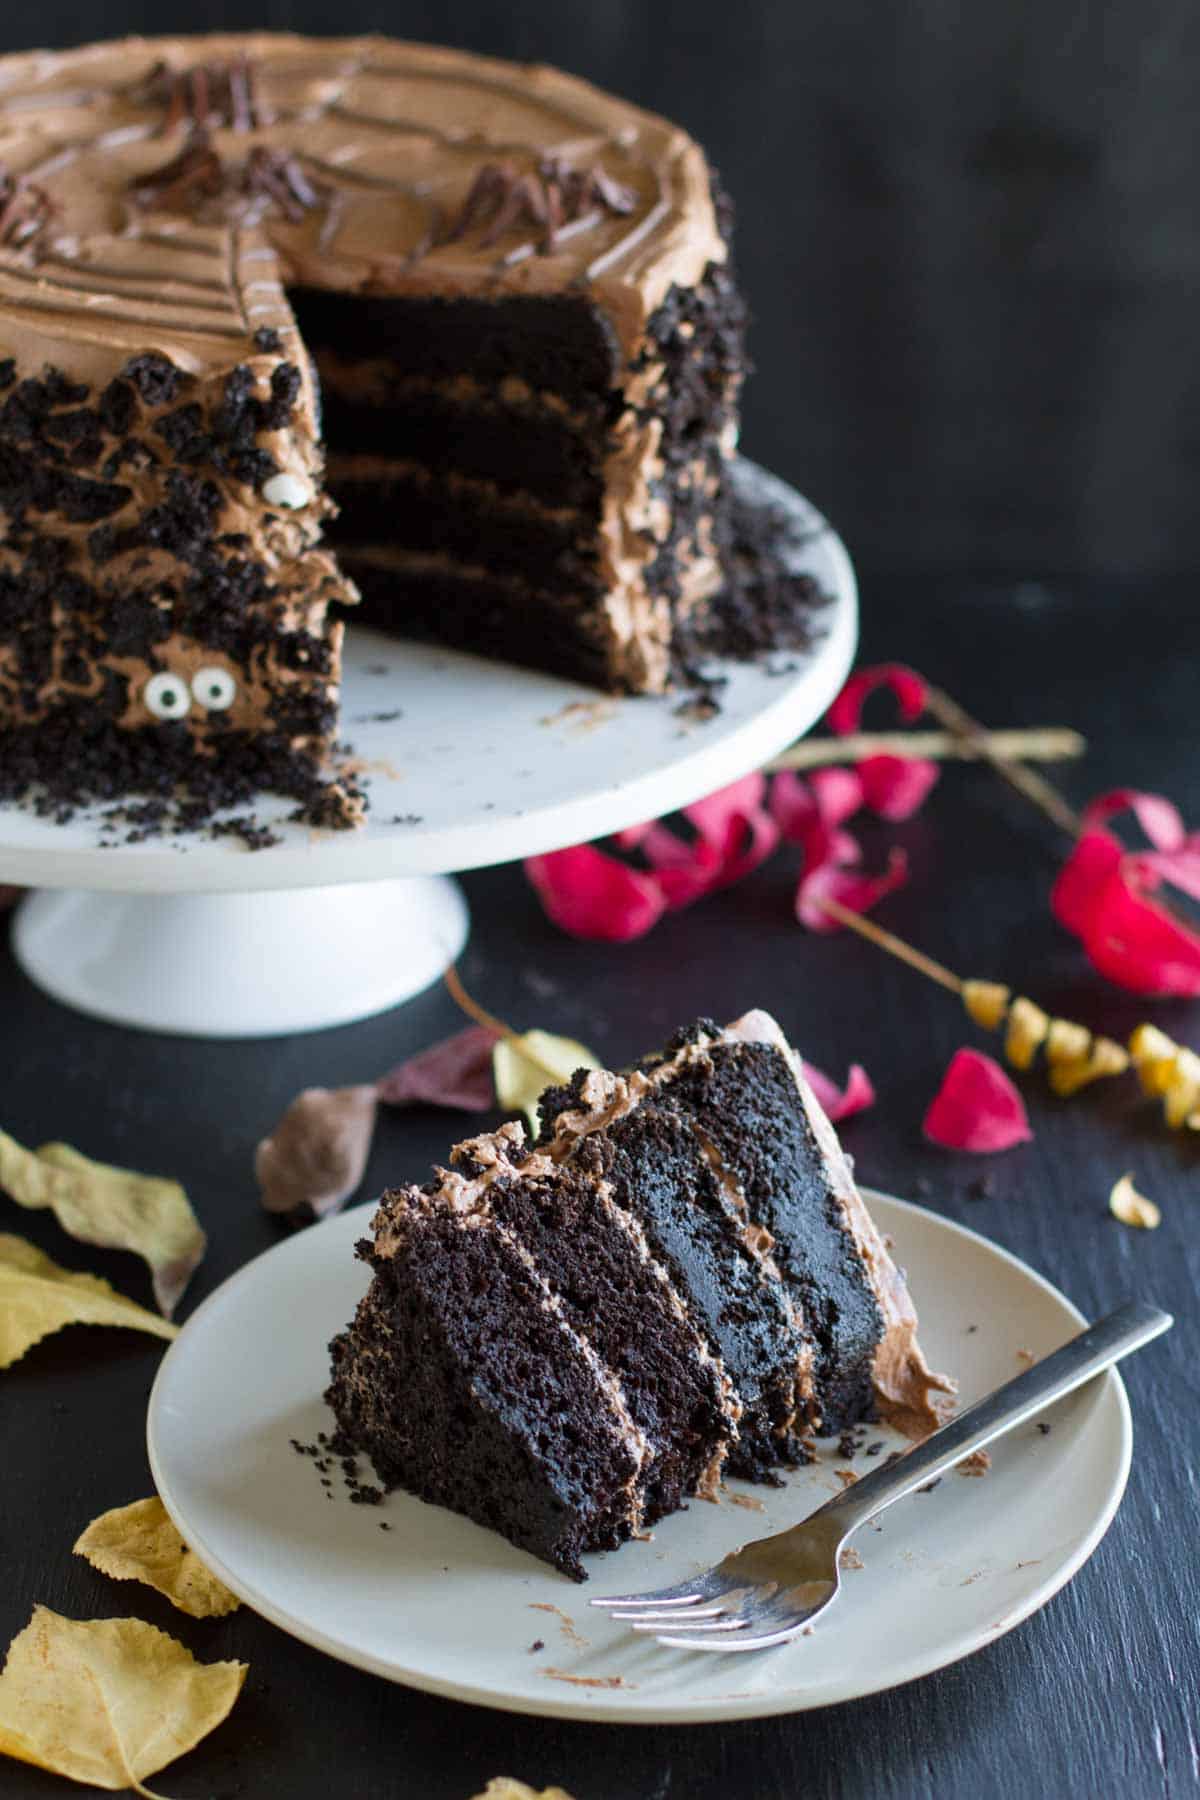
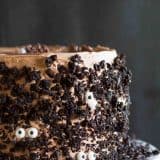
This is the perfect cake for Halloween because it is so deep and dark. I originally bought the eyes to put on my spiders, but they were just too big and didn’t look right, and at the last minute, I decided to put them randomly over the outside of the cake. And I think that ended up being my favorite part! Most grocery stores sell the little eyes these days, and they are an easy way to decorate when you are decorating challenged.
Now I’m ready for Halloween!
More Can’t Miss Chocolate Dessert Recipes:
Almond Joy Candy Bar Filled Chocolate Bundt Cake
Chocolate Sour Cream Cupcakes with Chocolate Buttercream
Italian Chocolate-Almond Flourless Cake
Double Chocolate Bundt Cake
Chocolate Pound Cake
Tools Used to Make this Chocolate Layer Cake Recipe
- This cake is 4 layers, so you’ll need 4 cake pans. These cake pans come in a 2 pack and are fairly inexpensive.
- You should be able to find the candy eyes at your local store, but you can also order them online as well.
- I always think cakes are easiest to decorate using an offset spatula.
LOOKING FOR MORE FREE RECIPES?
Subscribe to my free recipe newsletter to get new family friendly recipes in your inbox each week! Find me sharing more family-friendly inspiration on Pinterest, Facebook, and Instagram.
Dark Chocolate Cake with Nutella Buttercream
Ingredients
Dark Chocolate Cake
- 3 1/2 cups all-purpose flour
- 1 1/2 cups dark cocoa powder
- 3 teaspoons baking powder
- 3 teaspoons baking soda
- 2 teaspoons salt
- 4 cups sugar
- 1 cup butter melted
- 2 cups milk
- 4 large eggs
- 1 tablespoon vanilla extract
- 1 1/2 cups boiling water
Nutella Buttercream
- 1 1/2 cups butter
- 3 cups powdered sugar
- 1 cup Nutella
- 1 teaspoon vanilla extract
- pinch of salt
- 1-2 tablespoons heavy cream
- 1 tablespoon dark cocoa powder
Chocolate Spiders (optional)
- semi-sweet chocolate chips
Instructions
- Arrange an oven rack in the reheat the oven to 350ºF. Spray 4 9-inch round baking pans with nonstick cooking spray. Line the bottoms of the pans with parchment paper, then lightly spray the paper with nonstick cooking spray.
- In a large bowl, whisk together the flour, cocoa powder, baking powder, baking soda and salt.
- In the bowl of a mixer, mix together the sugar and the butter. Add in the milk, eggs and vanilla, and mix until combined. Add the dry ingredients and mix until combined. Pour in the boiling water and gently mix until combined. The batter will be thin.
- Divide the batter evenly between the 4 pans. Bake in until a toothpick inserted in the center comes out clean, 30-35 minutes. (Don’t be alarmed if your cakes puff up and then fall in the center. They will probably fall a little, but you will even the cakes out and can use the scraps to decorate the cake.)
- Let the cakes cool for 10 minutes, then run a knife around the outside of the pan and turn them out onto a cooling rack to cool completely. Remove the parchment paper from the bottoms of the cakes.
- At this point, you can wrap the cakes in plastic wrap and refrigerate them or freeze them, which will make decorating the cake easier, or you can proceed to assembling the cake as long as they are cooled completely.
- To make the buttercream, cream the butter in a mixer until smooth and creamy. Add in the powdered sugar, a little at a time, until fully incorporated. Mix in the Nutella, vanilla and salt and beat until light and fluffy. Add as much cream as needed to make the frosting a spreading consistency, adding a teaspoon at a time. If making the spiders and the spiderweb, transfer 1/2 cup of the frosting to another bowl and mix in the 1 tablespoon of cocoa powder.
- To make the spider legs, place some chocolate chips in a ziplock bag. Microwave on 50% power in 15 second increments until the chocolate chips have melted. Cut a small corner off the bag, and pipe out legs in the shape of a 7 onto a piece of waxed paper on a baking sheet. Transfer to the freezer until you are ready to decorate the cake.
- To assemble the cake: Level each of the cake layers, reserving the scraps. Place one layer on a cake stand or serving plate. Top with some of the buttercream and spread in an even layer to the edged. Top with another cake layer, then more buttercream. Repeat with another cake layer, more buttercream, and then the final cake layer. Spread a thin layer of frosting over the outside of the cake. Refrigerate the cake for 10-15 minutes.
- While the cake is in the refrigerator, take the reserved scraps of cake and crumble them as best as you can. The cake is very moist, so if the scraps aren’t crumbling, you can put them on a baking sheet and place them in a 250ºF oven to dry them out a bit, which will help.
- Use the remainder of the frosting to go over the cake, making sure it is covered evenly.
- Take the reserved 1/2 cup of frosting and place it in a piping bag fitted with a small round tip. Starting in the center of the cake, make a spiral for the spider web. Using a toothpick, starting at the center, gently pull out through the frosting to pull the lines of the darker buttercream, forming the spider web. With the remaining buttercream, pipe out the heads and bodies of the spiders. (Make sure you don’t make more spiders than you have legs, though.) Remove the chocolate legs from the freezer and place 8 legs on each spider.
- Take the cake crumbs and gently press them into the outside of the cake.

Julie S. says
Can I put this in a 9″ x 13″ pan?
Deborah says
I haven not tried this in a 9×13 pan, so I’m not sure, but my guess is that it would work. My biggest concern would be that it is too much batter for one 9×13 inch pan, so you may need 2.