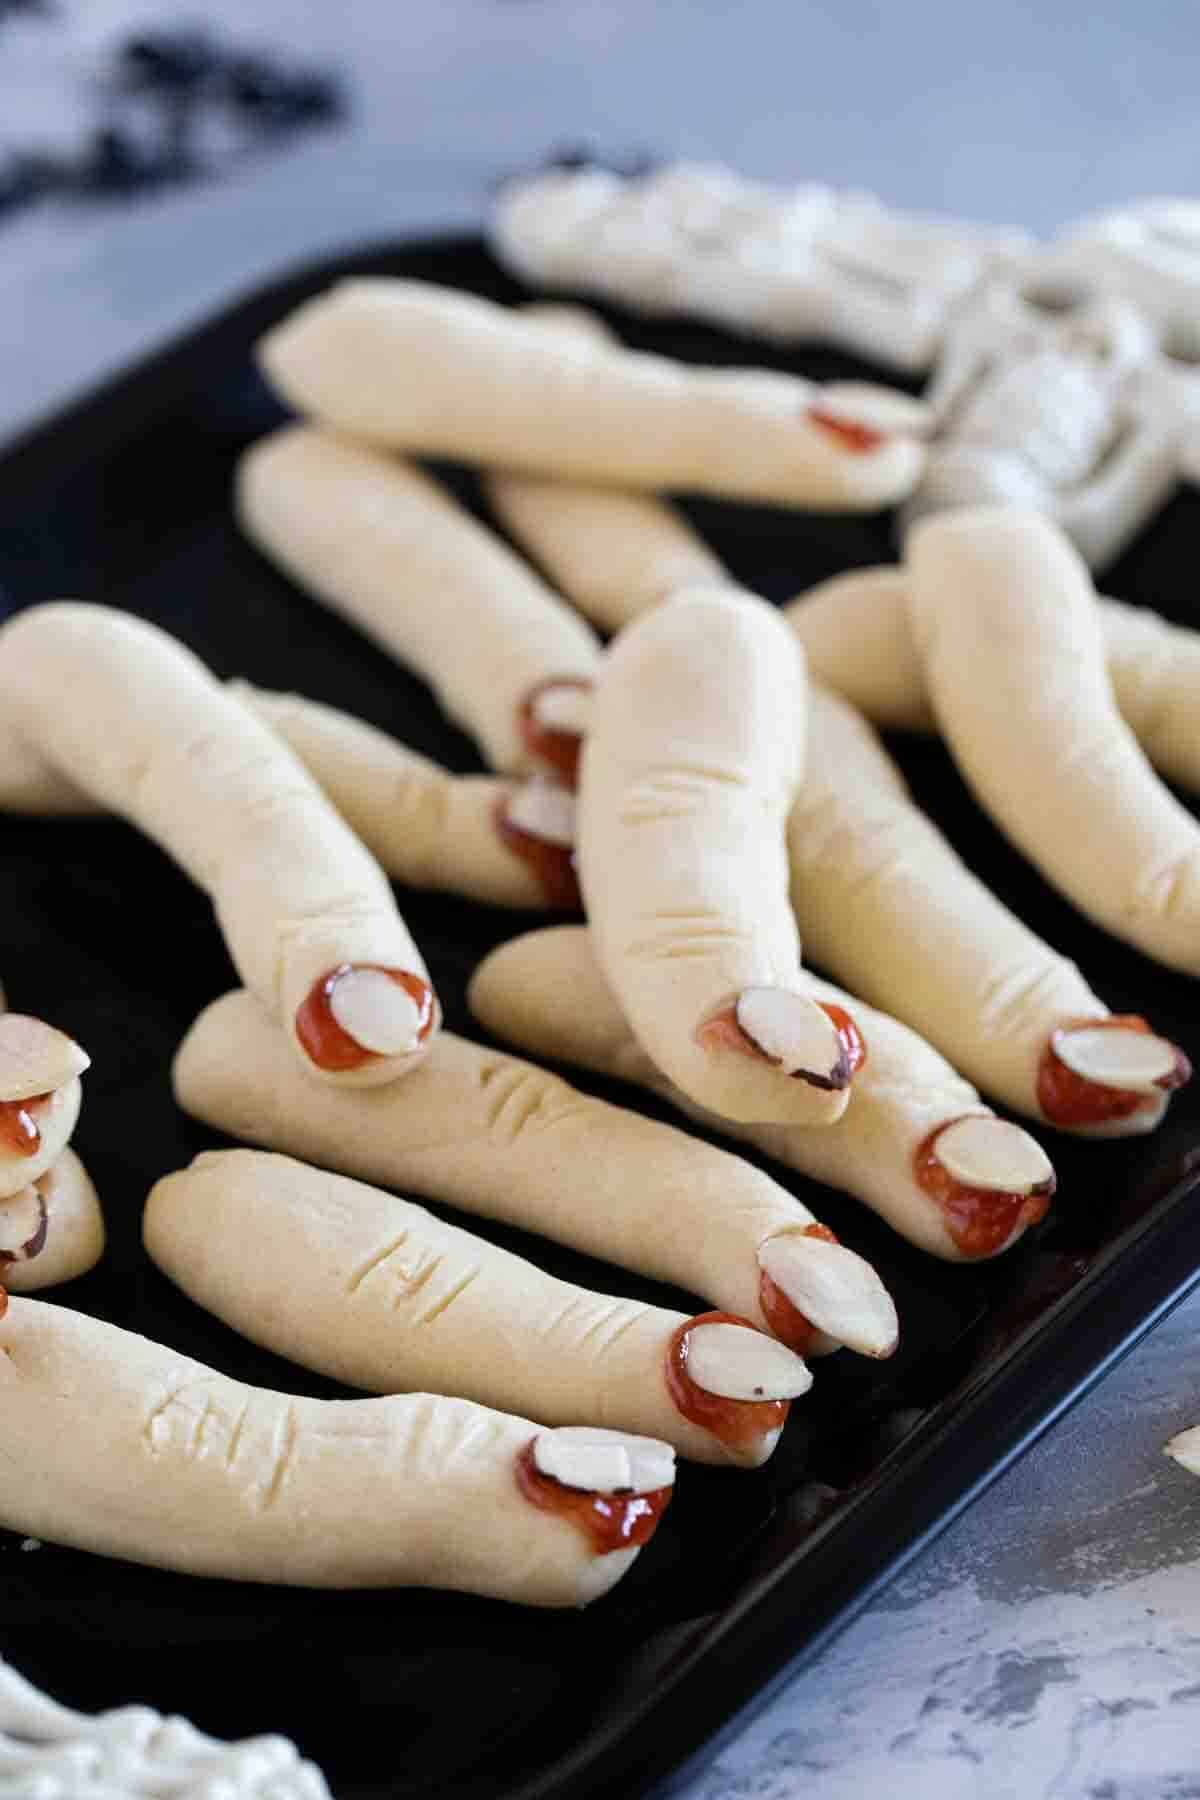
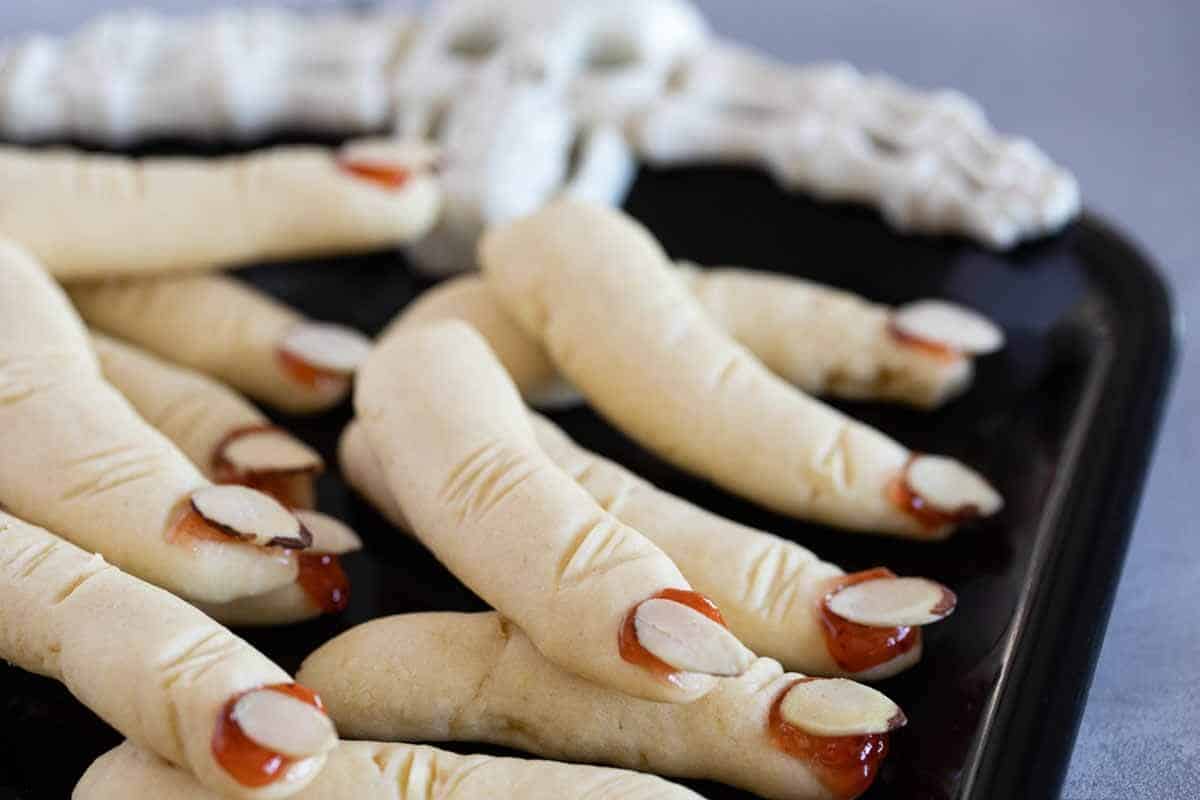
A little bit creepy, but mostly delicious, these Witch Fingers are a must for your Halloween treat platter! Tasty shortbread cookies are shaped to look like a creepy witch finger in this fun Halloween dessert.
If you love a good Halloween recipe, you need to try these Pumpkin Cheesecake Spider Cupcakes or this Halloween Popcorn Cake.
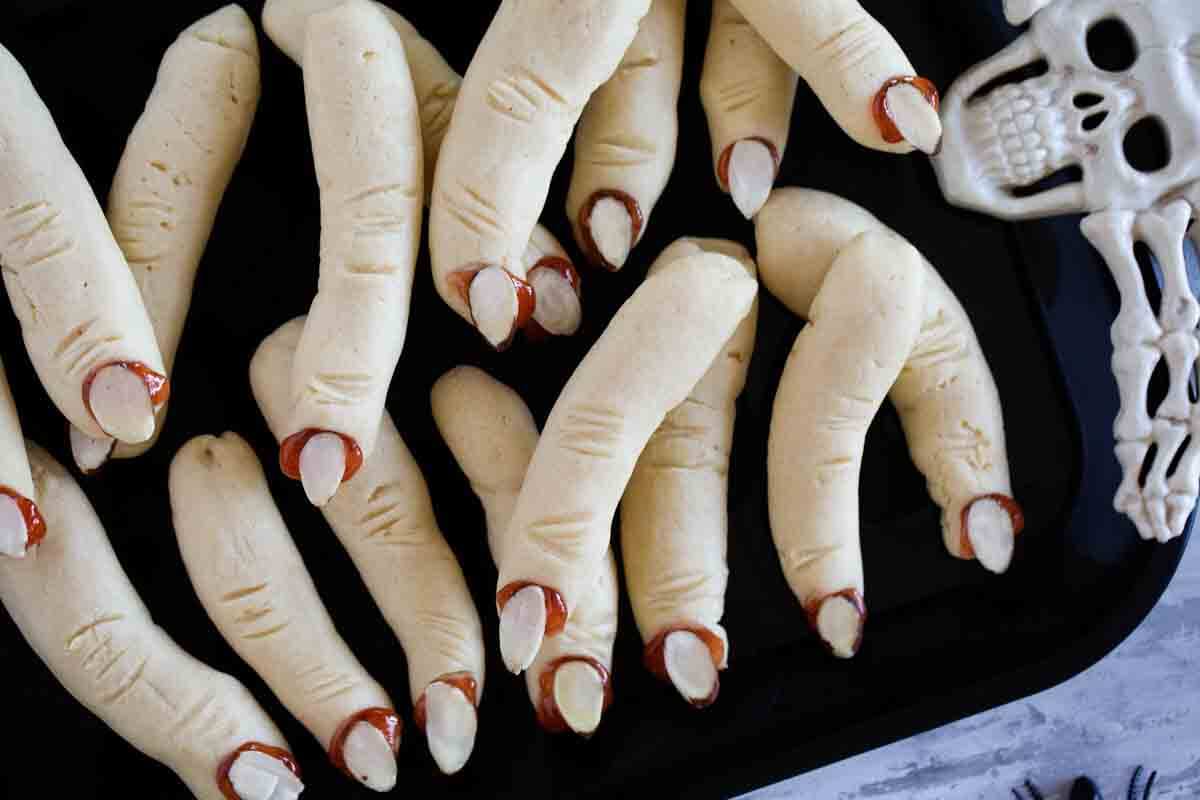
Every year for Halloween, my family gets together to carve pumpkins and have a spooky themed meal.
It’s such a fun meal – especially when there are spiders, bats, and spooks galore.
These Witch Fingers will make a great addition to that spread this year. And not only are they are little creepy looking, but they are absolutely delicious! We can never get a batch to last more than a few hours at our house.
Such a fun Halloween treat!
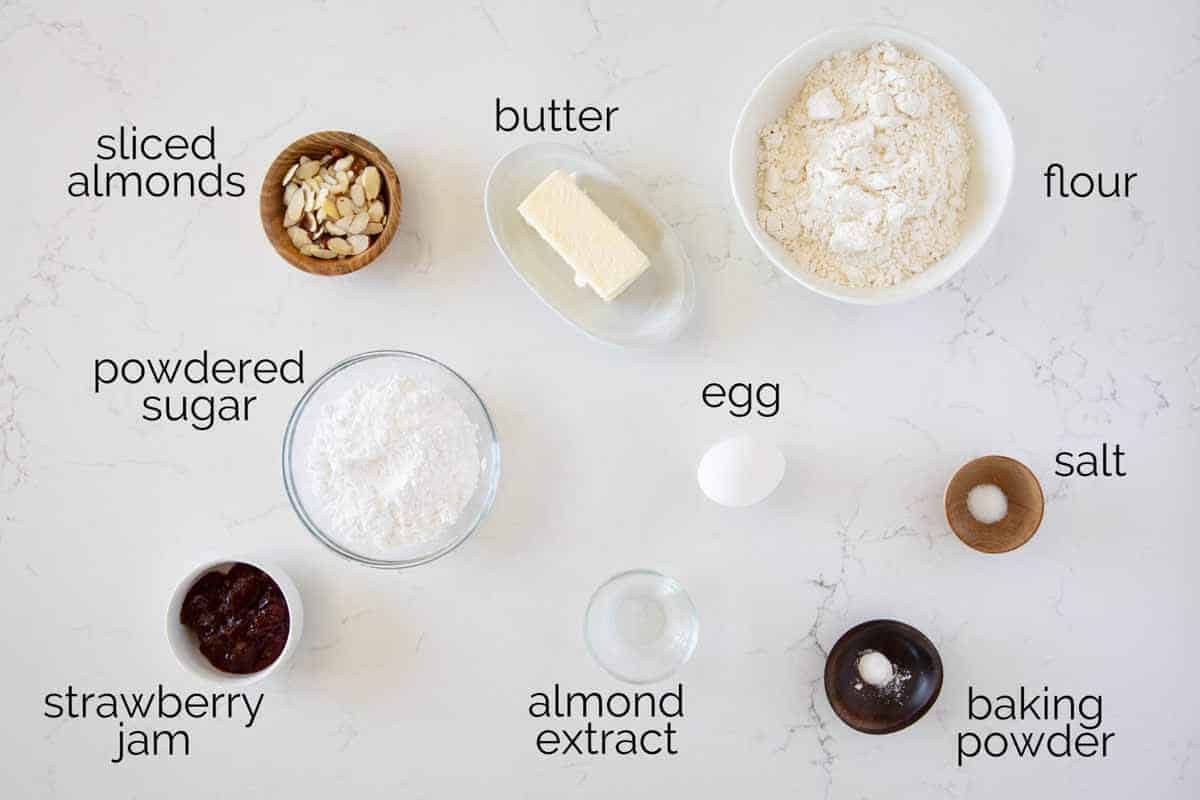
Ingredients
- Powdered Sugar: Also called confectioners sugar, this sugar will give the cookies their texture. They will not turn out the same if you use granulated sugar, so make sure you are using powdered sugar.
- Butter: The butter needs to be softened. I use unsalted butter.
- Egg: Make sure you are using a large egg. I accidentally used an extra large egg one time and it caused the cookies to spread too much.
- Almond Extract: You can also use vanilla extract, but I love the flavor the almond extract brings.
- Flour: I used all-purpose flour.
- Baking Powder: This brings just a little bit of lift ot the cookies. It’s not a lot, but keeps them from being too dense.
- Salt: The salt will balance the flavors.
- Jam: I used strawberry jam, but raspberry would work, as well.
- Almonds: Sliced almonds make the perfect fingernails! If you don’t want to use almonds, you could use an edible paint and paint the tips as if they are painted fingernails.
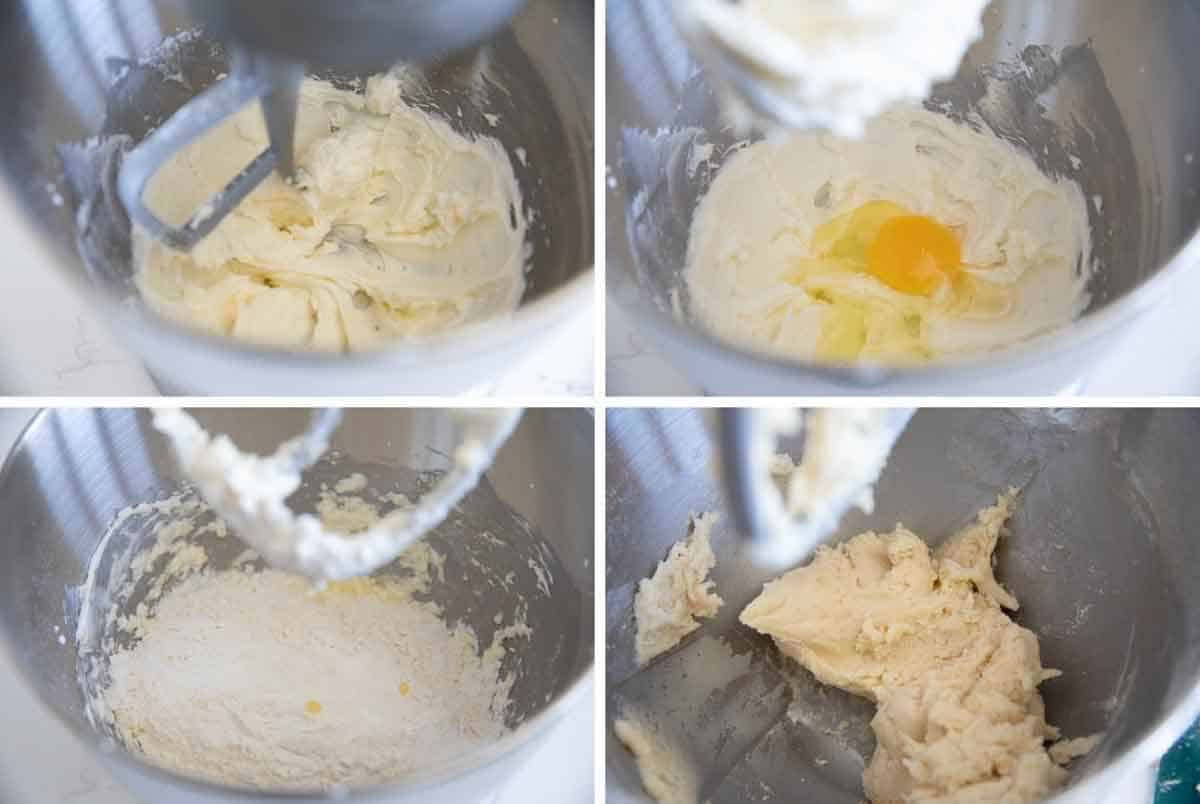
How to Make Witch Fingers
1: Start by creaming together the powdered sugar and butter. Make sure and start out very slow until the sugar is incorporated or it will fly all over!
2: Add in the egg and almond extract and mix.
3: Next add the dry ingredients.
4: Mix just until combined. You may need to add a little bit more flour – the dough should not be overly sticky.
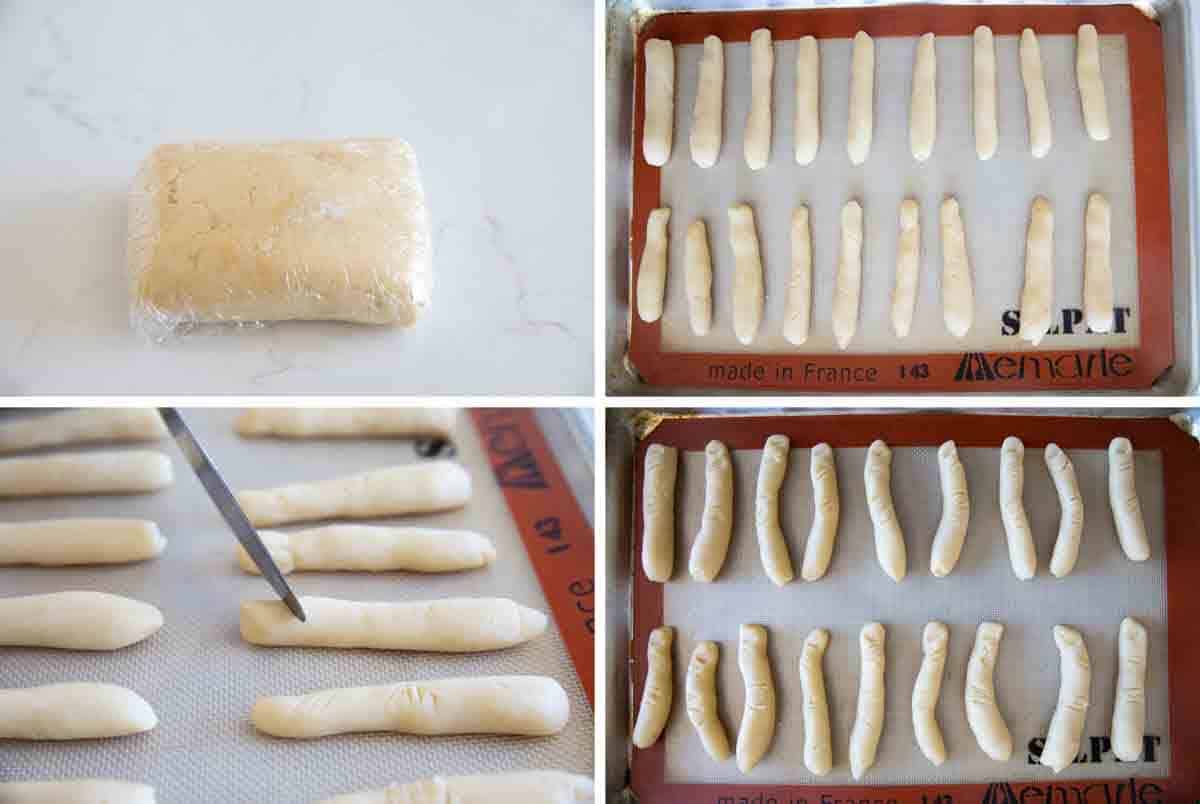
5: Wrap the dough in plastic wrap and refrigerate for 30 minutes to an hour.
4: Divide the dough and roll into finger shaped pieces. I just do this by hand.
5: Take a butter knife and etch in the joints of the fingers. This does not have to be perfect – in fact, it’s better if they are all a little different! I also like to take the tip of the knife and make an indentation at the tip of the finger where the nail will go. Place the baking sheet in the freezer for 10 minutes while the oven preheats.
6: Bake the cookies until they are starting to brown on the bottom. Let them cool, the add a dab of jam to the tips of the cookies, then place an almond on for the nail.
Tips and Tricks
These cookies will puff and spread just a tiny bit, so I like to start off the shape a little skinnier than you want them to end up.
These cookies don’t get very dark, so make sure you don’t over bake them.
You can also add jam to the opposite end of the cookie for more of a severed finger look.
If you are making the cookies ahead of time, don’t add the jam and the almond until just before you want to serve them.
More Halloween Recipes
Witches Brew
Mummy Hot Dogs
Halloween Cookies
Spiced Ghost Pancakes
Candy Corn Fudge
Monster Brains
LOOKING FOR MORE FREE RECIPES?
Subscribe to my free recipe newsletter to get new family friendly recipes in your inbox each week! Find me sharing more family-friendly inspiration on Pinterest, Facebook, and Instagram.

Witch Fingers
Ingredients
- 3/4 cup powdered sugar
- 1/2 cup unsalted butter
- 1 egg
- 1 teaspoon almond extract
- 1 1/2 cups all-purpose flour
- 1/4 teaspoon baking powder
- 1/4 teaspoon sea salt
- 2 tablespoons strawberry jam
- 18 almond slices
Instructions
- In a large bowl, or the bowl of a stand mixer, cream together the powdered sugar and the butter until smooth and fluffy.
- Add in the egg and the almond extract and mix to combine.
- Add the flour, baking powder, and salt. Mix just until it all comes together. The dough should be fairly stiff and not overly sticky. If it is too sticky, add a little bit more flour.
- Transfer the dough to a piece of plastic wrap and wrap tightly. Refrigerate for 30 minutes to an hour.
- Remove the dough from the plastic wrap and divide into 18 pieces. Form each piece into a finger shape and place on a baking sheet lined with parchment paper or a silpat liner. Use a butter knife to create creases for the knuckles and a small indent at the end where the almond will go for the fingernail.
- Place the baking sheet in the freezer for 10 minutes.
- Preheat the oven to 325ºF while the dough is in the freezer.
- Remove from the freezer and bake until the cookies are just starting to brown on the bottom, about 20 minutes. Remove and let the cookies cool completely.
- Once cool, place a dab of jam on the end of each cookie, the place an almond for the fingernail.





Leave a Comment...